Some people do not find the Recycle Bin icon useful on their desktop.
If you want to make your desktop less cluttered, then you can remove the Recycle Bin.
Delete Recycle Bin Via the Icon Settings
If you want to delete Recycle Bin via the icon settings, then you need to follow the instructions given below.
First of all, you have to press the Windows key on the keyboard.
Navigate to the left-hand side menu & select the Themes option.
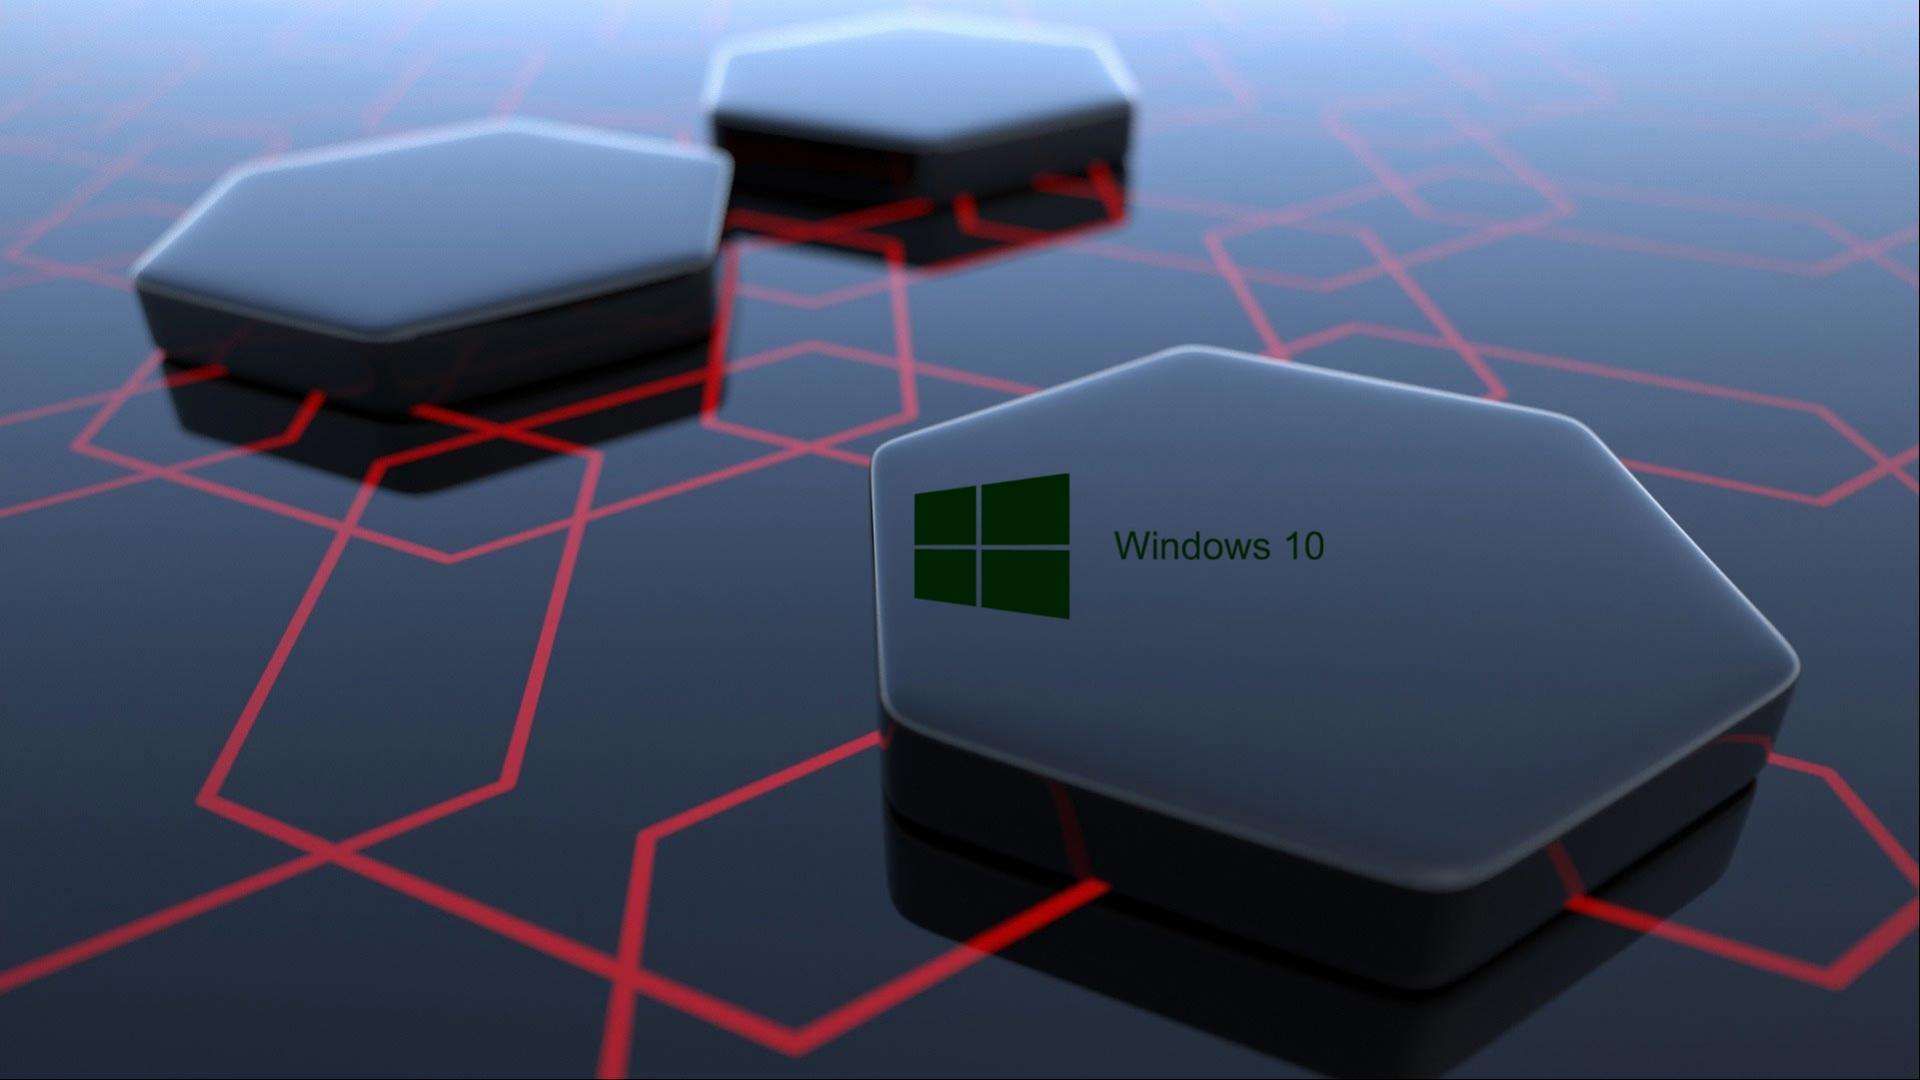
The Microsoft’s free offer for upgrading to the Windows 10 for free is officially ended.
Interestingly, it is not entirely true at all.
There are still not only one but several ways to upgrade to Windows 10 for free.
Alternatively, you can do a clean reinstallation of Windows 10 on your computer and use it free.Upgrading to Windows 10 while Ignoring the Activation AlertsIn fact, you don’t have to enter a product key in order to install the Windows 10 on your PC while upgrading from previous Windows versions.
Follow the below-mentioned steps to upgrade to Windows 10 without a product key:Download Windows 10 Installation Media tool.Install Windows 10 using it.
When asked to put in the activation key, just skip that and continue the installation.
The Xbox application for Windows 10 is an all-in-one gaming hub.
However, it sometimes does not work great while streaming or playing casual games.
One of the significant issues with this application is mic issue.
Several users reported that they were unable to get mic to work in the Xbox application.
In this article, we will show you how you can fix this issue.Clear Applications CacheHere are the steps to follow:Tap the Windows + I button on your keyboard to launch the settings application on your Windows 10 operating system.Select “Application” in the settings button.Enable the “Xbox” application and then launch the “Advanced settings.”Bottom down and then click the “Reset” button.Check Application’s PermissionTo use mic with any application on Windows 10 system, you need application permission.To do so, first, you need to confirm your system has global permission to access mic.
Then you need to allow the Xbox application to use mic in the application settings menu.Here are the steps to follow:Tap the Windows + I button on your keyboard to launch the settings application on your Windows 10 operating system.Select “Privacy” in the settings tab.Click “Microphone” in the left side pane.In the “Choose which apps can access your microphone,” you need to toggle on the “Xbox” application.Change Default Output FormatHere are the steps to follow:Right-tap on the “Volume logo” that appears on the notification area and launch “Sounds.”Select the “Recording” button.Right-tap on the “default recording device” and then click “Properties.”Select “Advance.”Select “Studio Quality or DVD” under the default format in the dropdown menu and then save your changes.Temporarily Turn Off Firewall and AntivirusOne of the possible reasons that Xbox applications cannot access mic may be because of firewall-imposed limitations.
In case you have a mapped network drive on your Windows 10 PC, then Windows Defender will not scan it for potential security risks.
But it is essential to make sure that it is also scanned during every routine scanning of Windows Defender to keep your system safe.For more info: Windows
Many users are unable to exit from the Diagnostic PC mode.
Some of the affected users try to restart their system, but their system shows dark screen and also the logo.
If your system is affected because of this error, then follow the instructions mentioned in this article to fix this issue.Here’s how to fix Windows 10 stuck on ‘Diagnosing your PC’ errorBoot in Safe Mode and Clear SpaceYou need to turn on the system.Begin clicking on the F8 key.It will launch the Advanced Boot Options list.Once you have used the Advanced Boot Options list, start using the arrow key to choose the Safe Mode.Otherwise, click on the corresponding key.Wait till the booting process gets completed.After loading the Windows completely, click on the Windows and R keys together.It will launch the Run prompt box.After going in the Run prompt box, enter “cleanmgr” in the provided box.Click on “cleanmgr” in the given box.Click on the Enter option.It will launch the Clean Manager option.After going in the Disk Cleanup display, you need to choose the disk which you wish to remove.If you wish to remove the OS drive, then you need to choose the C drive.After going in the Disk Cleanup display, press on the Files to Delete column.Choose the things which are not important and you want to remove.After choosing each thing which you wish to remove, press on the Clean up system files option to begin the procedure of removing everything.Once you have finished the procedure, you need to start the system again.Now, you need to check whether this issue is fixed or not.Run the SFC and DISM scansStart the system again.Before getting the startup sequence, begin clicking on the key for booting the Windows installation media.After loading the Windows display, press on the Repair your computer option.It is located at the end of the left-hand side of the display.You need to choose the Troubleshooting option.Press on the Advanced button.By going to the Advanced button, choose the Command Prompt option.After going in the Command Prompt menu, enter the below-mentioned command:sfc /scannowOnce you have finished the scanning process, start the system again.After going back to the option, enter the below-mentioned commands:Dism /Online /Cleanup-Image /CheckHealthDism /Online /Cleanup-Image /ScanHealthDism /Online /Cleanup-Image /RestoreHealthClick on the Enter button.After finishing the process, start the system.You need to check if the error is fixed or not.Run the System Restore utilityPlace the installation media.Start the system again.After getting the booting display, click on one of the keys by going to the installation media.After loading the Windows setup, find it into the end left-hand corner of the screen.Press on the Repair your computer option.By going to the repair list, start accessing the Troubleshoot option.In the Troubleshoot option, press on the Advanced Options button.After that, choose the Command Prompt menu.It is located on the menu list of the utilities which are currently available on the menu list.In the Command Prompt menu, enter the below-mentioned command:rstrui.exeClick on the Enter button.It will launch the System Restore menu.After opening the System Restore menu, you need to press on the Next button.Go through the checkbox registered with the Show more restore points option.Press on the Next button.You need to wait until the booting procedure gets completed on the system.Source url:- http://quick-product-activation.com/blog/how-to-fix-windows-10-stuck-on-diagnosing-your-pc/Ava Williams is a creative person who has been writing blogs and articles about cyber security.
She writes about the latest updates regarding mcafee.com/activate and how it can improve the work experience of users.
Her articles have been published in many popular e-magazines, blogs and websites.
McAfee offers real-time protection against threats(new and old), malware, and other cyber insecurities.
To get protected, login or make an account at McAfee Activate, redeem the product using the product key and download the McAfee antivirus setup.
After installation, go to website and activate the product using the 25-character alphanumeric product key.
Steps for downloading the McAfee security programStrengthen your security by installing the McAfee program on your device.Steps : Switch on the device on which you wanted to download the McAfee program.Open any web browsing application like Opera Mini or Dolphin.
Double click on it.Open mcafee.com/activate.You will see some tags at the top of the window.After that, hit on CountryOpen the pull-down list and select the Language.Press on Language.Open the pull-down list and choose the language.Press on the regionType the right regionYou require signing up for McAfee account, in case you do not have any account already.Press on Log in and type the username and password for the McAfee account to sign in.Tap on Create an account.Type the email, password, mobile number, name, and other information in the Sign-up display.Check McAfee Terms and Conditions.Agree on these terms and conditions.Press on the Install tab.Choose the method for downloading.The file will start to download.
More to readHow to Search Contents of Files in Windows 7How to Redact Text in Microsoft WordHow to use Instagram Story HighlightsHow to Use Vacation Mode in Your Smart Home6 Best Productivity Apps for Thinkers
Creating a backup file of USB drive may help you to take a copy or clone of your important documents.
You can duplicate the data to other drives or systems as it will help you in case you lost your USB drive or contents stored in USB.Here is how to take an image copy of the USB drive on Windows 10.First of all, you need the “partition tables” and drive’s master booting record to take a full backup of your drive’s data.
In this case, it is recommended to create a clone of your USB drive in case there are multiple partitions.If you are creating your drive’s clone, then the upcoming or resulting clone image will present, including all the hidden and visible files with unused drive space.
It will show the free space of your drive on Windows 10 that covers a single file.In case you wish to copy multiple files from an unbootable USB drive to various other units as per their storage capacities, then Cloning is one of the easy and quick solutions.1.
Cloning USB DriveFor copying the USB drive, you can use one of the most recommended tools provided by Passmark Software: “ImageUSB.” The main issue of this tool: it doesn’t download on Windows 10.
For getting this tool on your system, follow the under mentioned steps:First of all, you have to unzip the file in a specific location.Then, connect the USB stick and then try to open the program by navigating the file “ImageUSB.exe.”Then you have to double click the file extension path.Now, in case you see the pop-out “User Account Control,” then hit the “Yes” option.Once the function or program launches on your system’s screen, then tap on the box located just after the listed “USB” gadget.After that, you have to tap on “Create Image From USB Drive” option.Then, hit on the “Browse” tab to create a particular location for your saved image.Note: You may be required to make a file name, but you can’t modify your “.BIN” file extension.After that, tap on the “Create” tab when you have selected the location and file name to begin your picture saving procedure.At last, hit on “Yes” appears via a pop-out window to authenticate the details.Navigate to the section “Available Options” located at the right-hand side portion of your page.Now, you will see that the option regarding “Post Image Verification” is marked.