


Many times you do not get the range and connectivity that you need for your house or office by the router that you currently have. There appear dead zones in some areas of the house or office where the range of the wifi network is not able to reach properly. You might experience lag in connectivity or buffering in these areas. To eradicate these areas in your house or office you can get a mywifiext wifi range extender which suits your requirement. There are various extenders available in the market, the Netgear EX 6200 AC 1200 is a dual band high speed wifi extender provides you with lot many features like MU-MIMO, 1200 Mbps speed, 5 Ethernet ports, additional external antennas and much more.
Netgear Genie Setup
The Netgear genie setup is very easy to follow and perform with the browser based method. First of all the extender must be connected with the computer with the help of the Ethernet cables. Check if the extender’s power LED is lighted up and connected well. The extender must be placed near to the router, it will be compatible to all the routers and you shouldn’t have any problems connecting with it. The browser Netgear genie setup should be used to connect the extender to an existing wifi network. Then the extender connects with the existing wifi network name (SSID) and shows _2Gext at the end of the network name for 2.4 GHz band and _5Gext at the end for 5 GHz band. You can look for the setup steps below for clear instructions –
- When your extender is connected well and is ready to be setup, you must go to your web browser and open it
- You will see that the browser will take you directly to the Netgear Genie page.
- If it so happens that you are not directed to the Netgear Genie page automatically, then you can go to the address bar of the browser and type the site link
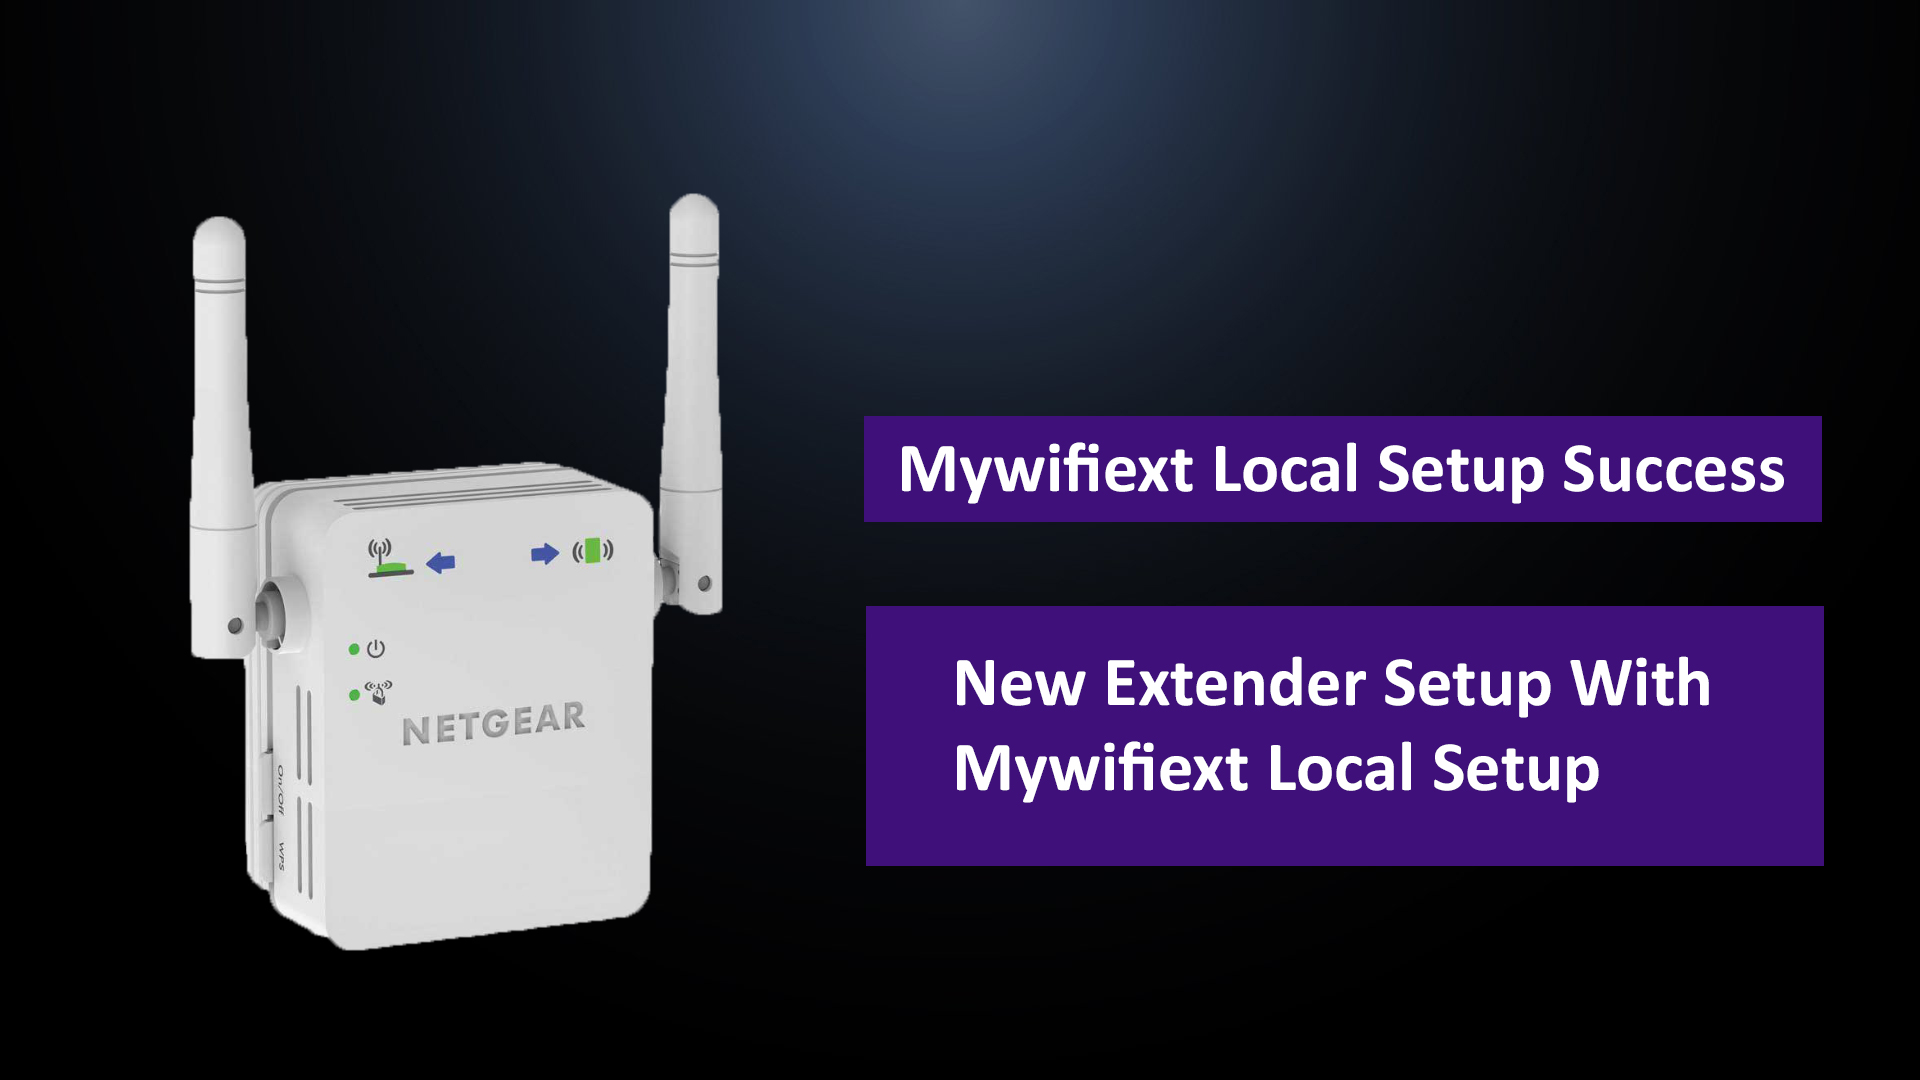
- The site link is mywifiext.net which is the local setup page of the Netgear extender
- You will be shown the login page, enter the default credentials , username – admin and password – password, then press login
- When you reach the setup page of the extender you will have to select the network that you need to extend
- You can change the network name of your 2.4 GHz and 5 GHz network bands and save the settings
- You will be instructed through the setup process on the page and you can easily setup your extender with the help of the Netgear Genie
- When the extender setup is done the Netgear Genie will show you the extender networks
- Apply the extender settings and complete the setup by clicking finish
The Netgear EX 6200 wifi range extender is now fully configured and is ready to be placed at a different location. Move the extender and place it at a location where it receives best wifi signals indicated by the LED lights on the extender. The green LED shows great connectivity, amber LED indicates okay connectivity and a red LED shows there’s no wifi connectivity. When you find the best spot for your extender you can connect your wifi and smart devices with the extender and experience the boosted connectivity, fast speed internet and great wifi performance all over your home.
Tags: Mywifiext, Mywifiext.net, Mywifiext Local


MyWifiext is an official online address for setting up and configuring a Netgear Wi-Fi range extender.
Also, it is one of the easiest and simplest ways to setup the range extender.
Furthermore, Mywifiext allows the user to update the extender’s settings, configure, and install the range extender, among other things.
Therefore, the users looking for ways to accomplish the Netgear Extender setup procedure should visit the official website, i.e., “Mywifiext.”More info: Mywifiext |https://www.facebook.com/photo/?fbid=223461276456082=a.222713339864209https://twitter.com/FloraFloradavis/status/1428687830205833217/photo/1https://www.pinterest.com/pin/824229169308874961/https://mix.com/amaradavishttps://mywifiext5.blogspot.com/2021/08/mywifiext-netgear-wifi-extender-setup.htmlhttps://flora11e.substack.com/p/mywifiext?justPublished=truehttps://slack-files.com/TM6RP6G84-F02BURCR3MH-e11f4dcab2https://list.ly/list/5sZo-technical-serviceshttps://band.us/band/82850752https://technicalserviceprovider.weebly.com/blog/mywifiexthttps://onlineserviceprovider474526605.wordpress.com/2021/08/20/mywifiext/https://shashigandhi19.wixsite.com/mysite/https://telegra.ph/Mywifiext-08-20https://www.bloglovin.com/@floradavis6/https://mywifiext5.mystrikingly.com/https://www.diigo.com/user/shahsihttps://www.scoop.it/topic/norton-com-setup-by-shashigandhi19-gmail-comhttps://myspace.com/floradavis/post/activity_profile_96331322_cb4dfac01c2c49ee81b1cdb1e7878d96/commentshttps://www.plurk.com/shashigandhihttps://www.pearltrees.com/shashigandhihttps://www.folkd.com/user/Shyneehttps://jumpshare.com/v/ppNQDzQvfdOF8Nn9zsh4https://www.instapaper.com/p/florahttps://feedly.com/i/entry/I1qwangOnhbFm30kqAcfPmqLycXVKXyWJZrCf4X8s28=_17b630c3844:1b80ed:8d7abee8https://sites.google.com/view/mywifiext5/home

Getting a wifi range extender will be worth your every penny if you wish to boost the range and connectivity of your wifi router to the dead zones of your house or office.
Many times it happens that your wifi router is placed somewhere where some obstacles are hindering its range to other areas of the house or office.
Another problem can be that you have an old router model which is not giving you the maximum range that you require for your heavy work load.
In all these cases mywifiext wifi range extender is the best option to make your home a whole home wifi network.You however have the option to set your wifi range extender as a wifi extender or as an access point.
By setting your extender as an access point you will benefit greatly if you are in a large office area that has heavy traffic.
Small offices or homed do not need a big network so the wifi range extender can be the best option for them as set on extender mode.Defining Access PointIf you are working in a huge office, you can connect your wifi range extender via an Ethernet cable and put it on the access point mode.