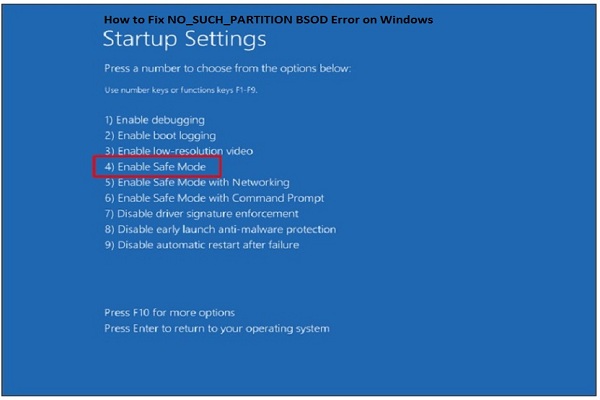
BSOD is one of the most horrible errors on Windows 10, and recently, it has arrived with a new bug known as 0x00000043. The error is known as No_Such_Partition error, and if you are facing a similar error issue on your computer system, then pursue a resolve through the below-written instructions.visit on Fix NO_SUCH_PARTITION BSOD Error

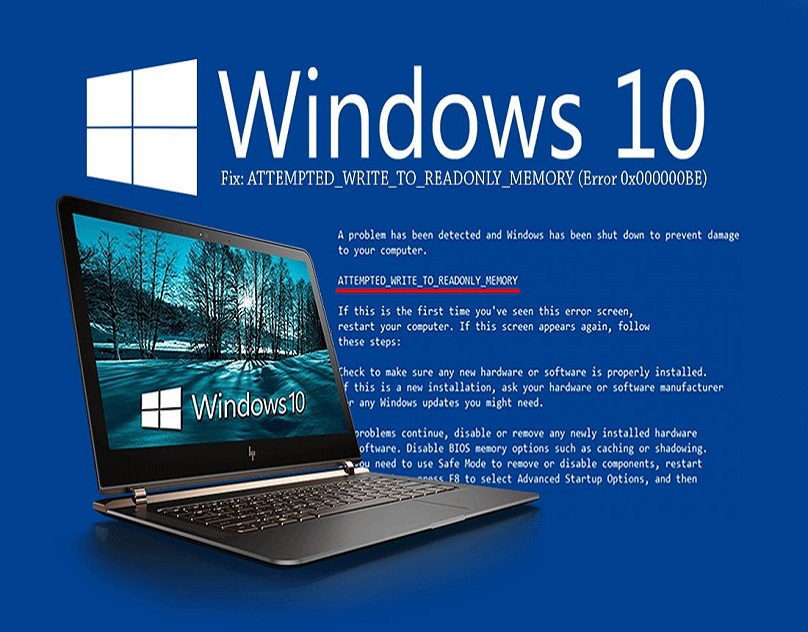
The 0x000000BE Error Code has an error message which says; Attempted Write to ReadOnly Memory Blue Screen.
Usually, this error occurs when any user tries to boot into Windows.
There are several causes for this errors, some of them are an error in a device driver, some error issues or might be an error within the BIOS of the computer system.
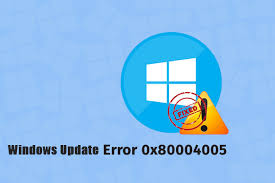
A user can face various errors while operating a PC and one of them is “Windows can’t Access Computer” aka “0x80004005.” It arises when a user is facing some issues on shared drives, folders, Virtual Machines, and even when your OS refuses to upgrade your Windows software.
It depends on the source of the origination of this particular problem.
Sometimes, it reflects a message “Unspecified Error” on “Microsoft Books.” Read Full Article Here - How to Fix Error 0x80004005 on Your PC
Windows updates are one of the necessary things that safeguard every device by providing then various troubleshooting patches along with the latest new features.
They also enhance the performance and speed of the device.
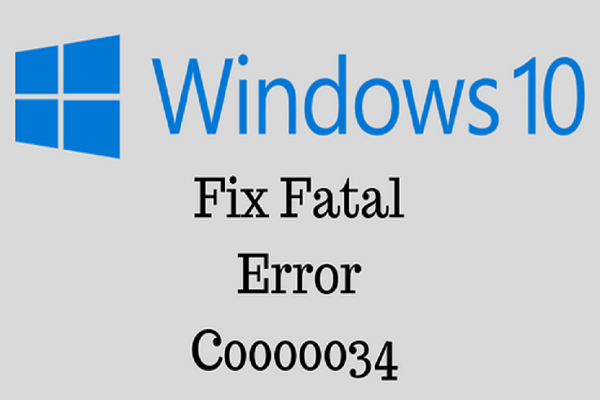
visit on Fix “Fatal Error
Windows users face many errors on the OS and one of them is the ‘irql_not_less_or_equal’ error.
The error can arise due to hardware malfunctions or incompatible drivers etc.
This error especially occurs when the Windows is booting up.
So, if you are facing this issue, then here are some fixes given below.
Boot PC into Safe Mode on Windows 10You should press the Shift button over the keyboard and select the Power key.After that, click on the Restart button during pressing the Shift button.Then go to the Troubleshoot option.You have to select the Advanced options.Thereafter, reach the Startup Settings.Navigate to the Restart button and click on it.Now, you have to wait till restart the system and then choose Safe Mode.Finally, look at whether the issue continues or not.Perform PC Restore on Windows 10The users who are keen to perform PC restore on Windows 10 can pursue the directions given below.Firstly, reach the Windows Search section on your system.After that, insert ‘system properties’ into it and select the OK button.You should click on the System Properties from the results and launch it.Then click on the System Protection option.You have to select the System Restore option.Navigate to the Next button and click on the desired restore point into the fresh screen.After selecting the desired restore point, choose the Next button, and then pick the Finish button.Now, the system will reboot, and then the procedure of restoring points will begin.Use Reset this PC for RecoveryFirst of all, reach the Settings option on your computer.Thereafter, select the Update and Security option.You should select the Recovery option beneath the left side of the display.Then go to the ‘Get Started’ option beneath the ‘Reset this PC’ and then select the ‘Keep your files’ option.Now, pursue the directions to finish the reset process.Troubleshoot the Registry to Solve Damaged FilesThe users who are keen to troubleshoot the registry to solve damaged files can pursue the directions given below.Navigate to the Windows logo on your system.Then input ‘cmd’ into it and select the OK button to invoke the Command Prompt.You should select and right-click on it.Thereafter, click on the Run as Administrator.Later, insert ‘sfc /scannow’ command into it.Now, you have to wait to finish the scanning process and then reboot the system.Perform Full PC ScanNavigate to the Windows Search section.Thereafter, input ‘defender’ into it and select the OK button to invoke the Windows Defender.Then reach the left side and choose the Shield button.Go to the new screen and choose the Scan option URL.Now, mark the option of Full Scan to invoke the full PC malware scan.Edward Lewis is a creative person who has been writing blogs and articles about cyber security.
He writes about the latest updates regarding central.bitdefender.com and how it can improve the work experience of users.
In case you encounter any of these common problems, then make sure to follow the given methods to overcome it easily.Ways to Eradicate Memory Error 0 01793 in Window 10Method 1: Reboot your SystemWhenever you face problems like slow performance or freezing, then restart your PC.
It is healthy enough in this condition as it fixes bugs and saves time when the device encounters a memory leak or an error.
Here’s how to do it.If the system can operate, then go to the Start Menu.Click on the Power option available in the left side corner of the screen.Choose Restart and wait until the system completes the process.Now check whether the issue has been resolved or not.
If this fails to solve the problem, then try out the following methods.Method 2: Set Virtual Memory to AutomaticMemory error 0 1793 can be resolved by setting virtual memory to automatic.
For that, your system needs to have at least 20 GB of free space in the drive.
So, let’s explore the points and see how to do it:Go to the Start Menu and locate Control PanelClick on Control Panel to open it.Choose System.On the following window, go to the Computer name, domain, and workgroup setting section.Tap on the Change settings.Switch to the “Advanced” tab in the system properties wizard.Select Setting available below the section, namely Performance.By doing so, the Performance options wizard will pop up on your screen.Tap on the “Advanced” tab and then Change button.Choose “Automatically manage paging file size for all drives.”Click on Ok to confirm the process.Method 3: Run Disk Cleanup ToolWith the support of Disk Clean up utility, you can easily detect the space occupied by numerous categories of the chosen drive.

It has over 100 millions of users across the globe and they are still increasing day by day.
It is available in several countries and regions.
Please go to the Netflix home page by clicking the button below.” This issue can be fixed by many different methods.
Let’s get started.Fix 1: Run Netflix in a Different DeviceIf you are also encountering this issue, then the problem could be your device.
So our first method is all about checking the device.To know what’s causing the issue, try to sign into a different device and then play something in it.
If everything is working fine, then it means that the problem is your previous device and your Netflix is entirely okay.The reason can be anything from your browser to your device.