


Steps to add wireless printer to the computer has become easier as we progress in innovative technology. Still, it seems that we sometimes get lost in the colours, numbers, and complexity of all the wirings. Even if you can get the hang of connecting Point A to point B, it takes more than that to get your printer running.
First and foremost, you need to ensure that you have properly removed the printer and all of its pieces from the box for a quick and organized assembly. Once all the pieces are laid out, plug the double-pronged end of the power cable into a conveniently located outlet. Follow the steps given below to add wireless printer to windows 10.
Connecting a wireless printer to the network
- Once turned on and ready for configuration, start by connecting the printer with home WiFi.
- Most modern printers have a modern LCD screen that lists WiFi networks. Click around the screen and locate the setup page to adjust wireless LAN settings.
- After you access the LAN settings, you’ll need to locate the home network service set identifier or SSID.
- You can find SSID by hovering your mouse over the WiFi icon, or it can be found on the bottom of your internet service provider router.
- Enter your WiFi password after you select SSID, and your printer will be ready for connection.
Connect wireless printer to the computer
- Click on the windows icon and go to settings, where you will find the option of Devices.
- Within Devices, you will find the option to “Add a printer or scanner.” Click on that to proceed further.
- You will see the name of your printer appearing on the screen, which you need to click to add the printer.
- Select the Add device option, and your computer will do the rest of the wireless configuration.
Connect wireless printer to Mac
Apple has made the job easier for you when you add wireless printer mac as it can be done in few easy steps.
- Make sure your mac and printer are connected with the same WiFi network for seamless processing.
- Open the Airprint app on your mac and tap on the app’s share icon.
- Within the list shown to you, tap on the “Print” icon and select your printer.
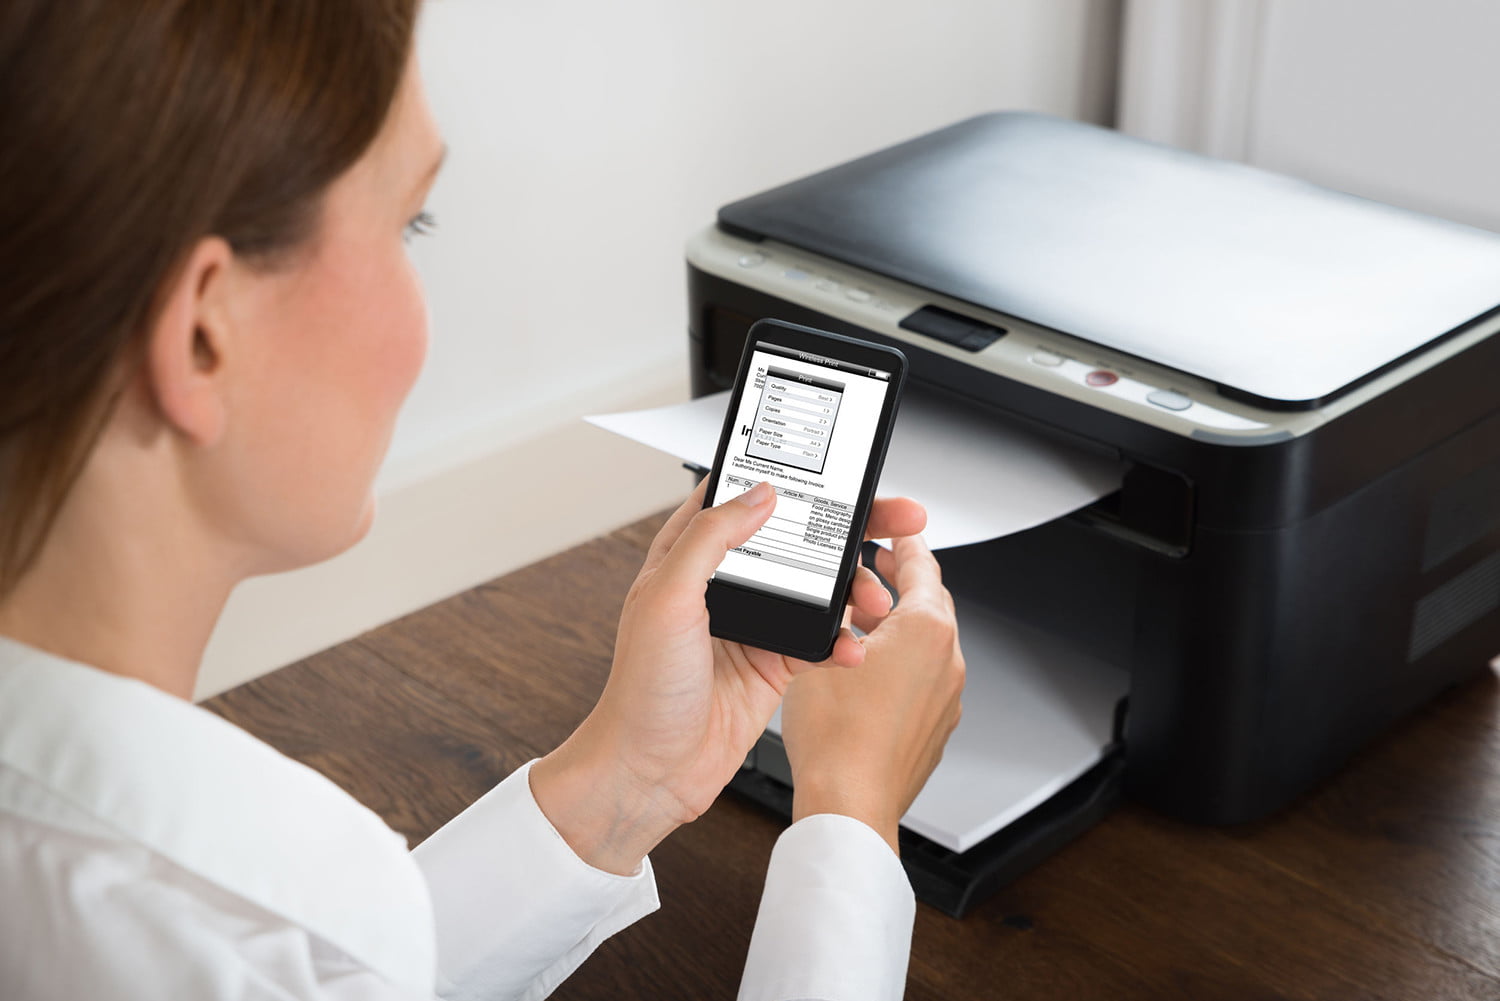
- Your device will be shown a print preview page where you’ll be asked how you want to customize the print page and the number of copies you want.
- Tap “Print” once you are done filling in the information, and your job is complete.
Get Easy Solutions To Printer Problems.
If you face any problem while you add WiFi printer mac or computer, it might be best to take professional help because the experts at “Printer IT Support” come to the rescue. Their services are affordable, which will also let you save considerable amount of time apart from letting you save nice chunk of change. Get In Touch Today.


HP Printers is considered as one of the best Printers.
It has been designed and developed by the HP Company by using the latest techniques and technology.
Almost all the HP Printers are known as All-in-one Printers as they can Print, Fax, Scan and Copy at a time.
It provides the finest quality of Print-outs to the users that will surely blow their minds.
HP Laserjet P1102W Printer is the best choice among all the Printers.
If you want help with the HP Laserjet P1102W Setup, then contact the experts.

HP is one of the leading and trustworthy brands that manufactures excellent quality of Printers.
The HP Printers have become the top-most choice for most people throughout the world.
You can do multiple things with the help of Printers such as Print, Fax, Scan, and Copy at a time.
There are many models of the HP Printers available in the market wherein you can choose the best one according to your choice.
HP Laserjet P1102W Wireless Printer is one of the best Printer Models that attracts the attention of many people due to its exclusive design and features.
Though it is easy to perform the HP Laserjet P1102W Wireless Setup on Mac, still some people may face issues while setting up.
