


https://www.youtube.com/watch?v=6Z3XnxIPEJM
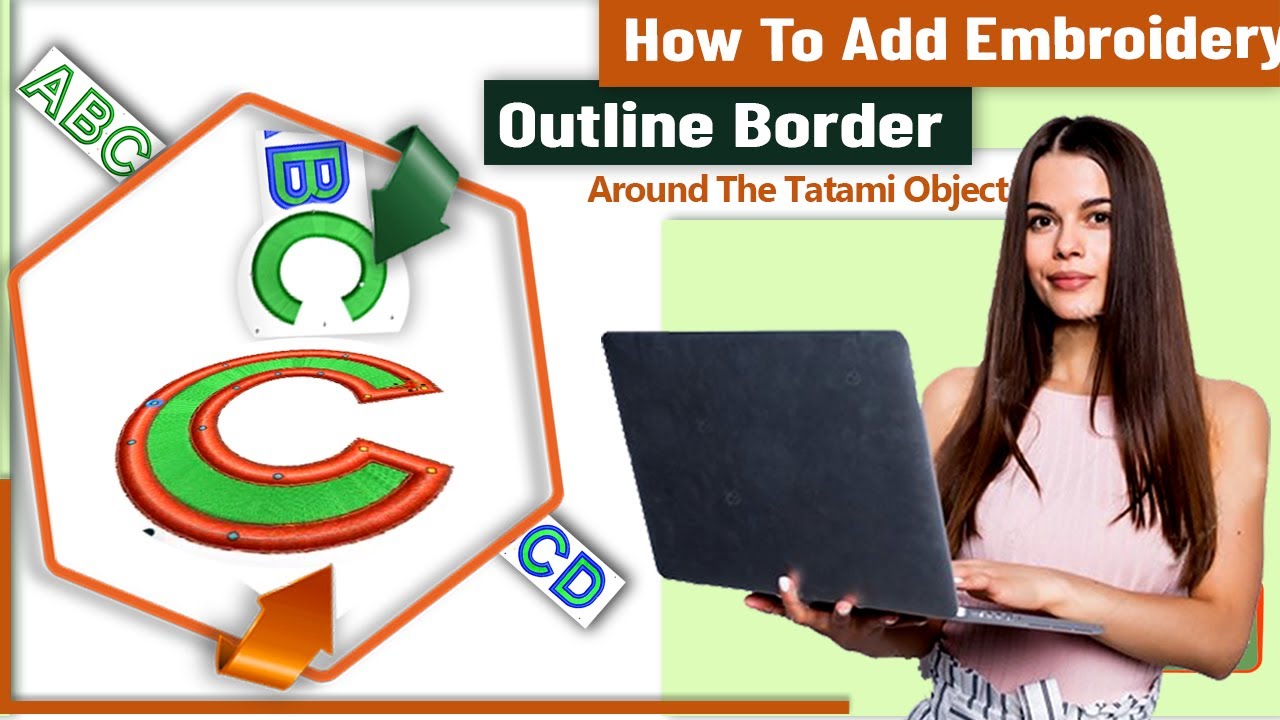
In this video, I will show you how to add the outline border around the tatami object.
Step1:
First of all, open up your Wilcom application and import your Tatami design file in which you want to add the border.
Step2:
Note: it is always a good practice to add a border on your Tatami object; to enhance its look and appearance.
On your left toolbar click on “Column C”, With Column C you can digitize borders or the columns.
Step3:
After selecting that tool, choose your required color from the bottom toolbar, you can find various color options right above the status bar.
Read more 📖: https://zdigitizing.com/embroidery-bo...
-------------------------------------------------------------------------------------------------------------------------------------
Do you Need a digitizing service for your embroidery machine,
With super-fast turnaround and excellent quality? just click the link below and get a free quote in less than 5 minutes. 👉 https://zdigitizing.com/get-free-quote/
---------------------------------------------------------------------------------------------------------------------------------------
Quick Links:
👉 Get a Free Quote in Less than 5 minutes: https://zdigitizing.com/get-free-quote/
👉 Subscribe to this channel: https://www.youtube.com/channel/UCkUY...
👉 View latest articles and blog: https://zdigitizing.com/blog/
👉 Embroidery Digitizing: https://zdigitizing.com/product/embro...
👉 Vector Art: https://zdigitizing.com/product/vecto...
👉 Embroidery Design Store: https://zdigitizing.com/store/


