


Lighting is one of the most important aspects of product photography and to which you should spend more time and learning. Learn to create volume, to avoid reflections, to obtain a good exposure or to create a reaction in the viewer simply by modeling the light.
The first thing you should ask yourself is what result you want to obtain. An image with a lot of contrast? Soft and warm? Flat or deep? What do you want to convey with it? What should your product talk about? Picture it mentally and write down the results you want to achieve. Then use everything like a professional Shopify product photographer.
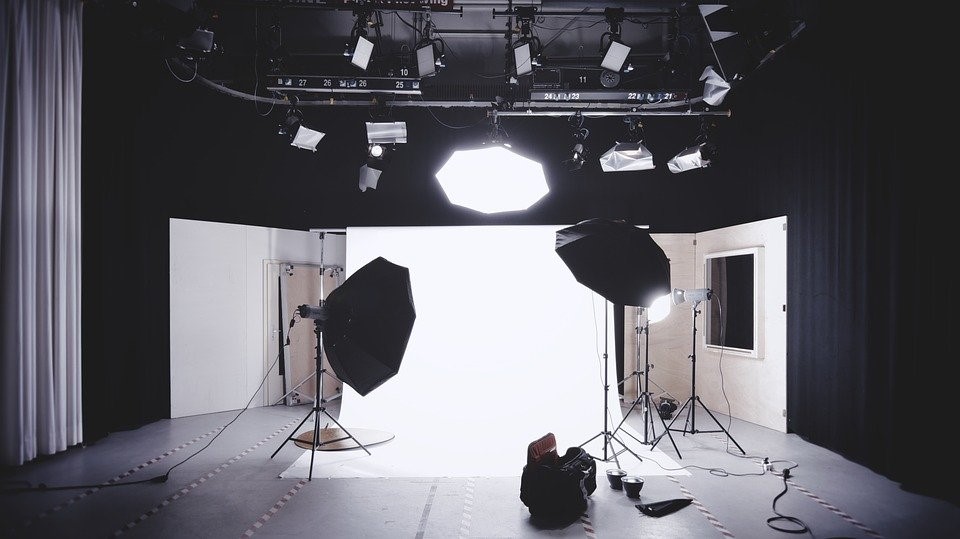
Let's see the main characteristics of lighting in order to apply them to product photography.
- Natural light is still a type of lighting to take into account when photographing a product. If you have an environment with good lighting, take advantage of it, this light is very photogenic and does not require investing in too many accessories. The drawback is that it changes momentarily, so you must learn to know it well and be quite fast.
- Artificial lighting allows us to control the light at any time of the day, which makes it easier, therefore, to dedicate as much time to photos as we consider necessary.
- Keep in mind that one does not exclude the other, they are perfectly complementary and one can make up for the shortcomings of the other.
- With both types, you have to consider the quality of the light: it can be soft (large light source relative to the subject) or hard (small light source relative to the subject).
- Soft or diffused light is ideal for still life, it casts few shadows (for example, the light of a cloudy day).
- Hard light is ideal for highlighting shapes and high contrasts. Sunlight at noon would be, for example, an example of hard light.
- Another characteristic of light that you should know is how the light behaves depending on the direction from which it is projected on the object:
- Front light: the light hits the object from the front and produces very flat images with little texture or shadows, while being more descriptive.
- Side light: the light is placed on one of the sides of the object, forming an angle of 90º with the camera. The result is an image with high illumination contrast between the illuminated side and the unlit side. Increases textures and volume. To dim the dark side, you can use a reflector.
- Ambient or background light: is the natural light that surrounds the object. In the studio it is usually imitated by bouncing the light off the ceiling or using an overhead light source.
- Semi lateral light: the light falls at an angle of about 45º. This lighting marks the textures and generates a sensation of depth. It is one of the most used lighting schemes.
- Contour light: it is used at an angle of about 135º and is used to highlight textures, emphasize perspective and outline the object.
- Backlight: The light comes from behind the subject and therefore in front of the camera. The contrast in this case is extreme between lights and shadows, losing most of the information about the object beyond its shape or silhouette.
- Fill light: it is used to fill in the shadows that a light source may cause.
If you have a clean well-lit surface free of clutter you may be able to photograph your product images. Be sure your lighting is bright and consistent, use a tripod or a stable surface, and try to use a camera that produces at least 10-megapixel images. If you aren’t sure your product looks better than your competition, then you may want to hire a Shopify product photographer who can create consistent photography of your products.


