


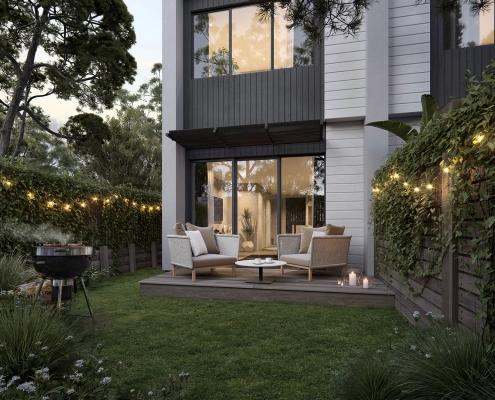
Architectural renderings, also known as architectural visualization or illustration, allow designers to construct a 3D digital model of a suggested layout and building design in order to visualize it. Creating real-life models was customary before the technology became available, and while that is still an option, architectural renderings are becoming the preferred technique for people who need 3D representations of their projects.
Today, we'll go over everything you need to know about 3d renders Auckland so you can see how valuable this tool can be and how to get one done quickly.
Steps of architectural rendering which should be followed
Step 1: Make a rough sketch
The initial step in the architectural rendering or 3d rendering services NZ process is to draw a sketch of the building once you've chosen your location and decided on the proportions. To create the sketch, you must first decide on the illustration's scale and dimensions. The sketch should be large enough to incorporate all of the details you require yet tiny enough to fit on the page.
Step 2: Guidelines
If your building has multiple floors, you'll need to draw out some guidelines to show where the floor divisions will be. You also need to draw horizontal lines to align the windows and doors' columns.
Step 3: Design Elements
The next step is to incorporate design aspects into your sketch. Start adding design features to scale, such as transitional elements between floors, frames, doors, windows, and any other essential design elements to create a better picture once the skeleton of the building is complete. You can make use of references to assist you in staying on track.
Step 4: Side Views
You'll now want to repeat the process for each side of the building, as well as from an aerial perspective. Because you're utilizing the same design elements on both sides, you should have a good concept of what the second side should look like once you've finished one.
Step 5: Modeling
You may now begin modeling the front of the building in 3D. This 3D model can be drawn by hand or with software like SketchUp. You should begin with the front of the structure, and once it is complete, you can begin adding the design components that you have to your sketch. Make sure everything is well-measured! When you're finished, the experts move to the rendering options and turn your dream into reality!
Architectural renderings are used to visualize a project so that the quality and accuracy of the design can be validated, as well as the size and other details.


