


Replacing your garage door cable can seem like a daunting task, but with this step-by-step guide, it can be a breeze. In just a few simple steps, you can have your garage door up and running again in no time. Whether you're experiencing problems with your cable or simply want to perform some routine maintenance, read on for the instructions you need.
1. Tools You Will Need:
You will need the following tools:
- Replacement garage door cable
- Tape measure
- Ladder
- Drill
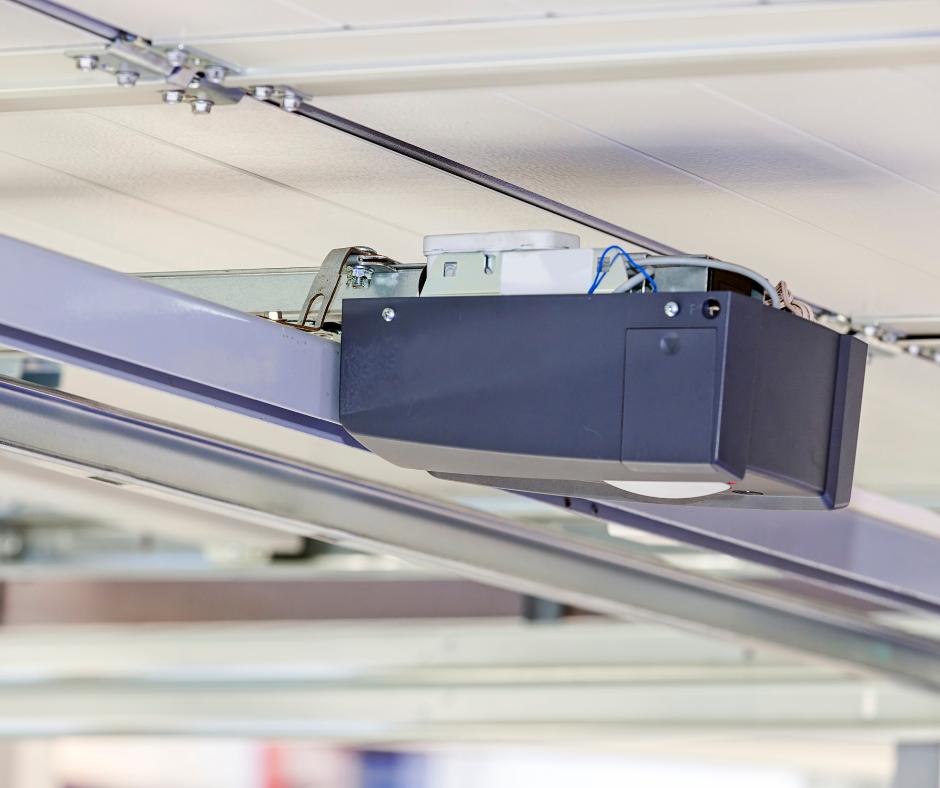
2. Ensure Safety First:
Before beginning any repair or maintenance on your garage door, it's important to take some safety precautions.
- First, disconnect the power to your garage door opener by unplugging it from the outlet or flipping the switch on the circuit breaker. This will ensure that the door cannot be activated while you are working on it.
- Next, prop the door open with a ladder or other support to prevent it from closing while you are working.
- Finally, always use caution when working with tools, and be sure to follow the manufacturer's instructions for your specific garage door model.
3. Removing the Old Cable:
Once you have gathered your tools and taken the necessary safety precautions, you are ready to begin removing the old garage door cable.
- First, locate the old cable. It will be running from the bottom roller on one side of the door to the top roller on the other side.
- Next, using a drill or other tool, remove the fasteners that are holding the cable in place.
- Finally, carefully remove the old cable from the door, taking care not to damage the door itself.
4. Installing the New Cable:
Installing the new garage door cable is the reverse of removing the old one.
- First, thread the new cable through the door, making sure that it is positioned in the same way as the old cable.
- Next, use the drill or other tool to secure the new cable in place with the fasteners.
- Finally, test the door to make sure that the new cable is working properly.
5. Testing the Garage Door:
Once you have installed the new garage door cable, it is time to test the door to make sure that the repair was successful.
To test the door, simply reconnect the power to the garage door opener and press the button to activate the door. If the door opens and closes smoothly, then the repair was successful.
If the door does not operate properly, you may need to adjust the tension on the springs or check for other issues.
6. Tips and Tricks:
Here are a few tips and tricks to help you with your garage door repair:
- If the door is not opening or closing properly, first check the tracks to make sure that they are clear of debris.
- If the door is still not operating properly, you may need to adjust the tension on the springs. This can be done by loosening or tightening the nuts on the springs.
- If you are having difficulty removing the old cable, you may need to use a pair of pliers or a cable cutter.
- If you are having difficulty installing the new cable, you may need to use a pair of pliers to thread it through the door.


Among the various components; the cables and springs are important to lift up and down the door in a very controlled manner.
Let’s have a look at the Types of Garage Door Cables:
These cables are attached to bottom corners of the garage door causes the torsion springs to wind up.
When the door is lifted up, the torsion springs unwind, the energy helps to lift up the garage door.
Now if the cable is broken; springs can’t get unwind so, door can’t be opened.
The safety cables keep a broken door spring from falling down and prevent the damages or injuries.