


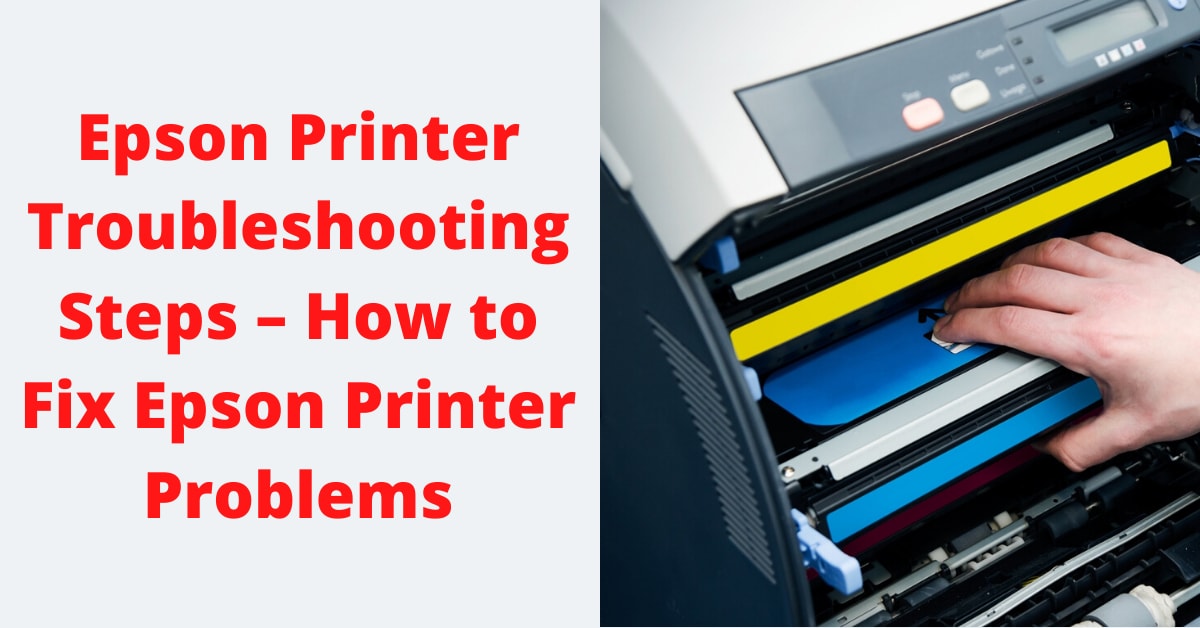
The printer is one of the leading printer brands which is used for personal as well as commercial purposes. It is a frustrating situation when you have urgent printing work and your Epson printer stops working.
This article is a complete Epson printer troubleshooting guide that can be helpful to users who are facing Epson printer problems. Users can refer to this article to fix technical or hardware glitches associated with the Epson printer.
Power cycle the Epson printer
Continuous printing jobs might overheat the internal printer hardware and, the printer stopped responding. In such cases, users can power cycle the printer to resolve the printer not responding issue. Users can power cycle the Epson printer in the following way.
- Turn off the printer.
- Unplug all the cables connected between the printer and the computer system.
- Wait for a few seconds (min 30 seconds).
- Connect all the cables between the printer unit and a computer device.
- Restart the printer.
For better results, users can also restart the computer system associated with the printer. Network users can restart their router or modem. Users also make sure that the printer and computer using the same network. The restarting printer can fix almost all the printer problems.
Check the ink cartridges of the Epson printer
Users who have encountered problems like printer not printing, low ink, ink expended, or faded print errors should check the ink level of the ink cartridges.
Replace it with a new one if needed (if the ink levels are low). Users should purchase official Epson ink cartridges for the printer unit. Here are the steps to check the ink levels of the Epson printer.
- Go to control panel-> device and printer.
- Select and right-click on your Epson printer and go with the printing preferences option from the context menu.
- In the printing preferences window, open the maintenance tab and select the option Epson status monitor 3.
- It will display all the ink levels from the Epson printer cartridges.
Users should check the ink level and refill them if needed. Users also clean the printer regularly to avoid paper jam errors.
Clean the printer head:
A clogged printer head can create a problem like a printer not printing. Users should clean the printer head regularly by using the given steps to avoid the problem.
- Load the printing paper into the paper tray.
- Go to control panel-> devices and printers.
- Right-click on your Epson printer unit and select the printing preferences option from the context menu.
- Go to maintenance-> head cleaning.
- Click on the start button and follow the instructions on the screen to clean your printer head.
Make your Epson printer as the default printer
If more than one printer is installed on the computer system then, the user might receive the Epson printer not working issue. In such cases, users can refer to the steps given below to set their Epson printer as the default printer.
- Click on the start button from the windows.
- Go to devices and printers.
- Right-click on your Epson printer unit from the list and click on the manage option.
- Click on set as a default option on the screen.
How to Update Epson printer drivers
Printer drivers are necessary for smooth printing operation. After installing the printer drivers, users should update them regularly to avoid printer problems. Here are the steps to update the Epson printer drivers unless the Printer is in an error state
- Go to start -> device manager from your computer system.
- Search for the printer in the devices list. Expand the printer category.
- Select and right-click on your Epson printer from the list.
- Click on the update drivers option from the context menu.
- Select the option like search automatically for updated driver software.
- After then, the user can follow the on-screen instruction to update Epson printer drivers.
Users can also download the latest printer drivers from the official Epson printer support page. Users need to have an active internet connection to update Epson printer driver software.
Users can perform the basic Epson printer troubleshooting by using the above steps.
How to FIX: Epson Printer Driver Is Unavailable!
When the Epson printer driver is unavailable, follow the methods discussed below to fix it easily.
1) Restart The Epson Printer And The PC
Sometimes a fresh restart of the printer and the PC can fix the problem when Epson printer drivers are unavailable.
This clears the cache from both PC and printer and fixes the problem.
So, turn off the printer and the PC. Disconnect all the cables and peripherals attached to both the devices.
Wait for a few minutes, then connect everything and turn on the devices.
Check if this has solved the issue, else go to the next solution.
2) Run Windows Printer Troubleshooter
Windows have in-built troubleshooters to fix most of the device-related problems. So if you can’t find the Epson drivers are unavailable, run the Windows in-built printer troubleshooter.
To run the troubleshooter, follow the steps given below:
- Enter Troubleshoot in the Windows search box and click on Troubleshoot Settings.
- Select Additional troubleshooters from the options.
- Click on the Printer option and Run the Troubleshooter.
- Follow the on-screen prompts to complete the process.
3) Update Or Reinstall The Epson Printer Drivers
If the Epson printer drivers have become outdated, then this can also be why you see the printer drivers are unavailable.
The manufacturer release regular updates to ensure a smoother experience.
So, update the Epson printer driver and see if this fixes the problem. To do that, follow the given steps:
- Right-click on the Windows Start button and select Device Manager from the options.
- Double click on the Print Queues option and select your Epson printer.
- Right-click on the Epson printer and select the Update Driver option.
- From the next window, select Search automatically for the drivers option.
Complete the updating process following the on-screen prompts.
If the Printer drivers are still unavailable, then re-install the driver following the instructions given below:
- From Device Manager, expand the Print Queues section.
- Select the problematic Epson printer and right-click on it. Click on Uninstall device option.
- Follow the instructions provided on the screen to finish the uninstallation process.
- Restart your PC and Windows will install the latest available printer drivers automatically.
- You can also visit the Epson support webpage and select your country.
- Next, enter your printer’s model number and choose your Windows OS.
- Go to the downloads section and find your printer driver name.
- Click on the Download Epson Printer driver option to install it.
- Follow the on-screen guidelines to complete the process.
4) Update Windows
Sometimes the Epson printer becomes incompatible with your Windows version and shows errors like printer drivers are unavailable or missing. So, up[date the operating system to the latest version, which can fix the problem. To do that, follow the steps given below:
- Open Windows Settings by pressing Win + I hotkeys on the keyboard.
- Choose Update & Security option. Click on Windows Update from the left side pane.
- Next, select the Check for updates option, and Windows will start checking for any available updates. If available, install it by clicking on the Next button.
Wait till Windows finishes the updating process. The Epson printer driver should be available now, and the printer should work without any issues after this epson xp 4100 driver unavailable.


Epson is identified as the reputed company that provides first-class printers offering great printing services.
Many Epson printers are recognized as complete printing solutions as they allow to print, fax, scan and copy at the same time.
But many times people face issues with their Epson XP 440 troubleshooting.
printers and if you want to fix common errors taking place with Epson XP 440 then you need to try the troubleshooting techniques mention ahead.What are the common signs behind Epson XP 440 Printer Errors?The following are some common errors that occurs when making use of epson XP 440 Printers.Not able to print documents.Paper Jam.Old Printer Drivers.Wireless Connection Error.Error Occurring because of ink cartridge.Dirty Print head.Unclear printouts.How can I fix Epson XP 440 Errors?If you want to fix common errors taking place with your Epson XP 440 then you must try the following troubleshooting techniques for fixing them.
Properly Updating Epson Printer DriversYou need to update printer driver more often.
Changing Ink CartridgeThis is important for changing ink cartridge more often as using printer on regular intervals can disrupt the performance of printer.


Find the modern effective solutions for eliminating the Epson communication error, Then Printer customer service is the best website for you in order to fix the Epson Printer Communication error.
We offer you 24/7 online support for install, update, and provided extensive troubleshooting services without any charges.