


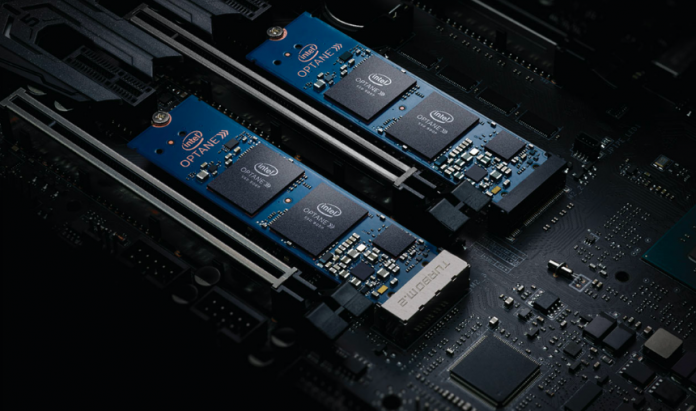
A form of error known as Intel Optane Memory Pinning causes hiccups in a computer system when it is engaged in one or more processes. The error "0x8007007E" will be displayed on the screen when it happens. It's also possible that a screen error message with the words "Intel Optane memory pinning" will show up. Here you'll find How to fix Intel Optane Memory Pinning Error.


Such code shows that the extension failed to reach iaStorAfsserviceApi.dll file correctly.
However, in case of any breakdown or other issues while copying the .DLL file can leave the system update half installed.
Guidelines are as followed:-First and foremost, tap the Win + I button on your console.Then, click on the Apps.Find your way to the right pane.Keep scrolling down until you locate, ” Intel Optane Memory Pinning Explorer Extensions.”Now, double-click on the same.Thereafter, press the Modify option and proceed.At last, restart your system.Method 2: Remove Software Component DriversAs mentioned earlier, your operating system may have stopped the installation Intel Pinning shell extension in the middle.
For that, follow the given guidelines to remove it and allows the system to install a new version of the same.On your system, tap on the taskbar search option.Write “devmgmt.msc into the required box.On the succeeding page, tap on the Software Components.Now, double-tap on the same to expand the category.
On the following list, tap on the Intel Pinning Shell Extensions.Click on the Uninstall device button.Next, choose to Delete the driver software for this system.Hit the Uninstall button once again.Lastly, reboot your system.Method 3: Uninstall Intel Optane Pinning Explorer ExtensionIf the solution, as mentioned above, does not work perfectly on your operating system, then don’t worry.
Here’s how to do it:On your console, press the Win + R button simultaneously.On the Run dialog box, insert appwiz.cpl into the text area.Hit the Ok button and proceed further.Look for Intel Optane Pinning Explorer Extensions.Choose the same and continue.After that, tap on Uninstall option.Now, click Yes to apply the changes.Wait patiently until the process wraps up.In the end, restart your Windows 10 operating system.Method 4: Modify Corrupted System FilesSometimes, the corrupted system files can be the reason behind such error.