


Creating professional-looking mugs at home saves time and lots of money. However, when it comes to customizing the mug, all users should learn how to complete the Cricut setup mug press process. This mug-pressing machine allows the crafter to design custom sublimation mugs with Ceramic Mugs & Infusible Ink Transfer Sheets.
Visit- Cricut.com/setup
Moreover, you can easily create the design of your choice on the Design Space software. If you've added a Mug Press machine to your craft room collection and want to brush up on your creative skills, you'll need to start from the beginning, which is setting it up with compatible software. This post will answer all your questions related to the Mug Press machine.

Supplies Provided in the Mug Press Box
This Cricut setup mug press process depends on the total number of items before getting the proper result at the end of the mug press. Everyone should have a setup. Here are the things that everyone should have before starting the process.
- Mug Press machine
- Instruction Booklet & Warranty Card
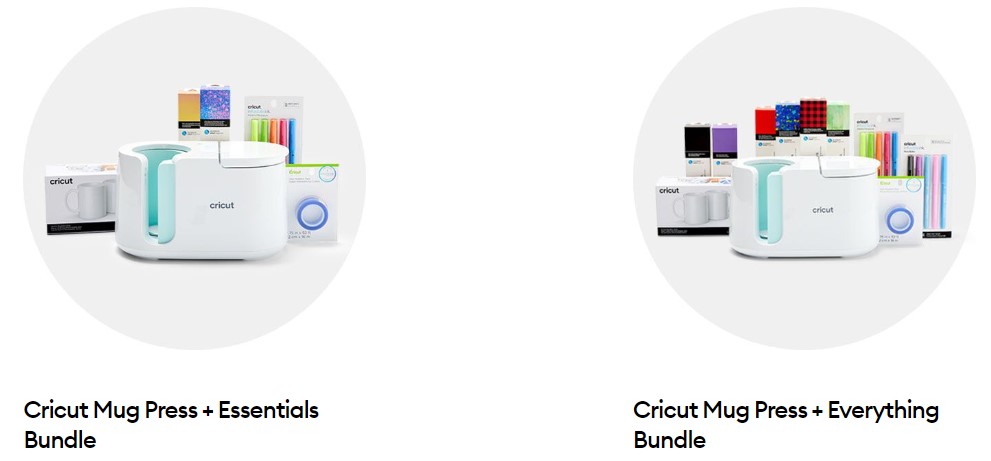
You’ll also get the option to choose any of the following bundles (Cricut Mug Press + Essentials Bundle & Cricut Mug Press + Everything Bundle).

Steps to Perform Cricut Setup Mug Press Process on Your PC
The process of setting up the Mug Press with compatible Windows/Mac computers is an easy task. Here you’ll get all the information that you are looking for regarding the setup process:
- First, choose the web browser of your choice and search for Cricut's official website.
- If you have already installed the app, sign in by submitting your login details or creating your account.
- At the Cricut setup page, select Mug Press displayed under the Heat Press dropbox.
- Go through on-screen steps to connect the press, check firmware, and complete the setup process.
- Lastly, click the Get Started option when the press is set up.
Apart from setting up the press for creating a customized mug, the user can also modify the press temperature as per the requirements. However, for that, they need to read the details available in the next section.
Steps to Adjust Mug Press Temperature
Intending to receive some of the unwanted transfer results while creating the customized mug, opt for a cooler/warmer temperature setting on this pressing machine. Use cooler settings for design yellowing/over-processing.
If the design's bottom corners aren’t transferring or lack clean edges near the handle, opt for a warmer setting.
However, one needs to follow the respective stages to complete the temperature-modifying process.
Steps to Modify the Temperature Setting
Under any circumstances, if you want to modify the press temperature, then follow the given below instructions.
- Enter the temperature of your choice, whether the machine is switched on or off.
- After that, you need to press and hold the power button for at least 10 seconds, and you'll hear two chimes.
- Followed by this, three LEDs will flash once the Temperature setting mode commences.
- Next, you'll observe that the power button will continuously flash orange during the Temperature setting mode.
- The LED's row will showcase the current setting, and push the power button to cycle via the 3 settings options:Cooler: first LED screen on.
- Normal: third LED screen on.
- Warmer: fifth LED screen is on.
- Once you get the appropriate settings on the LED display, hold the power button for at least 3 seconds to choose the desired settings.
- A chime sound, LED display, and power button will be flashed next.
- The press will automatically get turned off to leave the Temperature setting.
- Lastly, the edited settings will come as an outcome once you turn on the power button.
Concluding the temperature-adjusting process, a crafter can use the press designs on the Cricut Design Space app/software. You need to examine the process shared in the next section.
Steps to Use Mug Press Designs on Design Space
To use the electric pressing machine design on the Cricut-DS, you are supposed to go after the following guidelines:
- To search for projects specially designed for Mug Press Cricut, look for Design Space Projects for Mug Design Setup.
- Select either the beveled or stackable option under the Finished Size drop-down section and select either the beveled or stackable option.
Conclusion
Finishing the post, one point is unmistakable: the Cricut Setup Mug Press procedure is simple. However, one can easily put an end to the setup process by examining all the described details shared above. If you've any questions, feel free to get the answers from the following FAQs.
Frequently Asked Questions
Question: Do I follow some safety tips while accessing Mug Press?
Answer: Some safety tips to follow during the Mug Press access process include using the press in a well-ventilated area for safety purposes without any presence of dust or debris. Don't touch the machine immediately after completing the process to ignore any burns.
Question: Why does my Cricut Mug Press smell while using it?
Answer: The Mug Press flexible heat plate is developed from materials that can give an awkward odor. However, the odor might get removed with the regular use of the machine. The Infusible Ink vapor material is also natural, transforming the ink from solid to gaseous.


