


Hello, I am Lily James, and welcome back to my other blog on how to use Cricut Hat Press. It’s been a while since I’ve had any blog about this Cricut product, as I got a little busy with my kids. It is not an easy thing to be an influencer and handle kids at the same time. In the initial days, I was finding it difficult to prioritize my time between my work as well as taking care of my home.
Moreover, as time passed, everything itself fell into pieces. Now, to make your work easier and help you get access to this Cricut machine, I am going to guide you like a best friend. Also, I will make sure you get all the required details and create your first custom hat of your choice.
How to Activate Cricut Hat Press?
I know you must be keen to learn about how to use Cricut Hat Press. But before beginning the heating process, it’s essential to finish the activation process. In the coming points, I have shared with you the steps that will help you activate this machine
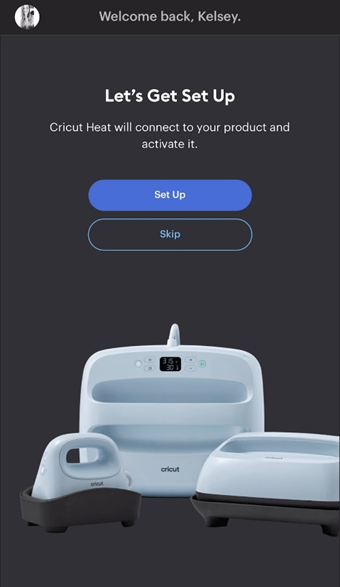
- First, I am going to unbox my machine and remove all the packaging.
- Next, I will plug my Cricut product into a compatible wall pocket.
- After that, I will switch it on by pressing the Temperature button appearing on the press.
- Following this, the power/temperature button will flash white, indicating the press is in activation mode.
- Now, I will download the Cricut Heat app for my device and then sign in with the details.
- Further, I will turn on this Cricut product and then enable my mobile device Bluetooth.
- Now, you will see that I have placed my Hat Press within the 7 ft range of my mobile device.
- Following this, open the app and tick the Set Up option to start the activation process.
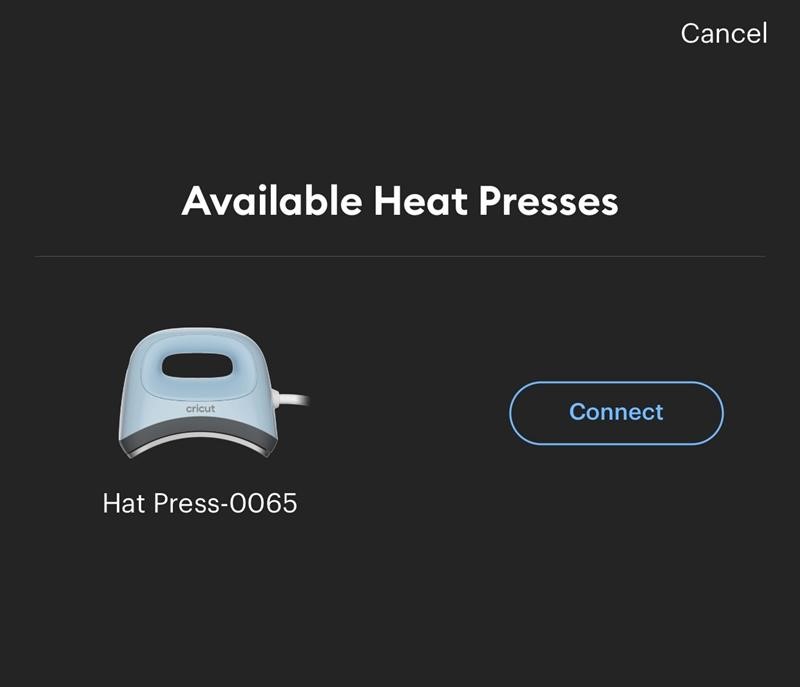
- Afterward, I will choose the model from the list of nearby heat presses and then click the Connect button.
- Now, I will get to see “Connecting to Hat Press” with the Bluetooth logo on my device screen.
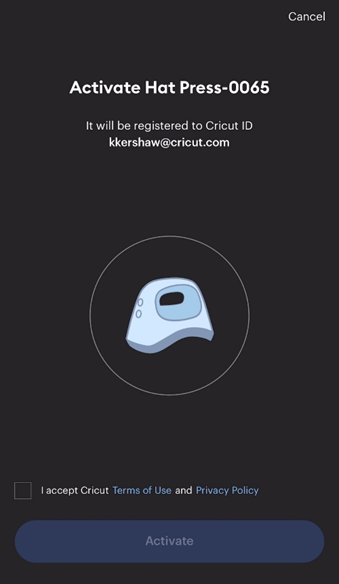
- Following this, I am going to select the box Terms & Conditions and tick the Activate option.
By referring to these earlier-said steps, you must have learned about activating this Cricut product. After the successful activation, I will advise you to go through the following section to come across the details on how to use a Cricut Hat Press machine. As an expert, I have to ensure that you are aware of all the steps that are included in this process.
How to Use Cricut Hat Press for the First Time?
The first and most important thing that I’ve to do before using this Cricut machine is to adjust its timing and temperature. These settings can be changed from the Cricut Heat app within a few minutes. Have a look at the steps in the below part of the blog:
Step 1: Adjust Temp & Time Using the Cricut Heat App
To make you come across how to use a Cricut Hat Press machine, I am going to help you by making you learn about adjusting time & temperature. Take the help of the following steps and come across the method:
- Initiate the process by plugging the Cricut machine into a wall outlet and turning it on.
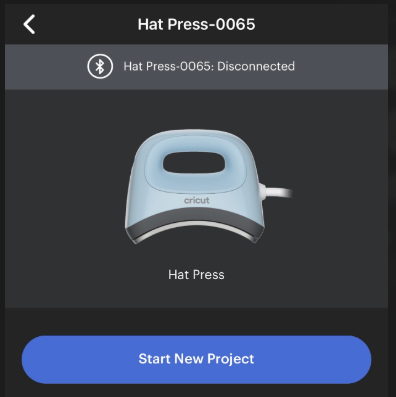
- Now, open the app and click on the My Heat Presses option.
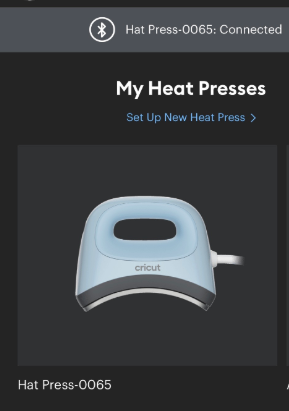
- Next, select Cricut Hat Press and then the Start New Project option on the new pop-up window.
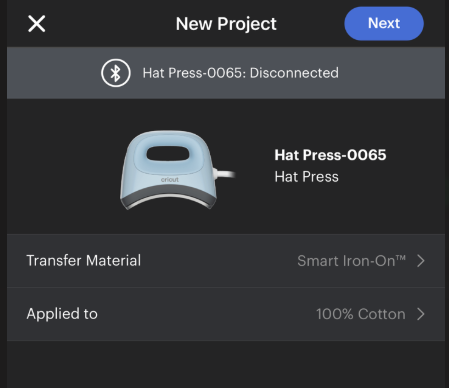
- Following this, I am going to choose the transfer material and base material from the list appearing on the screen.
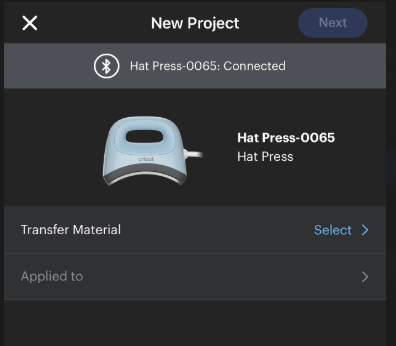
- After finishing the above-said steps, click the Next option given on the right-hand side of the screen.
- Conclude the process by following the instructions appearing on your device’s screen.
Following the finalization of editing this machine setting, let’s proceed by creating a DIY project through this Cricut product.
Step 2: Create Your First Custom Project With Cricut Hat Press
Equally important, get to learn how to use Cricut Hat Press for creating your first personalized project by studying the below steps:
- First, I am going to open my Cricut app and log in by entering the Cricut ID & password.
- After doing that, I am going to open the New Project and select the Image icon.
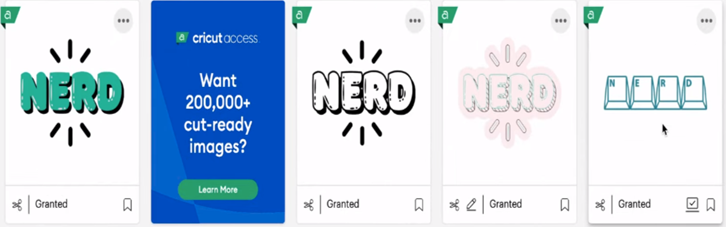
- Now, I will select the library and then click the Add to Canvas option.
- Next, I will modify the image by changing its size and color and then press the Make It option.
- Following this, I am going to choose the Without Mat > Continue from the window appearing on the screen.
- Afterward, enable the Mirror toggle given on the left side of the preview page.
- Also, choose the materials and then load them to your cutting machine.
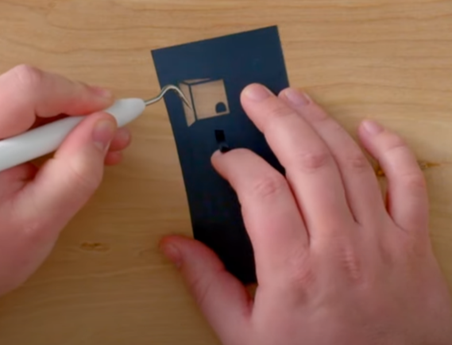
- Following the completion of the cutting process, I am going to weed out the extra material using the weeding tool.
- Now, place the design on the hat blank and secure it with heat-resistant tape.
- Following this, hold on to the press for a few minutes and peel off the tape.
- Finally, I can now wear your hat on any occasion or while going out with friends and family.

Summing up the how to use Cricut Hat Press blog, I shared my personal experience and helped you to learn something new about this Cricut product. I hope you like it and will utilize it in the future for creating more customized projects.
Source Url :- how to use cricut hat press
Visit here for more Information :- cricut design space


