

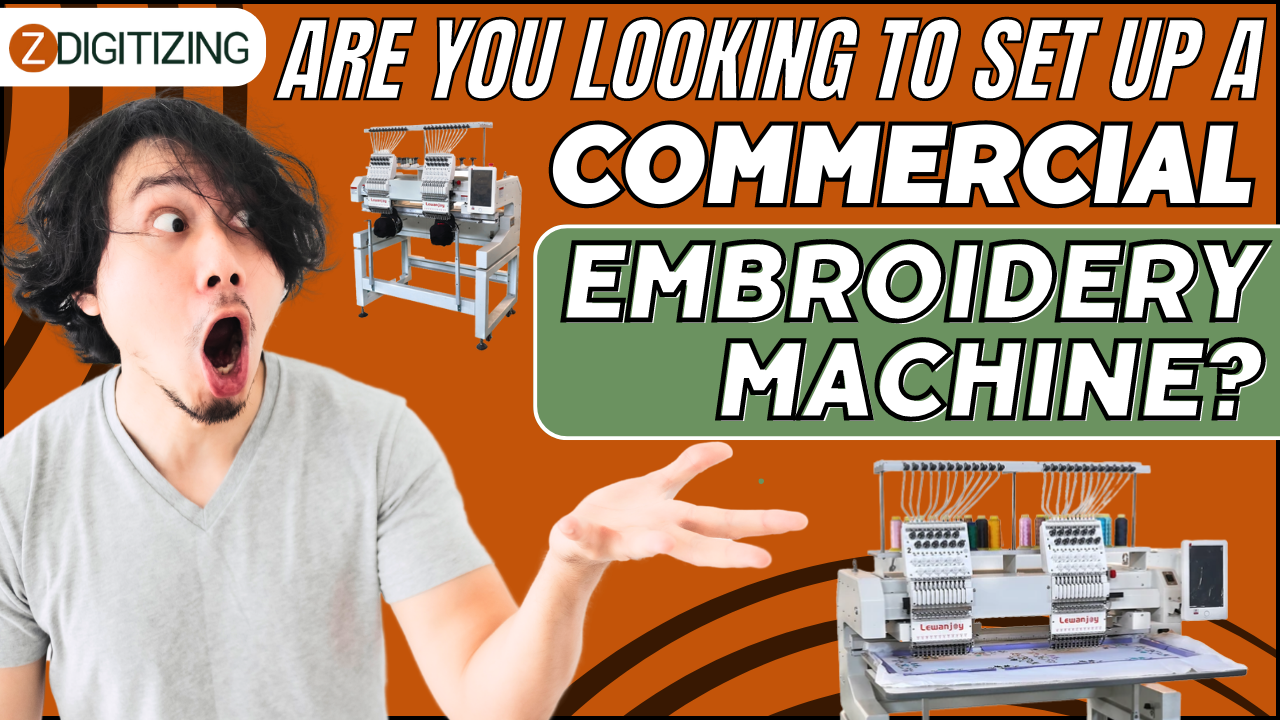
Setting up a commercial embroidery machine can be a transformative step for your business, enabling you to produce high-quality embroidered products efficiently and at scale. Whether you are expanding your existing embroidery business or starting a new venture, understanding the process of setting up a commercial embroidery machine is crucial. This guide will walk you through the essential steps, from choosing the right equipment to converting images to embroidery files and using embroidery file format converters.
Choosing the Right Commercial Embroidery Machine
Selecting the right commercial embroidery machine is the first and most critical step. The right machine will depend on your business needs, budget, and the types of products you plan to create. Here are some key considerations:
1. Machine Features and Capabilities
Commercial embroidery machines come with a variety of features and capabilities. Consider the following when making your choice:
- Number of Needles: Machines with multiple needles can handle multiple thread colors simultaneously, increasing efficiency.
- Embroidery Area: Larger embroidery areas allow for bigger designs and more versatility.
- Speed: Higher stitching speeds can boost productivity but may require more maintenance.
- Connectivity: Modern machines often come with USB ports, Wi-Fi, or Bluetooth for easy design transfer.
2. Brand and Reliability
Invest in a machine from a reputable brand known for reliability and customer support. Some popular brands include Brother, Janome, and Tajima. Reading reviews and seeking recommendations from other commercial embroiderers can provide valuable insights.
3. Budget Considerations
Commercial embroidery machines can be a significant investment. Determine your budget and compare machines within your price range. Remember to factor in additional costs for accessories, software, and maintenance.
Setting Up Your Commercial Embroidery Machine
Once you have selected the right machine, the next step is to set it up properly to ensure optimal performance.
1. Prepare Your Workspace
Ensure that you have a dedicated, well-organized workspace for your embroidery machine. Consider the following:
- Sturdy Table: A strong, stable table or stand to support the weight and operation of the machine.
- Adequate Lighting: Good lighting is essential for detailed work and reducing eye strain.
- Ventilation: Proper ventilation helps maintain a comfortable working environment.
2. Install the Machine
Follow the manufacturer’s instructions to install your commercial embroidery machine. This typically involves:
- Positioning the Machine: Place the machine on the table and secure it to prevent movement during operation.
- Connecting Power and Data Cables: Ensure that all power and data connections are securely made.
- Threading the Machine: Load the machine with the appropriate threads and needles according to the manual.
3. Calibration and Testing
Calibrate the machine to ensure it operates correctly. This includes:
- Needle and Thread Tension: Adjust the needle and thread tension for optimal stitch quality.
- Embroidery Hoops: Ensure that the embroidery hoops are properly aligned and secure.
- Test Runs: Perform test runs with simple designs on scrap fabric to verify that the machine is functioning correctly.
Converting Images to Embroidery Files
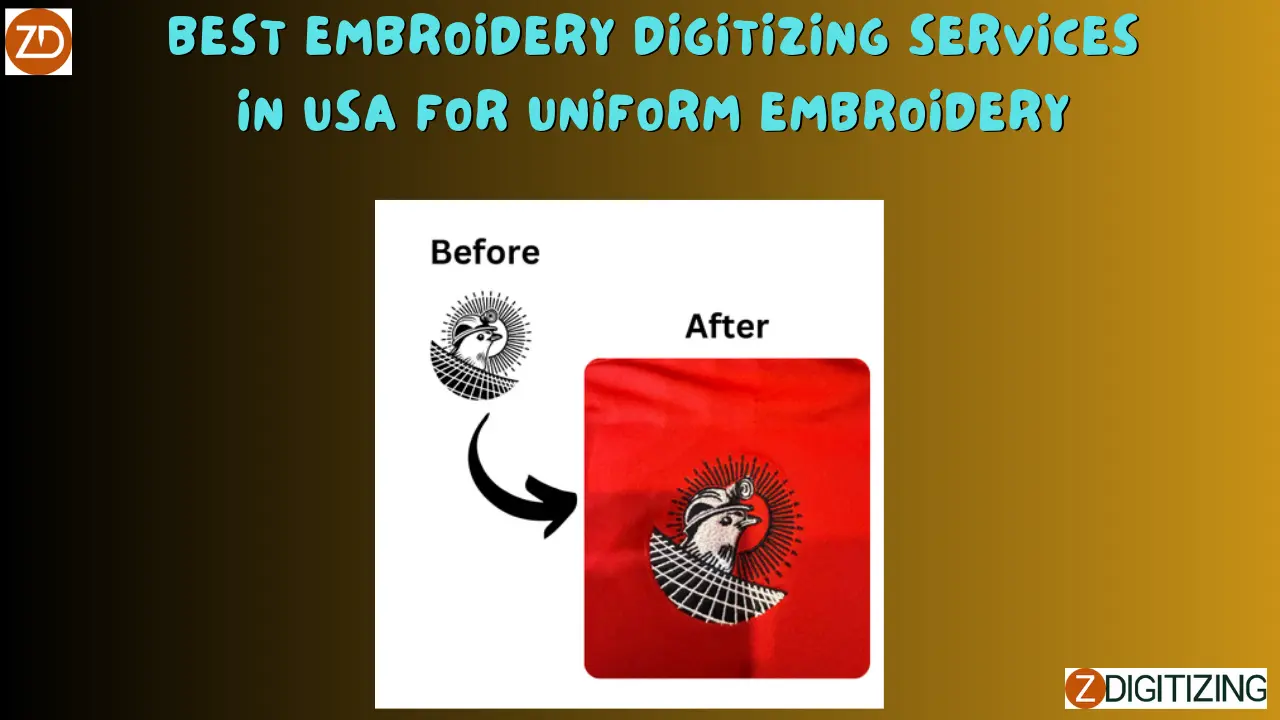
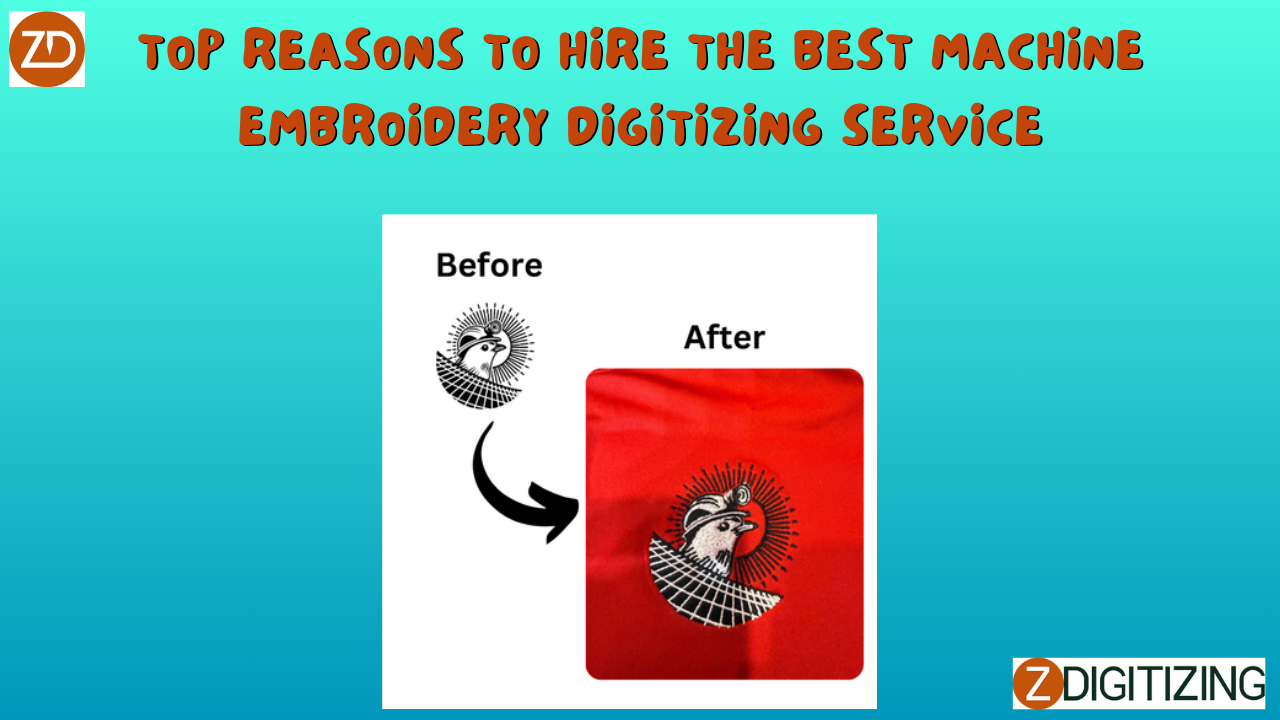
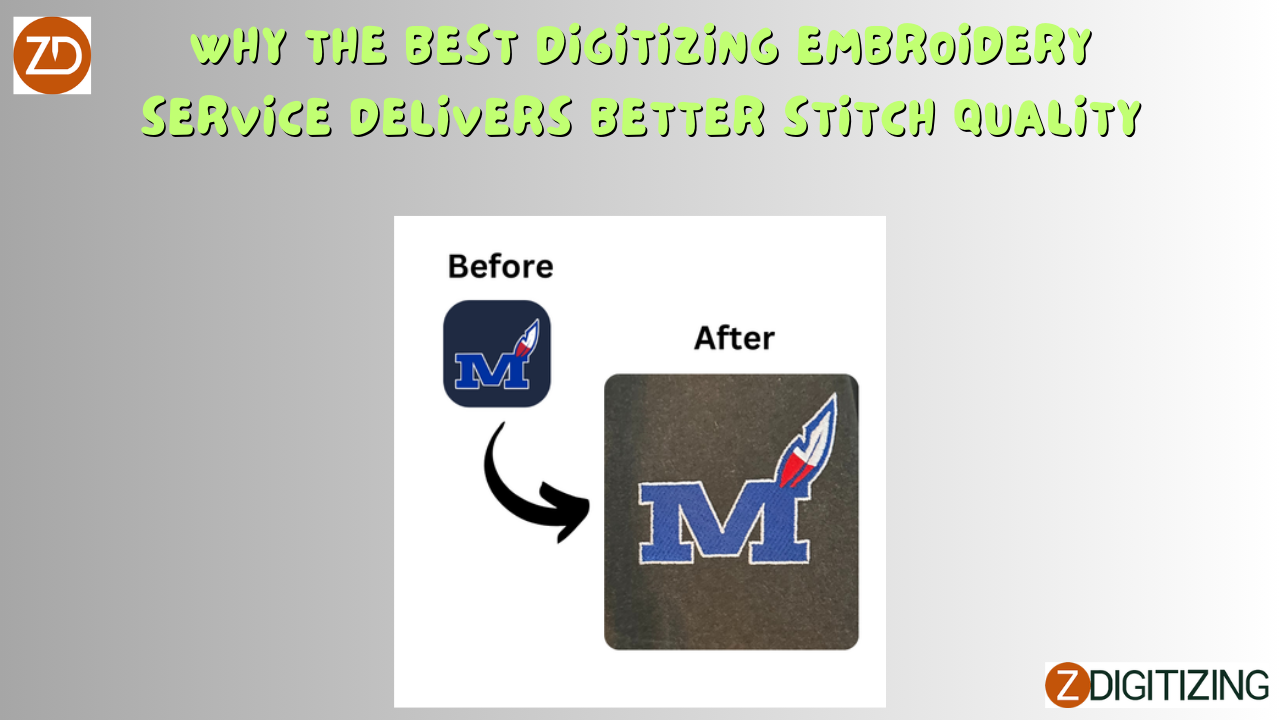
To create custom designs, you need to convert images into embroidery files. This process, known as digitizing, involves several steps and requires specialized software.
1. Select and Prepare the Image
Choose a high-quality image or artwork that you want to convert. Images with clear lines and distinct shapes are best for digitizing. Prepare the image by simplifying complex elements and reducing the number of colors if necessary.
2. Digitizing Software
Use digitizing software to convert image to embroidery file. Some popular digitizing software options include Wilcom, Hatch, and Brother PE-Design. These programs allow you to:
- Trace the Image: Manually or automatically trace the image to define the stitch paths.
- Assign Stitch Types: Choose different stitch types (e.g., satin, fill, or running stitches) for various parts of the design.
- Adjust Settings: Modify stitch density, length, and direction to achieve the desired look.
3. Test and Refine
Before stitching the design on your final product, test it on a similar piece of fabric. Evaluate the results and make any necessary adjustments to the design, stitch settings, or stabilizer choice.
Embroidery File Format Converters
Embroidery file format converters are essential tools that ensure your designs are compatible with various embroidery machines and software programs.
1. Importance of File Format Conversion
Different embroidery machines and software use specific file formats. Common formats include PES (Brother), DST (Tajima), and JEF (Janome). A file format converter allows you to:
- Maintain Compatibility: Use designs across different machines and platforms.
- Streamline Workflow: Convert files quickly and efficiently, saving time and effort.
- Preserve Quality: Ensure that the converted files retain the same level of detail and precision as the original designs.
2. How to Use a File Format Converter
Using a file format converter is straightforward. Here’s a general process:
- Open the Original File: Load the original embroidery file into the converter software.
- Select the Target Format: Choose the desired output format compatible with your machine.
- Convert and Save: Convert the file and save it to your preferred storage device (e.g., USB drive).
Conclusion
Setting up a commercial embroidery machine requires careful planning and attention to detail. From selecting the right machine to converting images into embroidery files and using embroidery file format converter, each step is crucial for achieving high-quality embroidery results. By understanding the challenges and solutions involved, you can set up your embroidery business for success and produce stunning, professional-grade embroidered products. Whether you're starting from scratch or expanding your existing business, investing time and effort in the setup process will pay off in the long run.
FAQs About Setting Up a Commercial Embroidery Machine
1. What type of embroidery machine is best for a commercial setup?
A multi-needle commercial embroidery machine with a large embroidery area and high stitching speed is ideal for a commercial setup. Brands like Brother, Janome, and Tajima offer reliable options.
2. How do I ensure the best quality embroidery on different fabrics?
Use the appropriate stabilizer, needle, and thread for each fabric type. Test your designs on similar fabric scraps before final stitching to fine-tune settings and achieve the best results.
3. Can I convert any image into an embroidery file?
Not all images are suitable for embroidery. Choose images with clear lines and simple shapes. Use digitizing software to simplify and adjust complex designs to make them suitable for embroidery.
4. What are the common file formats for embroidery machines?
Common embroidery file formats include PES (Brother), DST (Tajima), EXP (Melco), and JEF (Janome). Use a file format converter to ensure compatibility with your machine.
5. How do I maintain my commercial embroidery machine?
Regular maintenance includes cleaning the machine, oiling moving parts, and checking for worn-out needles or other components. Follow the manufacturer’s maintenance schedule and guidelines.
6. Why is it important to test embroidery designs before final stitching?
Testing designs on similar fabric helps identify and resolve issues such as tension problems, incorrect stitch density, or unsuitable stabilizer choices, ensuring high-quality final products.