


The process of making nylon fiber yarn can be a great at home project that can be creative and enjoyable. With a few of your own simple materials and some knowledge, you can make your own special yarn. Whatever your favorite craft is (knitting, crocheting, etc.), this yarn is perfect for that and more! This guide will walk you through how to make nylon yarn from start to finish, so you know everything you need.
Gather your materials and prepare your workspace:
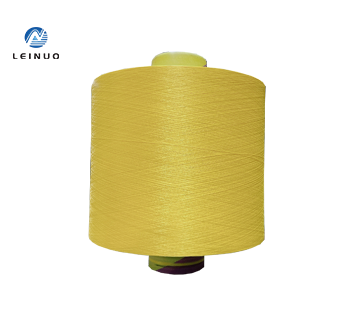
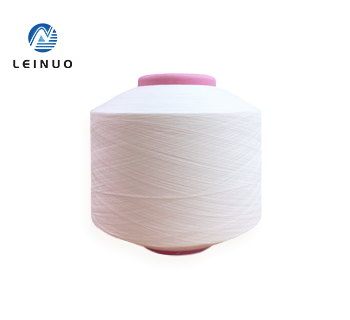
Before you begin making your yarn, you will want to collect all of the supplies you will need. Firstly, nylon strands which is the main component of the dty nylon yarn you will be using. You will additionally require a spinning wheel, which twists and spins the fibers into yarn. Also, it must be twisted to make the yarn. You will need some dye to color your yarn, and a heat source to assist with setting the twists. Note: We recommend that you should have an organized workspace. It needs to be a well-lit area where you can get comfortable in to work and see what you are doing.
Use the following step by step guide to texture nylon fibers:
Making nylon yarn involves the initial process of twisting and curling the nylon fibers. This process is known as texturizing, and it gives the yarn its special look and feel. You will always be feeding the raw fiber through the spinning wheel to texturize it. Pass them through and use the twisting tool to add twists. This step is fun because you actually get to see how the fibers look like. Continue twisting and working the fibers until each has been texturized. This is what will provide your yarn its signature look that sets it apart.
Spin and Twist the Yarn in Different Ways:
Finally, it’s time to spin and twist the yarn once you’ve added texture to the nylon yarn fibers. The various ways of twisting or spinning the fibers can affect the density of the final yarn you produce. You may wish to create a thicker yarn for bulky projects or a thinner one for fine work. Experiment with various spinning and twisting techniques to see which one suits you best. It is a perfect time to play with and enjoy your yarn making!
Learn the Impact of Pressure and Warmth:
Tension and heat are critical to the nylon yarn-making process. Good tension means that the fibers are twisted evenly this helps create nice, smooth yarn. If the tension is too tight or too loose, the yarn may not be the way you want it. Another reason why you need heat is that the twists are set in the fibres. This means that the yarn will keep their shape and will be strong, so it will live for a long time. So knowing how to apply tension and how to manage your heat, will contribute to high-quality yarn that you’re proud of.
Try Different Ways of Dying:
Once you have prepared your yarn, it is time to dye it! One awesome way to make your nylon yarn fabric really yours is to dye it! There are lots of different approaches to dyeing you can experiment with. One method is immersion dyeing, which involves dipping the yarn into a dye bath. A second technique is hand painting, where you brush on dye directly onto your yarn. You can even attempt dip dyeing for an ombre look. We are used to seeing nature in our color palette. It does give you the opportunity to make bright, fun, individual yarn according to your own taste and creativity.
This concludes our article where we teach you how to make nylon yarn in ten easy steps! So with these simple steps and some good practice you will be able to produce gorgeous yarn for any of your craft needs. So go grab your stuff and find your place and get ready yarn to make your own nylon yarn! Have fun, and let your creativity flow!


Nylon Yarn Industry research report delivers a close watch on leading competitors with strategic analysis, micro and macro market trend and scenarios, pricing analysis and a holistic overview of the market situations in the forecast period.
Get FREE Sample Report Before Buying @ https://www.upmarketresearch.com/home/requested_sample/5498 UpMarketResearch offers a latest published report on “Global Nylon Yarn Market Analysis and Forecast 2018-2023” delivering key insights and providing a competitive advantage to clients through a detailed report.
Further, key players, major collaborations, merger & acquisitions along with trending innovation and business policies are reviewed in the report.
The numerical data is backed up by statistical tools such as SWOT analysis, BCG matrix, SCOT analysis, PESTLE analysis and so on.
The statistics are represented in graphical format for a clear understanding on facts and figures.
The generated report is firmly based on primary research, interviews with top executives, news sources and information insiders.


