Have you been considering a DIY drywall project in your home but don't know where to start? Installing drywall and applying a skim coat may seem like daunting tasks, but with the right guidance and some handy tips, you can achieve a smooth and even finish that will transform your space. In this article, we will walk you through the steps of installing drywall and applying a skim coat, ensuring a professional-looking result. So, roll up your sleeves and let's get started!
Drywall Installation
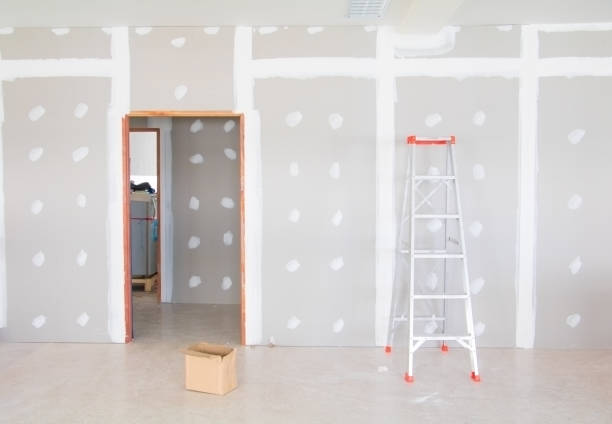
Installing drywall is the first step in creating a smooth and flawless surface in your home. Here are the steps to follow:
- Gather Your Tools: Before you begin, make sure you have all the necessary tools on hand, including a drywall knife, screws, tape measure, and a drill.
- Measure and Cut: Measure the dimensions of the area where you will be installing the drywall and cut the sheets to fit. Be sure to leave a small gap between the floor and the drywall for expansion.
- Secure the Drywall: Using your drill, secure the drywall sheets to the wall studs with screws. Make sure the screws are flush with the surface but be careful not to over tighten them.
- Tape and Mud: Once the drywall is installed, apply drywall tape over the seams and cover them with joint compound, also known as mud. Use a drywall knife to smooth out the mud and feather the edges.
Applying a Skim Coat
Now that the drywall is installed, it's time to apply a skim coat to achieve a smooth and even finish. Here's how to do it:
- Prep the Surface: Before applying the skim coat, make sure the drywall is clean and free of dust. If necessary, sand down any rough spots or imperfections.
- Mix the Joint Compound: Mix the joint compound to a smooth consistency, similar to pancake batter. You can thin it out with water if needed.
- Apply the Skim Coat: Using a drywall knife, apply a thin layer of joint compound over the entire surface of the drywall. Work in small sections, spreading the compound evenly and smoothly.
- Let It Dry: Allow the skim coat to dry completely before sanding. This may take several hours, depending on the thickness of the coat.
- Sand and Smooth: Once the skim coat is dry, lightly sand the surface with fine-grit sandpaper to smooth out any imperfections or bumps. Wipe away the dust with a damp cloth.
- Repeat If Necessary: If the surface is not as smooth as you'd like, you can apply a second skim coat following the same steps.
In conclusion, drywall installation and applying a skim coat may require some patience and practice, but with the right techniques, you can achieve a professional-looking finish. By following the steps outlined in this article, you can transform your space and enjoy a smooth and even surface that will make your home look polished and well-maintained. So, grab your tools and get ready to tackle that DIY project with confidence!