


Painting the walls is one of the quickest ways to enhance your home’s interior. You don’t even need to do a major renovation for this.
It might look like a simple job, but painting walls the right way requires planning. Some techniques ensure you do a good job. You must understand the basic process, whether you're painting a single room or three. It’s the key to achieving professional results.
So, what are the five steps to painting a wall? This post breaks the job down for beginners.
Step 1: Prepare the Wall Surface
The first step in painting walls is preparing the surface. Skipping this step could lead to uneven paint or peeling. Wall imperfections become easier to see as well.
Imagine you’re painting the living room wall where you used to display framed photos. There’s a good chance you’ll find nail holes and scuff marks once you take down the picture frames.
Make sure you wipe down the wall with a damp cloth first. This removes dust and dirt. Then, fill holes or dents with spackling paste and let dry. Sand the surface with fine-grit sandpaper to smooth out uneven areas.
Step 2: Protect Surrounding Areas
Painting is often a messy job. You don’t want splotches of paint on your floor. That’s why you should take a few minutes to protect the room. Use painter’s tape to mask off the baseboards, window frames, and outlets. You should also cover the floor with a drop cloth or an old sheet. This will help catch drips and spills.
Here’s a tip for you. Invest in high-quality painter’s tape. A cheap tape often doesn’t seal well. This will allow paint to bleed through. You might even peel off the wall paint when you remove the tape.
Step 3: Prime the Wall as Needed
It’s a good idea to prime the walls before painting them. Let’s say you’re painting over a deep red accent wall with a soft beige hue. The red could show through the beige without primer. You might have to paint more coats than expected to ensure you cover the red color. This could also result in a blotchy finish.
A layer of primer can help hide old colors. It also provides a consistent surface for the new topcoat. Not all walls need primer, though. Skip this step if your wall is in good condition. You can also use a high-quality paint with built-in primer to save time and money. But stained or dark colored walls need a primer.
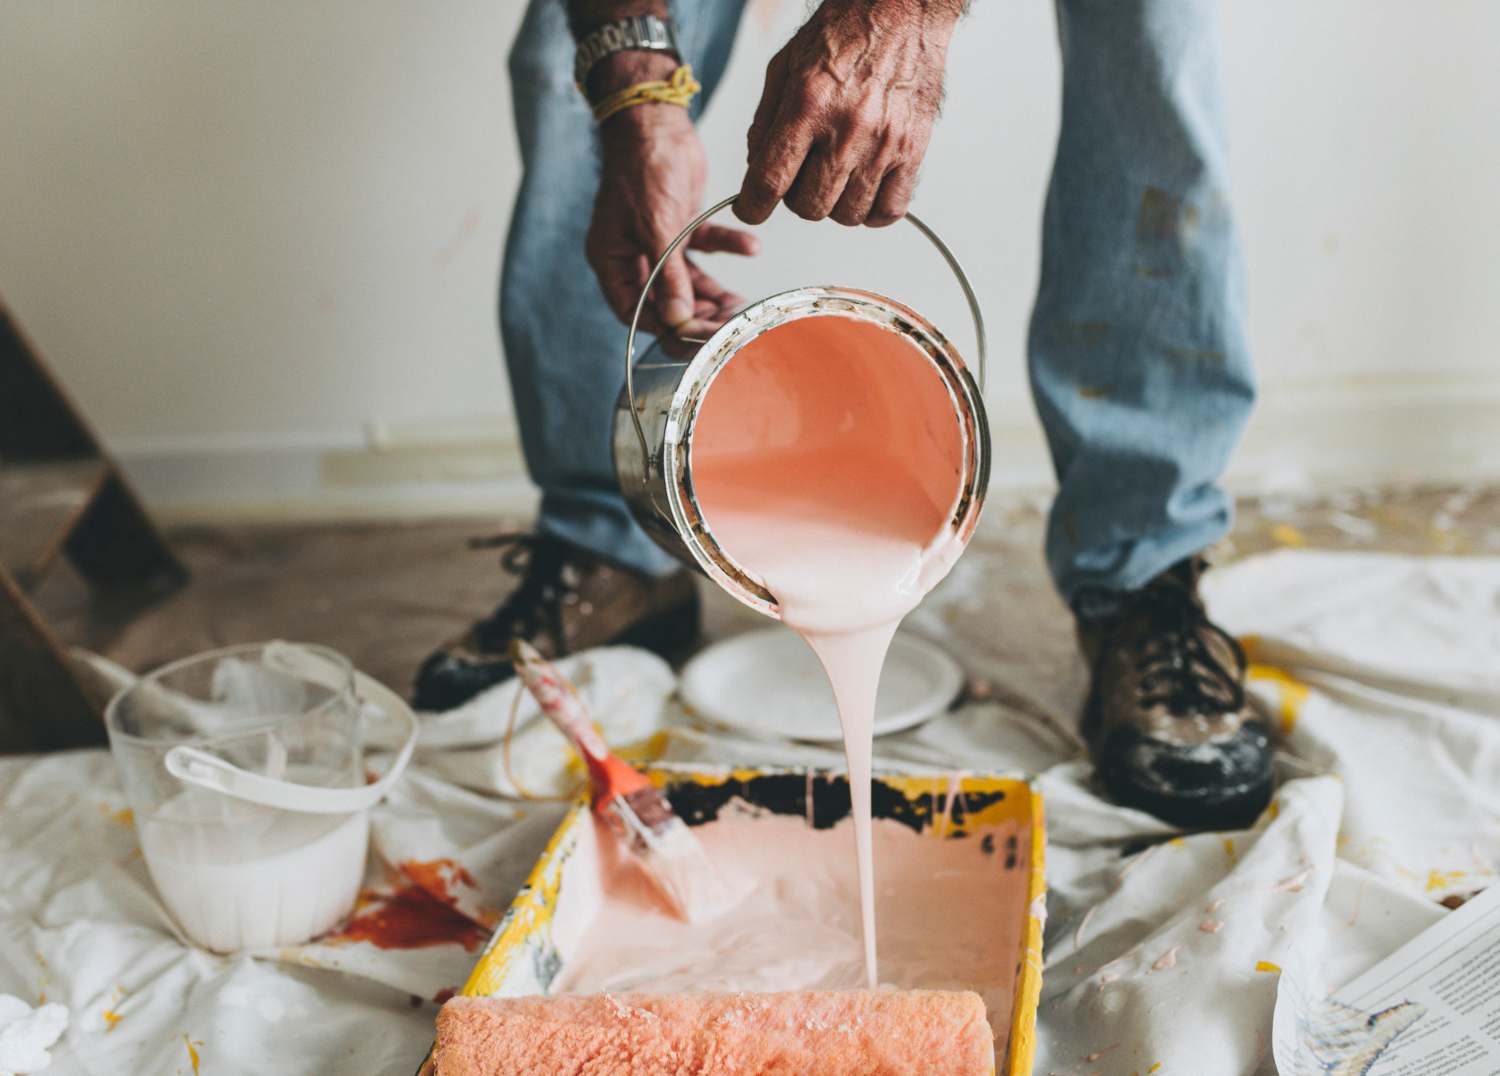
Step 4: Apply the Paint
Begin painting once you finish cleaning and applying primer. Apply your paint using a combination of rollers and brushes. This ensures even coverage.
There are various painting techniques you can do. You can start by “cutting in.” Use an angled brush to paint around edges and corners. You can then use a roller to fill in the larger wall sections. Try to roll the brush or roller in a “W” pattern. This helps an even spread of paint. You can also avoid streaks using this method.
Apply two coats to get the best results. Allow the first coating to dry completely before applying the second.
Step 5: Clean Up and Do Touch-Ups
You have to wait a few hours before the paint dries. Then it’s time to admire your work and do some cleanup.
Be careful when removing painter’s tape. Pull it off while the paint is still a little wet. You might pull up the paint if you wait until the wall finishes curing. Wash brushes and rollers with warm, soapy water if you used latex paint. Use the right solvent to clean oil-based paint off brushes. Touch up any missed spots with a small brush.


Painting includes both interior as well as exterior of the villa.Wallpaintingdubai.ae has great skilled team which helps you to select the best color combination, Best Interior House Paint, Best Paint Inside the House.
Before moving forward with the work our experts will inspect the site and will suggest the best ideas and tips for the site.
We provide painting jobs in Dubai for villa painting, apartment painting, house paint colors, wall painting, office painting and many more.
https://wallpaintingdubai.ae/ Email: info@wallpaintingdubai.ae call 0566009626