


Whether you're a professional photographer capturing beauty campaigns or simply want to take better selfies with your eyelash extensions, understanding how to showcase these delicate enhancements in photos can make a world of difference. From choosing the right lash style to mastering lighting and angles, there are several tips and tricks to ensure your eyelash extensions look stunning in every shot. In this article, we'll explore how to pair lash map techniques with photography skills to create eye-catching images that highlight the beauty and detail of your lashes.
1. Choose the Right Lash Style for Photography
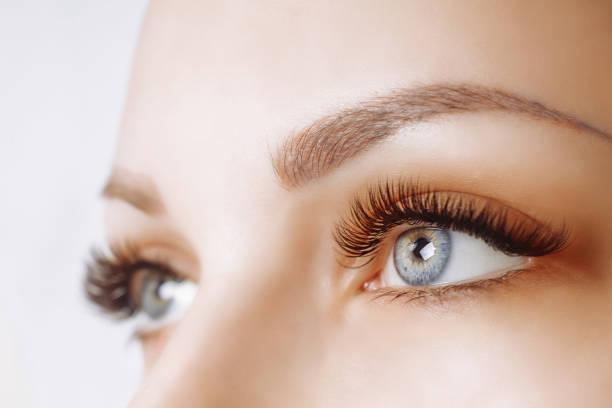
The first step to stunning lash photos is selecting the right lash style for the camera. For close-up shots, hybrid lashes or volume lashes can add depth and dimension, as their mixed lengths and textures create a more dramatic effect that translates well on film. Wispy lashes are also a great choice for photography, as their staggered lengths and airy texture create a fluttery, feminine look that catches the light beautifully. When working with a client, use lash map to design a lash layout that enhances their eye shape and looks balanced from all angles, ensuring consistency in both live views and photos.
2. Master Lighting Techniques
Lighting is one of the most important factors in photography, and it plays a crucial role in showcasing eyelash extensions. Soft, diffused light is ideal for highlighting the texture and volume of the lashes without creating harsh shadows. Natural light from a window or a softbox can help create a flattering, even glow. For more dramatic shots, side lighting can be used to create depth and emphasize the curl and length of the lashes. Avoid using direct flash, as it can wash out the lashes and create unflattering shadows on the face. Instead, use a reflector or off-camera flash with a diffuser to bounce light onto the subject.
3. Perfect Your Angles
The angle from which you shoot can significantly impact how your eyelash extensions look in photos. For full-face shots, slightly tilting the head downward and looking up at the camera can create a flattering angle that elongates the lashes and opens up the eyes. Close-up shots focused on the eyes should be taken from a slightly elevated angle to capture the full length of the lashes and the intricate details of the lash map. Experiment with different perspectives, such as shooting from the side to showcase the curl and separation of the lashes, or from below for a more dramatic, upward-gazing effect.
4. Edit with Care
Post-processing can help enhance the beauty of your lash photos, but it's important to edit carefully to avoid an unnatural look. Use subtle adjustments to brighten the eyes, enhance the contrast between the lashes and the skin, and sharpen the details of the lashes without overdoing it. Avoid using filters that distort colors or textures, as this can make the lashes look fake or washed out. When editing portraits, pay attention to the overall balance of the image, ensuring that the lashes look natural and complement the subject's features rather than overpowering them.
By combining the right lash style, lighting, angles, and editing techniques, you can create stunning photos that showcase the beauty and craftsmanship of eyelash extensions. Whether you're a photographer looking to enhance your portfolio or a client wanting to capture your new lashes at their best, these tips will help you achieve professional-quality results that highlight the artistry of lash map and the elegance of well-applied extensions.


