


Marble flooring brings a touch of luxury and timeless elegance to any space. Known for its natural beauty and durability, marble is a top choice for both residential and commercial interiors. However, achieving a flawless finish with marble floor installs requires more than just selecting the right stone. It involves careful planning, proper preparation, and expert execution. Below are the best practices to ensure your marble floors are not only stunning but also long-lasting.
1. Start with High-Quality Materials
The foundation of a perfect marble installation lies in choosing premium-grade marble. Look for uniformity in color, minimal fissures, and consistent veining. Sourcing from reputable suppliers ensures you receive tiles that are cut precisely and treated to resist moisture and stains. In addition, consider the environment where the marble will be installed. Softer varieties may not be suitable for high-traffic areas, so durability should match the intended use.
2. Prepare the Subfloor Properly
An uneven subfloor is one of the leading causes of failure in marble installations. Marble is less forgiving than other materials and can crack or shift if installed on a surface with dips or ridges. Before laying any tiles, the subfloor should be thoroughly cleaned, leveled, and, if necessary, reinforced. Using a cement backer board can offer added stability and a solid base for tile adhesion. It’s also essential to ensure the floor is dry and free of any contaminants that could affect bonding.
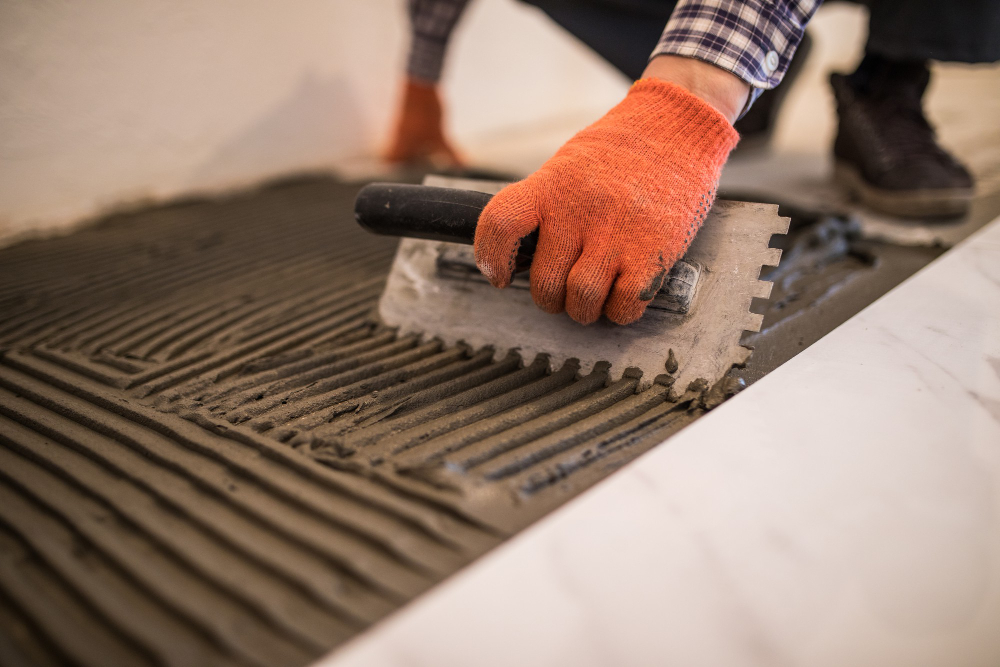
3. Use the Right Adhesive and Tools
Marble requires a flexible thin-set mortar that can absorb minor movement without cracking the stone. Avoid mastic adhesives, as they can discolor natural stone over time. A white mortar is generally recommended to prevent darkening of light-colored marble. Special tools like a wet saw with a diamond blade, tile spacers, and a level ensure precision cuts and alignment throughout the installation process. A soft rubber mallet helps position tiles without damaging the surface.
4. Pay Attention to Layout and Orientation
Before setting the tiles, dry-lay them to determine the best visual arrangement. This allows you to distribute color variations and veining evenly for a cohesive look. Consider the direction of the veining and how it flows across the room, especially in larger spaces. Begin installation from the center of the room and move outward to maintain balance and symmetry. Consistent grout spacing ensures a clean and uniform appearance.
5. Seal and Maintain Properly
Marble is a porous stone, making it susceptible to staining. Once installation is complete, apply a high-quality sealer to protect the surface. This should be repeated periodically depending on foot traffic and usage. Regular maintenance includes gentle cleaning with pH-neutral products and avoiding acidic cleaners that can etch the stone. Felt pads under furniture and rugs in high-traffic areas can also extend the life of your marble floors.
Final Thoughts
A flawless marble floor installation doesn’t happen by accident. It requires attention to detail, the right materials, and skilled craftsmanship. By following these best practices, homeowners and designers alike can enjoy the enduring elegance of marble without the stress of future repairs. At Resin Rock, our team of flooring specialists brings years of experience to every project, ensuring that your marble floor installs are executed with precision, beauty, and long-term durability.


