


Laser engraving has rapidly grown in popularity as a hobby, side hustle, and even a small business venture. With the rise of compact, user-friendly machines, more people are discovering how rewarding it can be to create personalised gifts, signage, décor, and more—all from the comfort of home.
If you’re curious about diving into laser engraving but aren’t sure where to begin, this guide walks you through the essentials.
What Is Laser Engraving?
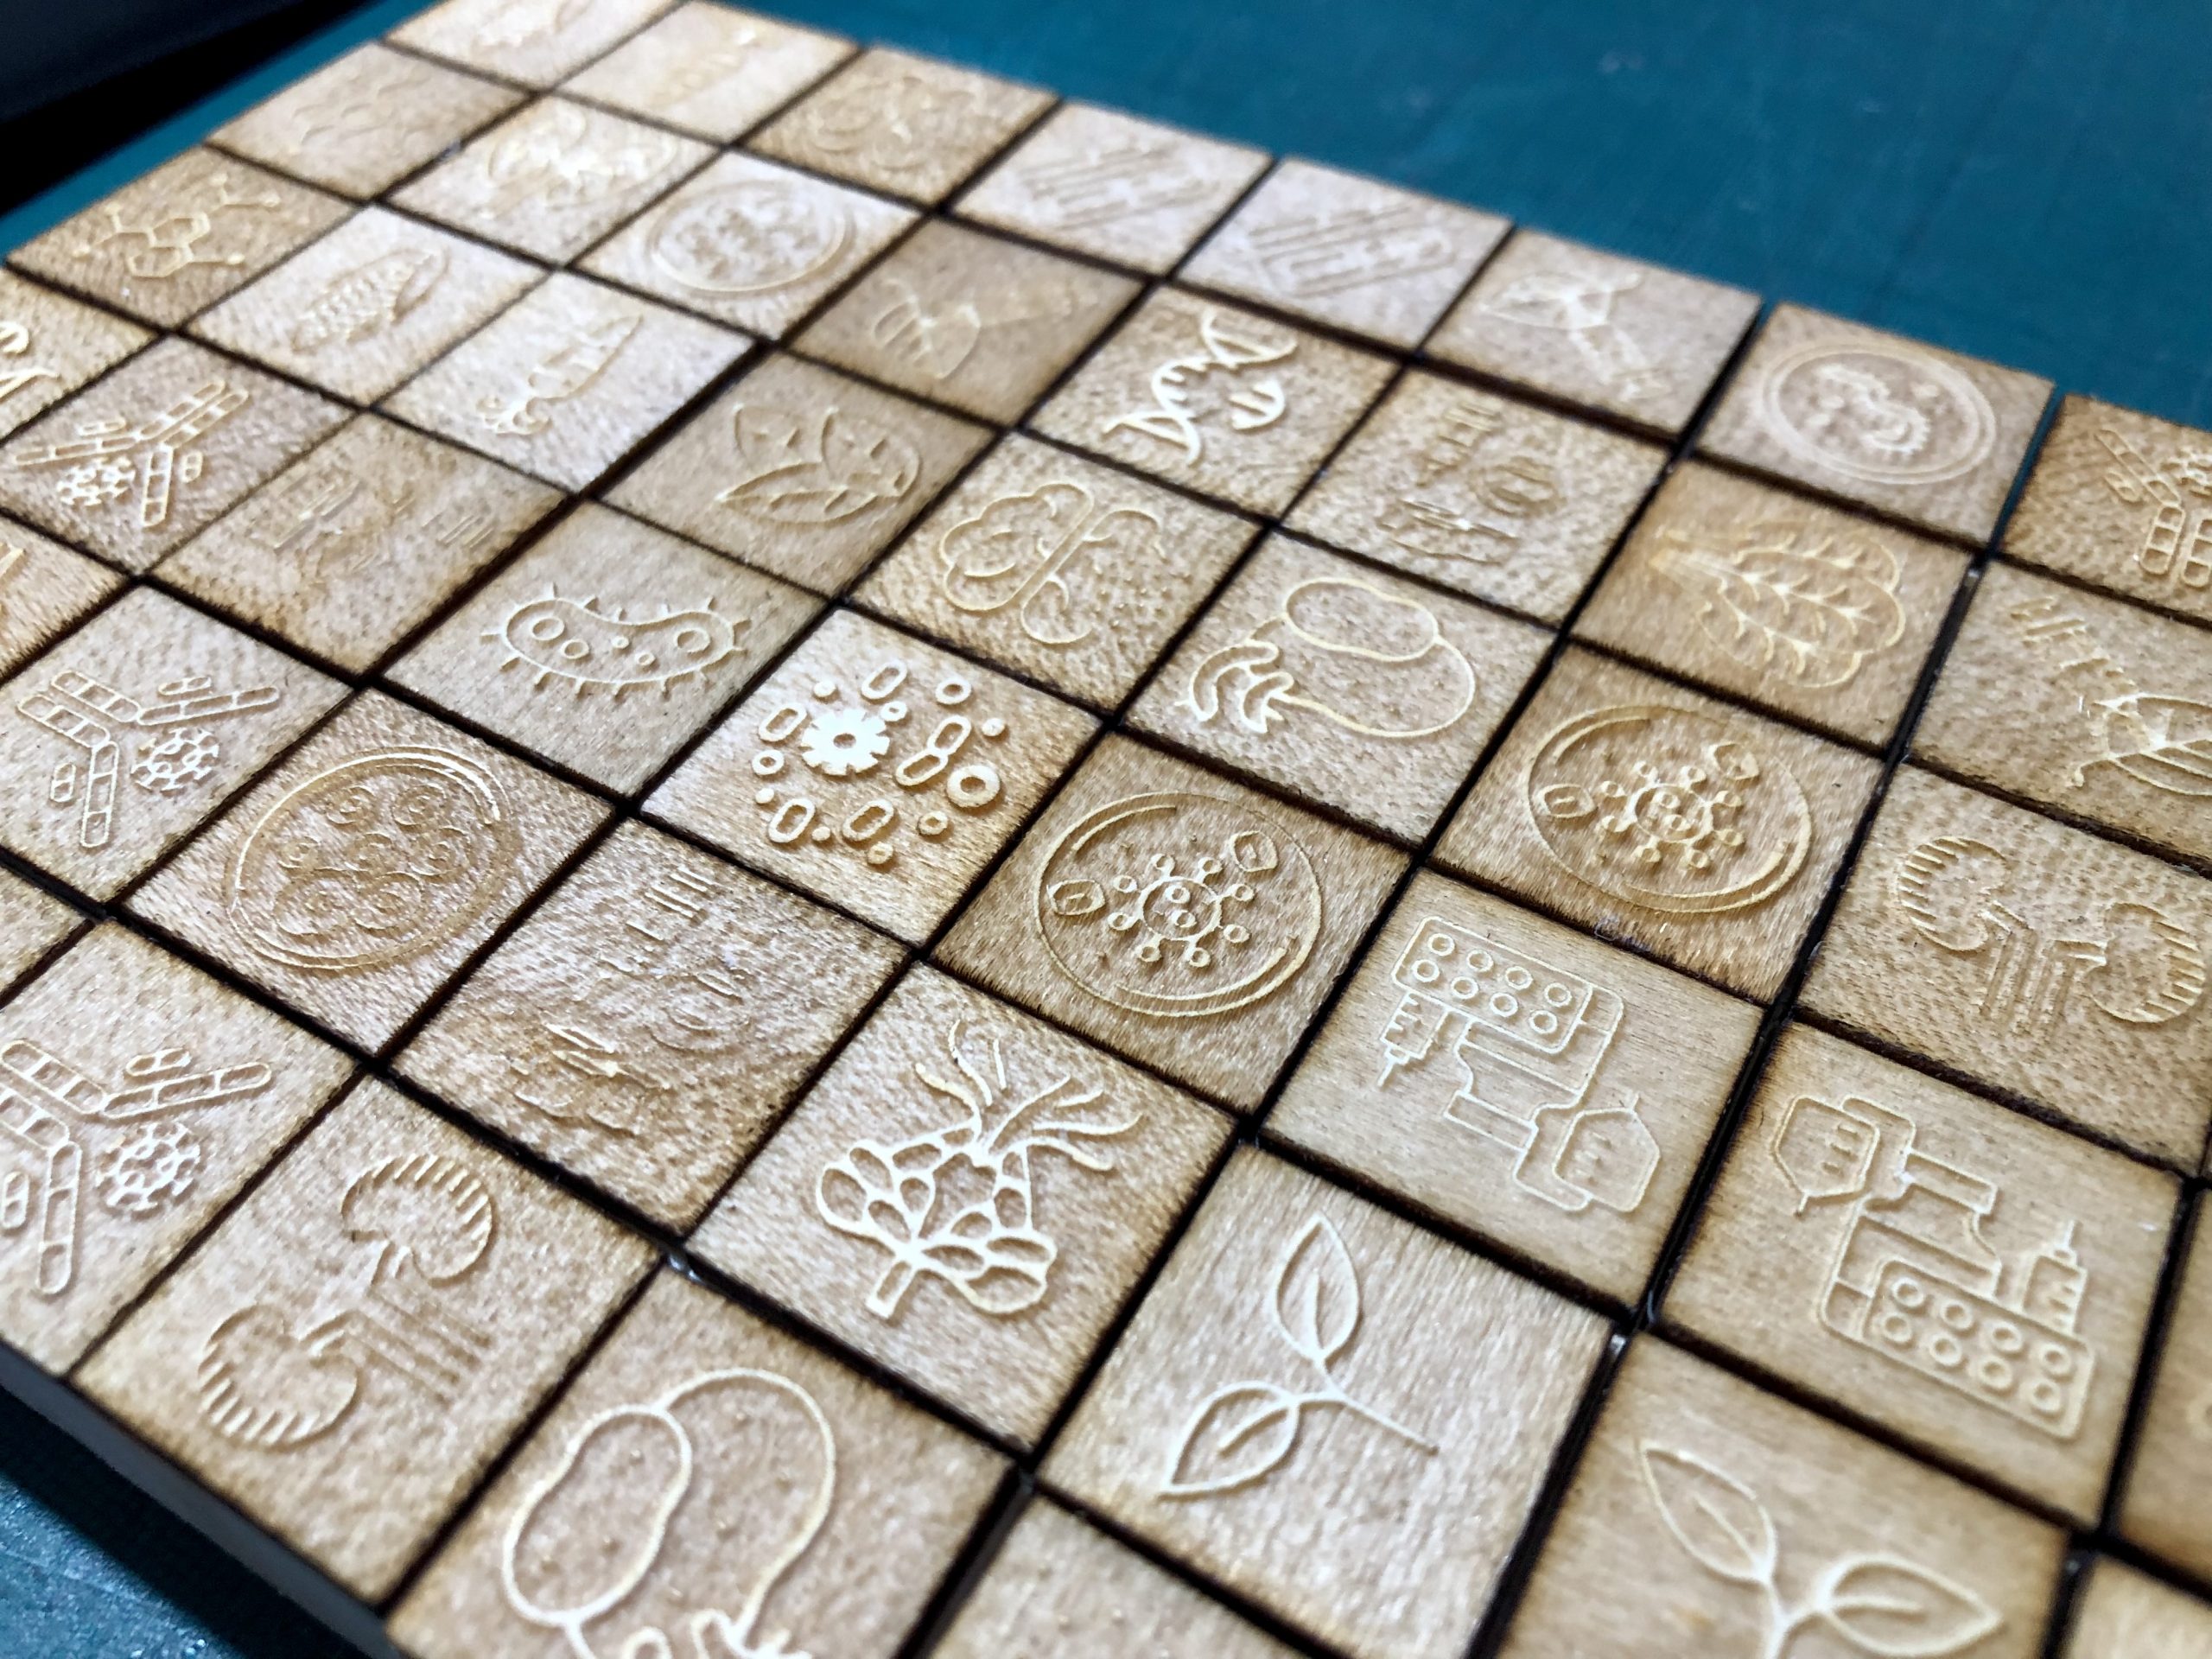
Laser engraving is a process that uses a high-powered laser beam to burn, etch, or vaporise material at the surface level, creating permanent markings. It does not work the same way as laser cutting where all the material is sliced through.
From wood and leather to acrylic, glass, and metal, laser engraving works with a wide range of materials—making it a versatile creative tool.
Why Choose Laser Engraving at Home?
Here are some key reasons hobbyists and DIYers are turning to laser engraving:
- Customisation: Personalise gifts, homeware, jewellery, or crafts with ease.
- Creativity: Design unique artwork, logos, or typography.
- Small business potential: Sell engraved items on platforms like Etsy.
- Learning experience: Improve your design and tech skills over time.
Step 1: Selecting the perfect laser engraving machine
Your first step is choosing a beginner-friendly laser engraver. Here’s what to consider:
Type:
- Diode lasers: Low price, compact perfect for beginners.
- CO2 lasers: More powerful and versatile, but pricier.
- Fibre lasers: Best for metals—more for advanced users.
- Engraving area: Choose a size that fits your typical projects.
- Software compatibility: Look for machines that work with programs like LightBurn or LaserGRBL.
- Popular beginner options: Ortur Laser Master, xTool D1, NEJE Master series.
Step 2: Set Up Your Workspace Safely
Laser engraving produces smoke, fumes, and light that can be harmful without proper precautions:
- Ventilation: Always use in a well-ventilated area or install an exhaust fan.
- Safety gear: Wear laser safety goggles designed for your machine’s wavelength.
- Fire safety: Never leave the machine unattended during operation.
- Level ground: Make sure your engraver is on a stable level throughout, fireproof area.
Step 3: Know the basics of Design Software
Most laser engravers need vector files (like SVG or DXF) for precision. Start with simple programs like:
- Inkscape (free and beginner-friendly)
- LightBurn (paid but powerful and popular among hobbyists)
You can also find ready-made designs online to practice with before creating your own.
Step 4: Start with Beginner-Friendly Materials
Materials react differently under a laser, so start with those that are easy to engrave:
- Wood (plywood, MDF, or hardwood)
- Acrylic
- Leather
- Cardboard
Avoid materials like PVC or vinyl—they release toxic fumes when engraved.
Step 5: Practice, Test, and Experiment
- Do test runs before engraving final products.
- Adjust speed and power settings for different materials.
- Keep a material settings log so you don’t have to re-test each time.
- Watch online tutorials and join laser engraving forums or groups to learn from others.
Step 6: Explore Projects and Build Skills
Once you’re confident with the basics, try projects like:
- Personalised wooden coasters
- Custom keychains
- Engraved glassware
- Nameplates or house signs
As you do more, you will learn your machine and come up with your way of engraving.
Final Thoughts
Starting with laser engraving at home is easier than ever thanks to modern, budget-friendly machines and a wealth of resources available online. With the right setup, safety precautions, and a bit of practice, you’ll soon be creating professional-looking engraved pieces from your own living room or workshop.
So if you've ever dreamed of bringing your ideas to life with precision and style, now is the perfect time to get started in laser engraving.


