


Dreaming of lush, flowing locks that turn heads? A virgin Brazilian hair weave can transform your look, giving you unparalleled length, volume, and versatility. But between the salon appointments and the high costs, that dream can feel out of reach. What if we told you that achieving a flawless, salon-quality weave is something you can do in the comfort of your own home?
Welcome to the ultimate guide to DIY virgin Brazilian hair weave installation. We’re breaking down the process into simple, manageable steps. With the right tools, a bit of patience, and our premium hair, you’re not just installing extensions—you’re unlocking a new level of confidence and style.
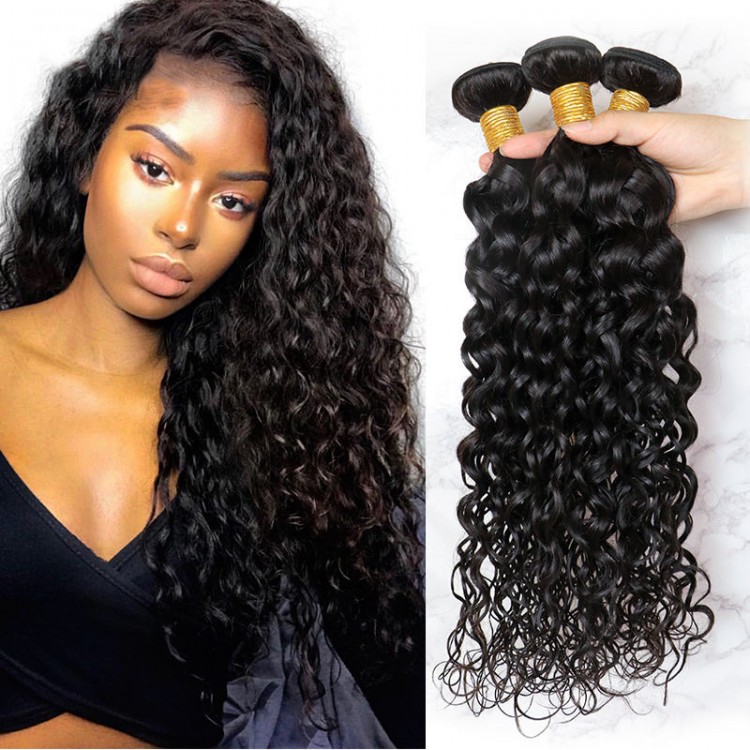
Why Choose Virgin Brazilian Hair for Your DIY Weave?
Before we dive in, let’s talk about why virgin Brazilian hair is the perfect choice for your first DIY project. Unlike processed hair, our 100% unprocessed virgin Brazilian hair is renowned for its:
Minimal Tangling & Shedding: The cuticles are intact and aligned, making it incredibly easy to work with and maintain.
Heat-Friendly Versatility: Curl it, straighten it, or style it—this hair can handle it all without losing its integrity.
Natural, Seamless Blend: Its thick, luxurious texture blends effortlessly with most natural hair types, from 3A to 4C.
Durability: A proper install with quality hair can last for months, making it a worthwhile investment.
Your Step-by-Step Guide to a Flawless DIY Weave
What You’ll Need:
3-4 bundles of virgin Brazilian hair (length depending on desired fullness)
A weave needle and thread (color-matched to your hair/braid)
Hair clips
Tail comb
Scissors
Mirror
Our recommended leave-in conditioner and edge control
Step 1: Prep & Braid Down
Start with clean, detangled hair. Part your hair into four sections. Using the tail comb, create a part from ear to ear, then another from the crown down the center of the back of your head. Braid each section into neat, flat cornrows that lay flat against your head. The pattern should be horizontal, following the direction you will sew the wefts. Leave out a small section of your hair at the front and around the perimeter for a natural blend.
Step 2: Prepare Your Wefts
Gently unwind your virgin Brazilian hair bundles. Lightly mist them with a water and leave-in conditioner mix to make them more manageable. If needed, trim the weft thread at the end to customize the length of the track for different areas of your head (shorter near the ears, longer in the back).
Step 3: Start Sewing
This is the core of the install! Thread your needle with a strong, double-threaded weave thread. Start at the nape of your neck. Position the first weft on top of the braids and begin sewing through the track and the braid beneath it using a simple overcast stitch. Pro Tip: Sew through the track, not the hair itself, to avoid damaging your precious virgin hair. Continue sewing each track row by row, moving upward and ensuring each new weft lays snugly against the one below it to avoid gaps.
Step 4: Finalize the Install
Once all wefts are securely sewn in, it’s time to blend. Gently unravel the hair you left out. Using a flat iron or curling wand on a low heat setting, blend your natural hair with the extensions for a seamless transition. Apply a small amount of edge control to lay down your baby hairs for a polished finish.
Step 5: Style & Enjoy!
The best part! Your virgin Brazilian hair is now a blank canvas. Style it as you wish—its unmatched quality means it will hold any style beautifully.
Why DIY With Our Hair? Confidence is Guaranteed.
We know a DIY weave is a big step. That’s why we ensure our hair is the most forgiving and user-friendly on the market. Its natural strength and cuticle alignment mean less frustration during installation and a flawless result you’ll be proud of.
Ready to become your own stylist? Explore our collection of luxurious Virgin Brazilian Hair Bundles today. Each bundle comes with our quality guarantee, ensuring you have the best possible foundation for your DIY masterpiece.

Beauty Supply StoresHair Beauty Ink is Australia’s leading wholesale hair & beauty supply store.
Hair Beauty Ink offer competitive wholesale accounts and prices for qualified hair, beauty experts and salon owners making it easy to shop all your hair & beauty supplies in one place.Shop all your favourite online hair and beauty salon products with ZipPay, Klarna & Afterpay Interest-Free Payment plans.

beauty salons seoFind and save ideas about Hair & Beauty Salon websites.
We have collected best webdesigns for inspiration.
Boost up your business online too.

Keep scrolling the web for your search of “beauty salon near to me”.
Family Hair & Beauty Salon is the best place for your all beauty as well as hair treatments.
It is the most hygienic salon and well experienced salon.