


To create a beautiful patio or garden path, you will need to select the right material; limestone paving slabs are one of the most widely used materials for homeowners looking for a durable slab that has a quality aesthetic appeal that is timeless. Whether you are refurbishing an existing outdoor area or establishing a new walkway, using limestone paving slabs uk will be a rewarding DIY project if executed properly.
Step 1: Layout Plan
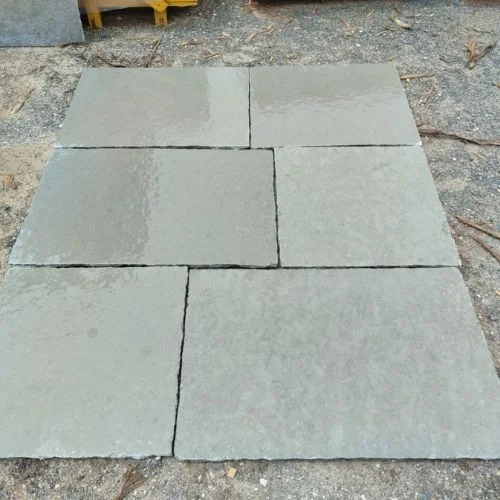
First measure the area and draw a sketch of your intended layout, you will need to decide whether you want a set pattern or a random layout. This is extremely important for ensuring you use the limestone paving slabs effectively and do not waste the material. Take into consideration the natural tones and textures of limestone for to achieve the best overall finish before continuing.
Step 2: Ground preparation
The ground is vital to a successful installation that will last, and so preparing this stage properly is key. Remove any grass, roots, rubbish, etc. Dig down approximately 100-150mm depending on the thickness of the slabs you are using. You will need to put a layer of compacted hardcore or gravel down to create stability and stop the slabs from moving. Ensure the layer is roughly level so the paving slabs do not sit unevenly after installation is completed.
Step 3: Create a Sand Bed
Spread a layer of sharp sand, around 30–50mm thick, over the base you've compacted. The sand bed serves as a cushion and allows you to make last-minute adjustments to the level of the slabs. Use a spirit level while you do this to ensure each slab is sitting level with each other, and in line with your plan.
Step 4: Set the Slabs
You can now begin to set your Limestone paving slabs UK, starting from one corner and moving yourself outwards. You'll need to leave an even gap of 5–10mm for jointing. When placing slabs, check the alignment regularly with a string line or level to ensure the edges are straight. Gently tap down with a rubber mallet for good measure.
Step 5: Jointing
Finally, once all the slabs are in their place, fill in the gaps with kiln-dried sand or grout (suitable for limestone). Sweep all the jointing material into the gaps, and use your trowel to lightly compact it down. Gently water the area after to help the sand settle. This step will secure the slabs firmly in place and provide the installation with added durability.
For more info.:
Visit: stonecera.co.uk


