


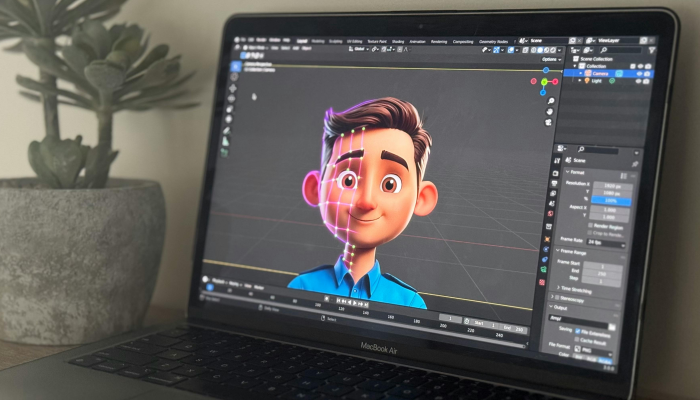
3D animation is everywhere today, from movies and video games to ads, product videos, and virtual experiences. Even if you don’t realize it, you see 3D animation every day while scrolling through social media, watching TV, or browsing websites. But have you ever wondered how these realistic characters, objects, and worlds are created?
Understanding how 3D animation works can seem complicated from the outside, but the actual process is very structured. Artists follow a clear step-by-step workflow to turn ideas into moving visuals. Each step adds detail, shape, color, texture, and movement until the final animation is ready.
In this blog, we’ll break down the entire process in simple language so beginners can easily understand what is 3D animation, and how it works from start to finish.
What Is 3D Animation?
3D animation involves creating models in a three-dimensional space. These models have depth, height, and width, so they look more realistic than flat 2D drawings. Once the models are built, animators make them move, behave, and react like real things.
Now, let’s look at the complete step-by-step process.
Step-by-Step: How 3D Animation Works
1. Concept & Storyboarding
Every animation begins with an idea. The team first decides what the story is about, who the characters are, and what the visual style should look like. These ideas are turned into quick sketches called storyboards.
Storyboards work like a comic strip. They help everyone understand the flow of the story, the camera angles, and how each scene will look before the actual animation work begins.
2. Modeling
Once the idea is ready, artists start building 3D models. These could be characters, buildings, trees, vehicles, products, basically anything that appears in the animation.
3D modeling is like digital sculpting. Artists use tools to push, pull, shape, and refine a mesh until it forms the final object.
Some common modeling types include:
- Polygon modeling for characters and props
- Sculpting for detailed surfaces like skin or cloth
- NURBS modeling for smooth shapes like cars or bottles
By the end of this stage, all objects exist in a 3D space, but they cannot move yet.
3. Texturing
Models look plain without surface details. That’s where texturing comes in. Texturing adds color, patterns, and materials to models so they appear realistic. For example:
- Skin gets pores and tone
- Wood gets grains
- Metal gets shine
- Cloth gets fabric texture
Artists often use a process called UV mapping, which unwraps the 3D object like a flat sheet so textures can be painted on it properly.
4. Rigging
Rigging is the step where models are prepared for movement. A rig works like a skeleton inside the model. It includes bones, joints, and controllers that allow the animator to move the character.
For example:
- A rigged character can bend its knees
- A rigged hand can hold objects
- A rigged face can smile or blink
Without rigging, the model would be stiff like a statue.
5. Animation
This is where the magic happens. Using the rig, animators create motion through keyframes. A keyframe marks the start and end of a movement, and the software fills the motion between them.
Animators also use techniques like:
- Motion capture for realistic body movement
- Hand animation for detailed expressions
- Physics-based animation for natural movement
This stage brings personality, emotion, and life to the characters.
6. Lighting & Shading
Lighting changes the entire mood of a scene. Just like real photography, artists place virtual lights to create shadows, highlights, and atmosphere.
Lighting helps:
- Set the tone (bright, dark, dramatic)
- Highlight details
- Add depth and realism
Shading works with lighting to manage how surfaces reflect or absorb light.
7. Rendering
Rendering is the process of turning all the 3D work into final images or frames. A single second of animation usually has 24 frames, and each frame must be rendered individually.
Rendering can be slow because the computer must calculate:
- Lighting
- Shadows
- reflections
- textures
- motion
Big 3D movies often take thousands of computers working for days or even weeks to finish rendering.
8. Compositing & Editing
After rendering, all frames are combined in the compositing software.
Here, artists add:
- Effects
- Color grading
- Depth of field
- Motion blur
This step helps blend everything together smoothly. Finally, the animation is edited with sound, music, and timing adjustments to create the finished video.
Final Thoughts
Now you know how 3D animation works from start to finish. Although the process has many steps, each one plays an important role in turning imagination into reality. Whether it’s a movie scene, a game environment, or a product showcase, every piece of 3D animation follows this same workflow.
If you’re planning to learn animation, understanding this process is the perfect first step. With patience, practice, and creativity, anyone can begin their journey into the world of 3D.