


Windows 10 is a robust OS but often people face auto adjustment issues with the microphone. Most of the users are complaining that the microphone levels automatically increase and decrease without any apparent trigger. If you are one of them, then follow the steps mentioned below to stop the microphone from doing that.
Here’s How to Stop Microphone Auto Adjusting on Windows 10
• Stop Skype from auto adjusting the microphone
1. Go to Skype UWP.
2. Press on the action option.
3. This option is located on the upper left-hand side of the display.
4. Press on the action option.
5. This option resembles a three dot symbol.
6. After that, by going to the pop-up menu, press on the Settings tab.
7. In case you are using Skype on your Windows PC, then start using the ribbon bar.
8. This ribbon bar is located at the upper side of the screen.
9. Press on the Tools option.
10. Then, click on the Options button.
11. After opening the Settings option, choose the Audio and Video option,
12. This option is located on the vertical menu list, which is given on the left-hand side.
13. In the Audio and Video option, go to the Microphone column.
14. Unselect the checkbox linked with Automatically adjust microphone settings.
• Stop Steam from auto adjusting the microphone
1. Go to the steam client,
2. Sign in to the account.
3. Press on the Friends and Chat symbol.
4. This symbol is located in the end right-hand side of the display.
5. Press on the gear symbol given in the upper right-hand side of the display.
6. You have to follow this step to open the Settings tab.
7. After going to the Friends List Settings, press on the Voice option.
8. This option is located on the left-hand side of the screen.
9. Go to the right-hand side panel.
10. Go down to the end of the display.
11. Press on the Show Advanced Settings option.
12. Turn off the option linked with the Automatic volume or gain control,
13. It is located in the Advanced Settings menu of the Voice option.
14. Start restarting the Steam.
15. Check in case you are still getting the Microphone auto adjusting issue on Windows 10.
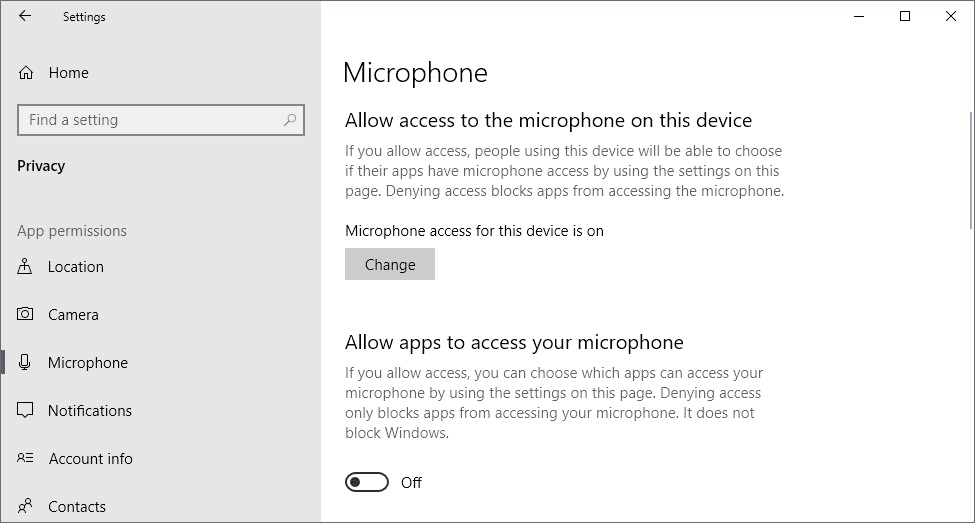
• Stop Apps From Having Control of the Microphone
1. Click on the Windows and R keys together.
2. The Run prompt box gets open on the screen.
3. Enter “mmsys.cpl” in the given box.
4. Click on the Enter option.
5. It will launch a Sound menu.
6. Choose the recording option.
7. This option is located on the menu bar.
8. Choose the microphone.
9. Press on the Properties option.
10. Choose the Advanced option.
11. This option is located on the Properties window.
12. Click on the Exclusive Mode column.
13. Unselect the box linked with the “Allow applications to take exclusive control of this device.”
14. Press on the Apply option for saving the changes.
15. Start restarting the system.
16. Check whether this issue is solved or not.
Davis Johnson is a Microsoft Office expert and has been working in the technical industry since 2002. As a technical expert, Davis has written technical blogs, manuals, white papers, and reviews for many websites such as office.com/setup.
Source: https://offiice-setup-usa.com/how-to-stop-microphone-from-auto-adjusting-on-windows-10/


Westside Kia is your source for new Kias and used cars in Katy, TX.
Browse our full inventory online and then come down for a test drive.

