


Adobe offers an optimally utilizing suite of apps for its users worldwide, but it can show numerous errors as well. Adobe Creative Cloud installer failed to initialize error is one of the said errors as well. So, here are the steps to fix the error.
Change the Name of OBE Folder
In case you intend to change the name of OBE folder, then go through the below-mentioned steps.
. This error code mostly happens due to corrupt installation or previous files downloaded incompletely. By continuing the folder of OBE, you permit installer to new file installs.
. You should launch the File Explore within the Taskbar.
. Go to C -> Program File(x86) -> Common Files -> Adobe.
. You have to find an OOBE folder there.
. Go to OOBE and right-click on it, then choose Rename.
. You should type OOBE.old to change the name of the folder. Select Yes when asked to verify the action.
. Finally, again attempt to launch Adobe Creative installer.
Fix the Adobe Creative Application
. You get an in-built repair app you should be able to launch to solve whichever internal problems with the application.
. You should hold the Win + R keys at once to launch the Run dialog box.
. Thereafter, input ‘control’ into the dialog box then select OK.
. Launch Control Panel, then select the Programs.
. Now, choose Programs and Features.
. You have to choose ‘Adobe Creative Cloud.’
. Now, select Uninstall/Change button at the toolbar.
. Select the Yes option if asked when you would like to Change/Uninstall the software.
. After that, a dialog section appears on your screen with Uninstall and Repair button.
. You should choose a Repair option and pursue the prompted steps.
. After the repairing process is done, reboot the system.
Install the Creative Cloud Application Again
. When the problem continues, properly uninstall the Adobe Creative application and launch the installer.
. Launch Control Panel.
. Then select the Programs and then choose Programs and Features.
. You have to choose the Adobe Creative Cloud application and select Change/Uninstall.
. If the dialog section comes, select the Uninstall option.
. After uninstalling, reboot the system.
Re-Install Cleaner Tool
. You should ensure that you have installed the Adobe Creative Cloud application within the Control Panel.
. After you have done, reboot the system.
. Adobe Creative Cloud Cleaner Too needs to be downloaded.
. Thereafter, go to the file and right-click on it then choose the Run as Administrator.
. You should pursue the prompted steps.
. Delete every associated file with Adobe Cloud.
. You will see a text saying ‘Adobe Creative Cloud Tool completed successfully.’
Steve Smith, a creative person who puts his skills in Technical writing by making everything easier for readers to understand the complexity of any tech-related issue like mcafee.com/Activate. Many popular e-magazines have released his articles. He has also been writing to people’s queries related to technology


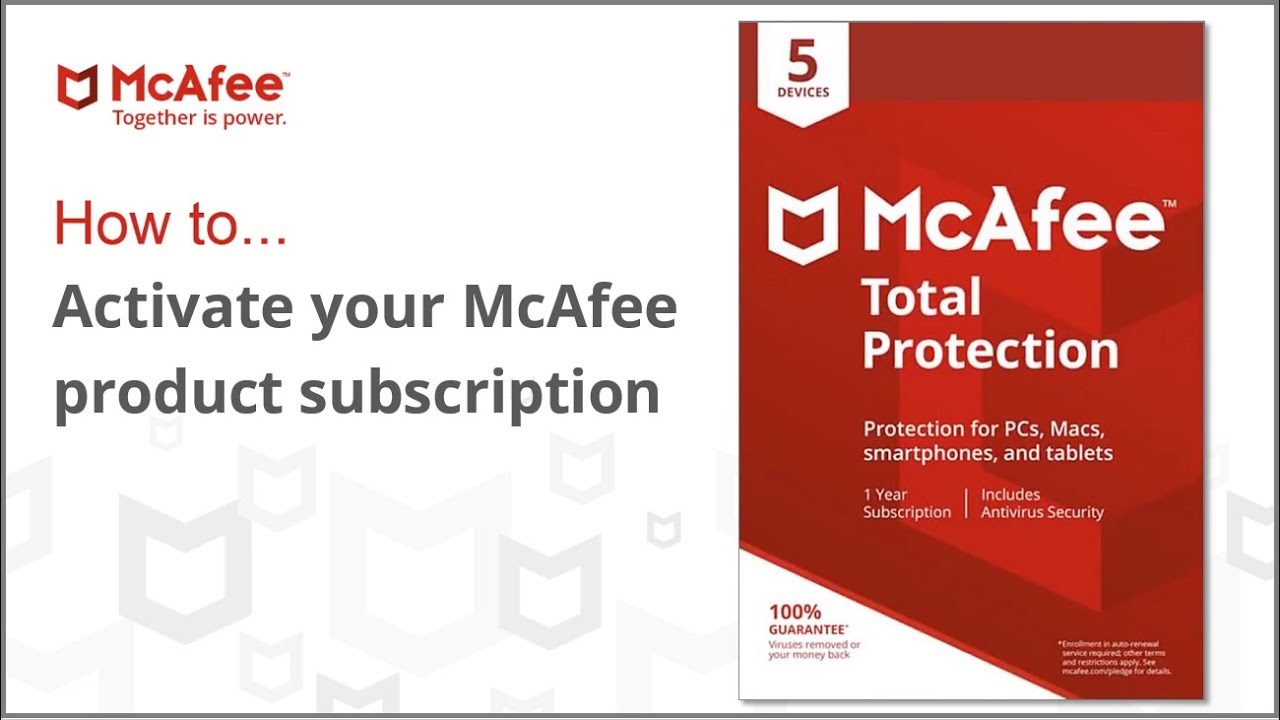
But, McAfee still has its name in one of the best antiviruses in the world.
The most noticeable feature that we want in a good antivirus is the ability to detect and kill viruses.
According to a test, McAfee is capable of killing most of the “trojans” which are considered as one of the most dangerous viruses ever known.
McAfee has also shown excellent results in the EICAR virus test.
McAfee has three attractive products:
So, you can choose McAfee according to your requirements.

The McAfee has always been widely regarded as one of the best global computer antivirus companies to ever exist.
McAfee, as a software providing company, has been working tirelessly for years in order to provide defensive layers to all its users against viruses, malicious attacks, phishing, malware and similar corrupt forces that aim to harm your computer and put the personal data stored in your computer in dire jeopardy.
McAfee does this by virtue of its different security programs like McAfee change control, McAfee site advisor and McAfee Virus Scan amongst others.Source : mcafee.com/activate Some great features of McAfee Antivirus are:You can stop your kids from using inappropriate websites by setting up Parental control with the help of McAfee Antivirus.It scans all the folders of the system deeply.mcafee.com/activate also scans any website link.This antivirus protects your system from dummy emails.All the data which are installed on your system are scans by this antivirus and remove the damaged data, but you will not lose any original content.More to readHow to Download, Install and Change Themes in UbuntuHow to Find the URL of a Picture in Any DeviceHow to Fix YouTube Full Screen ProblemHow to Change Google Play Subscription Settings on Mobile or Computer