


The Time Scheduling function allows a user to save the Internet bandwidth by limiting its usage for other users connected to your network. With a help of the Time Scheduling function, a user can set boundaries in internet usage, if anyone crosses that limit the internet will get disconnected. The limit is set by a user through the web interface of the router.asus.com window. To allow the Time Scheduling function to work properly, make sure that the System Time of your router is accurate enough to allow your Time Scheduling function to work according to the schedule you have specified.
Steps to configure the Time Scheduling function in the router.asus.com
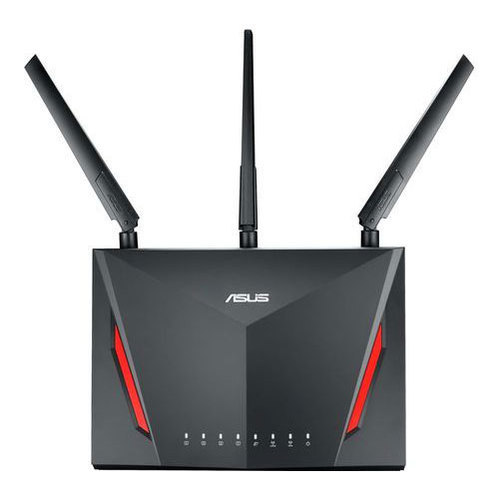
Visit the browser on the computer or laptop connected to your ASUS router. Take your cursor to the address bar and type www.router.asus.com as the URL of your browser. Hit the enter button, if you encounter any error you can also type 192.168.1.1 or 192.168.0.1 on the address bar of your browser. Press the enter button and the default ASUS router login page appear on the screen. If it’s the first time you are connecting to your router the QoS setup page appears on your screen. Mention the login credentials within their respective fields. Type “admin” on the username field as a default login credential. Type the password you assigned during the ASUS router setupprocess. If you haven’t changed the default password, type “admin” as a default password. Both the login fields are case-sensitive.
After mentioning the credentials, click on the login button under the login fields. You will be redirected to the main screen of the router.asus.com window. From the menu, dashboard, go to the General tab, select the AiProtection option, click on the Parental Control function and then click on the Time Scheduling tab. Scroll down the Time Scheduling page and click on the ON button to enable the Time Scheduling feature in your ASUS router.
Go to the Client name column to select the clients for whom you want to set the time limit for Internet usage. You can choose the client from the client’s drop-down list. Note: A user can also mention the MAC address of a client in the “Client MAC address” column. While mentioning the client name in its respective field, make sure that the name doesn’t contain any space or special characters that can cause your device to function disorderly. Click on the add symbol in a blue icon to add a client profile on its respective field. When you are done specifying the client and its profile, click on the Apply button save the settings you configured.
Note: While mentioning the login password during the ASUS router login process, a user hasto make sure that he is holding the Shift key while typing in the uppercase letter and releasing the Shift key while typing the lowercase letter. Make sure that your password must contain at least a number, symbol, and a special character. Without fulfilling the password regulations, no user can enter into the router.asus.com main window.
For more information: https://wwwrouterasus.com/


A user can register an ASUS device either using a mobile number or using a valid Gmail id.
If you want to choose the Gmail option choose the “Register with email” option from the Sign-in page and if you want to register through a phone number, choose the “Register with mobile number” option.
When a user is done filling up information on the required fields, a verification link will be sent to your registered mail.
You need to click the verification link sent to your mail id to activate your router.asus.com account.https://wwwrouterasus.com/