


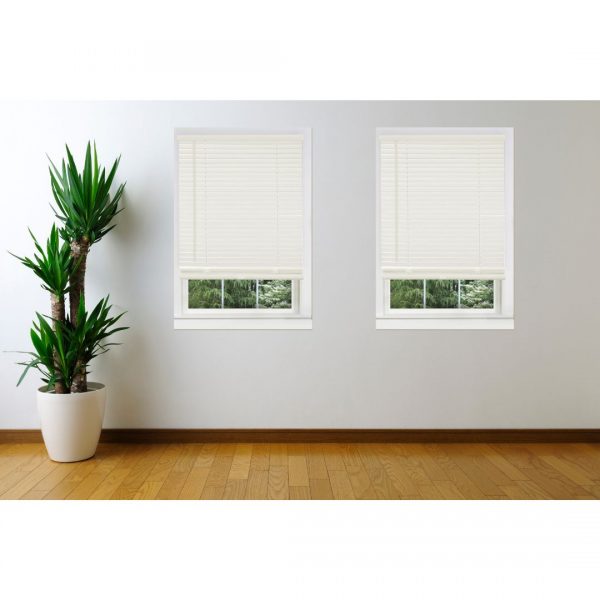
Welcome back, guys. In a previous article, we talked about custom blinds installation before. Today we will start from here. So cutting that wasn't exactly the easiest thing I've ever done. In not a week I don't exactly have the right tools. The cellulose portion however did cut decently with the use of a bread knife. So I'll do that again but I think I might transfer to a reciprocating saw but a cutting blade to cut the aluminum because my oscillating tool did not work very well and man right hand is not at this point but if we throw this thing on okay now this is the ugly side we're gonna put into the corner that it fits. So quarter-inch was just enough next time I might do three sixteenths or a half-ish. There are three sets of these windows. So I'm going to do this three times. So each one of the learning lessons is pretty close but this is the third bedroom. So it's going to be at least luxurious. So I guess who lives here anyway these clips need to go up just how to line them up against this edge. The inside frame of this is a three-quarter-inch pine. So we can drill right into it. I'm gonna do that and then they just clip on and you have your little plastic pieces their bottoms notice I did. I installed each of these clips flushes against the window frame four inches on center from the ends just. So there'd be some uniformity. I think you know you can see it right there because they're. So close together they may pray and give it a couple of years of use and this middle section here is gonna get a little gummed up.
That's okay because they're 100 blondes and they're easily replaceable. So they're also blacked out which is nice. So I just need to do that one two three four five six seven eight more times. So something I just found that I think might be pretty important is I'm cutting about to a quarter inches back on this particular line and what I found is there is a metal weight that's been double-sided tape here that I was trying to cut from the window blinds through now instead of cutting through this I pulled this back and I sliced through the double-sided sticky tape and I'm gonna put some silicone glue here and then just place it further back and then reinsert it and that way the full weight is still there it's gonna go like this and it'll kind of preserve the integrity of how this thing goes up and down the weight and the tension will be correct I think that's just a better use of this piece. So just gonna clean off the double-sided tape here get a dab of silicone put that in now you'll notice I also put some painters tape around the frame of this and that's because my work surface all debris on it is scratching the surface of the metal and it's not the best finish. So I just want to preserve it as best as I can. So that's why I'm doing it all right. So remember when I reattached the metal weight and it was on this site I don't know to think that's where it's supposed to go. I think that's an ikea manufacturing defect because the weight should be centered on the blind. That’s all about today, in the next article we will talk about the final step of this installation.


