


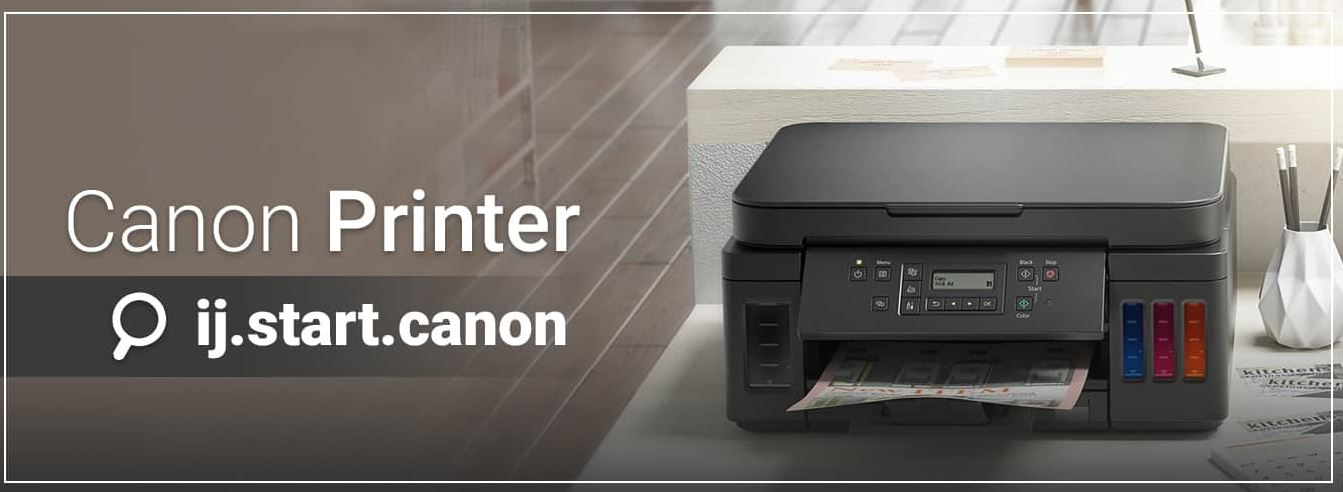
Use ij.start.canon setup to set up your Canon product. Find inkjet Canon support for scanners and printers here. Learn about Canon PIXMA, imagePROGRAF, MAXIFIES, CanoScan, and others ij.start.cannon printers.
Canon ij printer provides an all-in-one solution for many tasks that you can master the process of setting up using IJ Start Canon and enjoy an improved experience. It is Canon's official support online site which provides Canon product manuals online functions, information about the printer, and other. What's more on the ij.start.canon website is downloading and installation instructions for Canon IJ setup, which is necessary for the entire Canon setup process. Check out the additional steps below.
Requirements for Canon IJ Setup:
- When you are done with the setup of your printer ensure you have your exact printer model's number the printer handy.
- Check that your computer is equipped with enough space for storage to ensure that the driver installation is completed.
- Check that the printer is correctly connected to the power outlet.
- Your device is connected and reliable internet connection.
- Check that the network you're using is equipped with WPA or WPA2 security protocols.
Canon wireless printers can be set up on Mac and Windows
While there are a variety of printer brands that are on markets, Canon is one of the most basic choices for people choosing the best printing solution. The Canon printer is well-known for its top-quality outputs for printing. To use the printer, you have to understand the fundamental steps to set up. In this post, we'll provide you with the steps as well as the guidelines to follow for ij.start.cannon procedure. Let's begin!
Download Canon Printer Driver via ij.start.cannon
Users can install and install the Canon printer driver on Canon's official site, i.e., "ij.start.canon." In order to simplify the process for everyone we've provided an extensive guideline that users can download the Canon driver for their printer immediately and easily.
For Windows
- Users must start the web browser.
- In your address bar type in on the address bar for "ij start canon".
- The official website will appear on the screen of your system.
- Tap on"Setup" and then tap on the "Setup" icon.
- Then, users must enter the model of printer.
- Tap on"Go" and then tap on the "Go" button.
- Then, click then the "Start" icon.
- Then, users must follow the on-screen instructions to prepare the printer.
- The download link will be displayed in the display.
- Then, tap the button to download.
- Following this, the ".exe" file will start downloading.
- Once the file is downloaded, you can open the file you downloaded.
- Following this after that, after that, the "User Account Control" pop-up will appear on the screen.
- Then, click then the "Yes" button.
- Then you have completed that, after that, the "start setup" window will show up in the display.
- By following these steps , it will be easy for everyone to download the Canon driver for their printers. So, once the driver is downloaded, follow the process of setting it up as described in the following section.
For Mac
- First, you must open any of the web browser, such as Safari, Firefox, or any other available on the Mac system.
- Then after that, type "ij.start.cannon" in the browser's address bar.
- The official website will be displayed on screen.
- Then, users must click"Setup" and then click on the "Setup" option.
- In the search box in the search field, type in the model of the printer.
- Then, click then the "Go" button.
- Then, click then the "Start" icon.
- Follow the instructions on screen to prepare the printer.
- On the next screen then, the "download" link will appear.
- Click on the button to download.
- Following this, the ".dmg" file will start downloading.
- Then, wait until the download file is completed fully.
- Open the file you downloaded.
- Then you have completed that, after that, the "User Account Control" pop-up will show up on your screen.
- After that, click on"Yes" and then click on the "Yes" icon.
- The "Start Setup" window will show up on the screen.
With the aid of the above steps users can swiftly download the driver on their Mac system using "ij.start.cannon" Therefore, after having completed the download process proceed with the installation process of Canon driver for printers.
How do I set up ij.start.cannon using USB?
If you are unable to locate the Canon printer when you visit the official websites or any other options, you can utilize the USB to set up the Canon tr8520 printer configuration. You can also go to IJ Start Canon website to get assistance. Here are the steps you need to follow in order to set up Canon printers with USB:
- The first step is to must ensure that you have an USB cable.
- Utilizing the internet browser, navigate to the start.canonwebsite and select the option to setup network connection using USB.
- The next step is to sit and wait for the Canon software to connect the printer to your computer via the USB cable.
- Click on"Next" or "Next" button and get the driver for your printer . Also, determine if you wish to connect your printer to a network.
- Click on "Yes" and hit on the "Complete" button and then tap"Add printer" and then tap on the "Add printer" option.
- Click on"Add" or click on the "Add" button and get the driver from the ij.start.canon website.
- Click on the Device settings and then click on the LAN settings. Select the connection.
- Download your Canon drivers, cartridges for inkjet printing and then test the connection to your device.
- You can set up the Canon printer to print and then try it.


