


For many thinking of the ways to make the perfect landscape designer - geelong to create a natural-looking garden.
The plans for your landscaping might include the addition of an entirely new landscape or perhaps just establishing plans for planting for the next year.
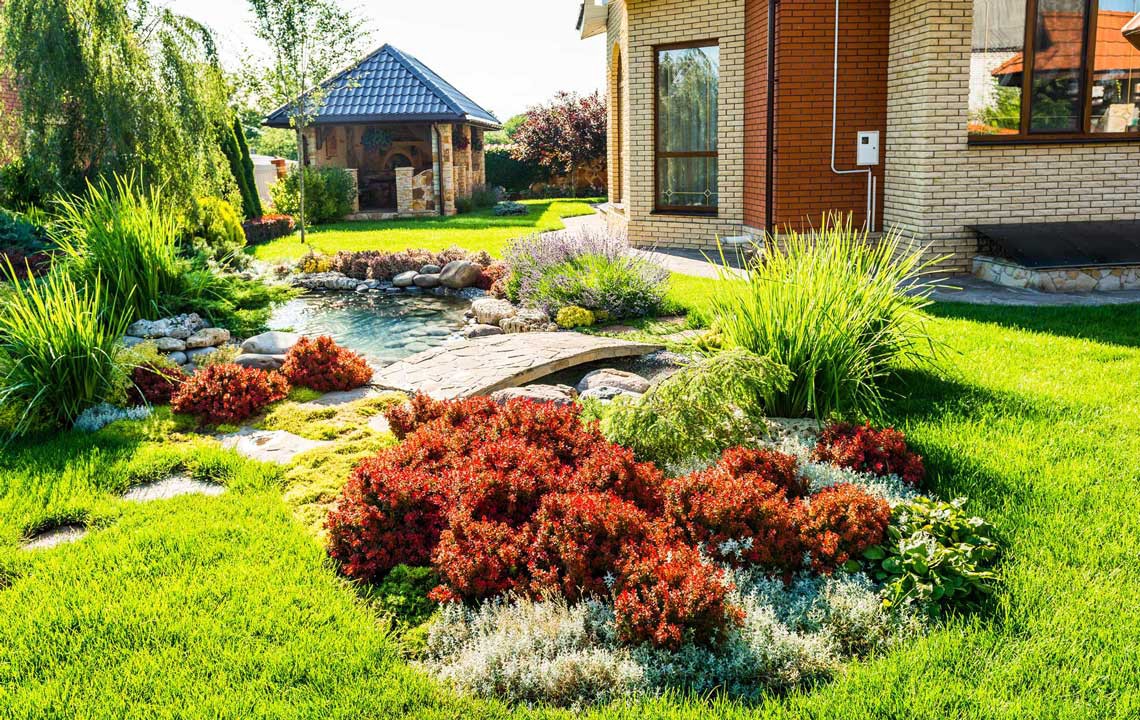
You can visit the shop and purchase a handful of plants. You can decide on the best location to plant them after you're back home.
However, a classic and well-designed landscaping plan will create better results in your landscape.
Here are the steps to completing it...
The Landscape Design Stage 1 - Set Goals
The first step in designing an outdoor space is to consider what your garden will appear and feel. Consider how it'll be used and what you can do to improve the overall quality of your tiny ecological system.
1. Feel/Look. It could refer to specific flowers, particular shapes and hues, as well as other landscaping and design elements.
2. Use. This is how you'd like to use your garden. It means you'll need areas to walk around and playing sports, or just eating meals as well as potting other things you'd want to do in the space.
3. Ecology. This is the method you want to improve the overall health of your garden, and focus on the environment.
Step 2. The Site Plan
If you do have grass near your house, draw the area on the correct size. Utilize graph paper and make precise measurements. 3 feet per sq. inch on graph paper will be usually sufficient.
Include utilities like lines for gas or irrigation and hydro wires.
Print out a few copies of the ones you intend to use, and then start playing...
Step 3. Site Analysis
Today we'll take a look at the many ways energy sources work with your website.
For example the sun. Draw the shade and sun, and the spaces between them.
It could take an amount of time and attention over the the whole duration during the growth season. If you're not capable of doing this, you'll have to calculate it by keeping track of your development throughout the day. Making sure your plants are in the right position in the sunlight is a crucial step in ensuring that they're healthy.
Monitor the winds when you want not to use them (or make use of them). Track your views when you would like to stop them (or enhance the amount of them).
Sketch the slopes. Draw anything that could influence the layout of your landscape. You could start with the most basic of designs...
The 4th step comprises Functional Diagrams
Then it becomes incredibly enjoyable when you're able to design your personal landscape.
Look over your site's plans and the review your site's analysis and begin sketching out the way you can proceed based on these.
It's not possible to draw specific plants at present. However, it is possible to draw bubble diagrams to show the possible locations of things. An outdoor garden here, an edging here or a greenhouse over there, the compost bin here in this Cistern and so on.
It's just an observation of how your layout will appear as you try to mix the most essential elements in a manner to complement each other.
Bubble diagrams allow you to concentrate on specifics and focus on the picture. They're also quick enough that you'll be able draw at least two distinct designs with the photocopiers you have.
Then you'll be able gain additional details...
The Landscaping Design Step 5 Concept Plan
Should you wish to design your own idea plan, you can do so later.
This is the time to convert the diagrams contained in these bubbles to more precise plans, but you won't be able to immediately begin selecting all the plants , aside from possibly the most important ones.
Then , you write down the pathways you'll be taking and the location of your lawn pond , or pond will be. This is the kind of landscape designer could provide to a potential customer before getting into the specifics of choosing the best plants.
I generally use this design as my final one for my vegetable garden since it allows me to be more flexible with how I plant.
In a beautiful garden, I'll take a dive into another activity...
Step 6: Planting Plan
The strategy for planting is to identify the plants you'll choose to use and sketch exactly the place they'll go within your yard.
Draw them in the approximate size they'll eventually reach, not the current size. This gives your child the room they need to grow naturally.
A lot of gardens are planted in dense ways and are located too close to buildings and roads even by highly skilled landscape architects who need to be able to plan the plan of a garden so this is an essential measure.
You could also create your own list of plants to make sure you know what you're looking to find when you go to your local garden centers.
This is a quick description of the steps to make an outdoor landscape. we hope that it is helpful to you.


