


Are you looking for a home sleep test device? Ognomy provides a step-by-step guide to your home sleep study kit. Start using Ognomy’s services today, get a home sleep study covered by insurance, and receive personalized diagnosis and treatment.
Welcome to Your Next Step on Your Journey to Better Sleep
Your step-by-step guide to your home sleep kit
Upon Receiving Your Home Sleep Test Device Kit
1. Please open your test kit and review its contents. Should any items be missing please contact us immediately.
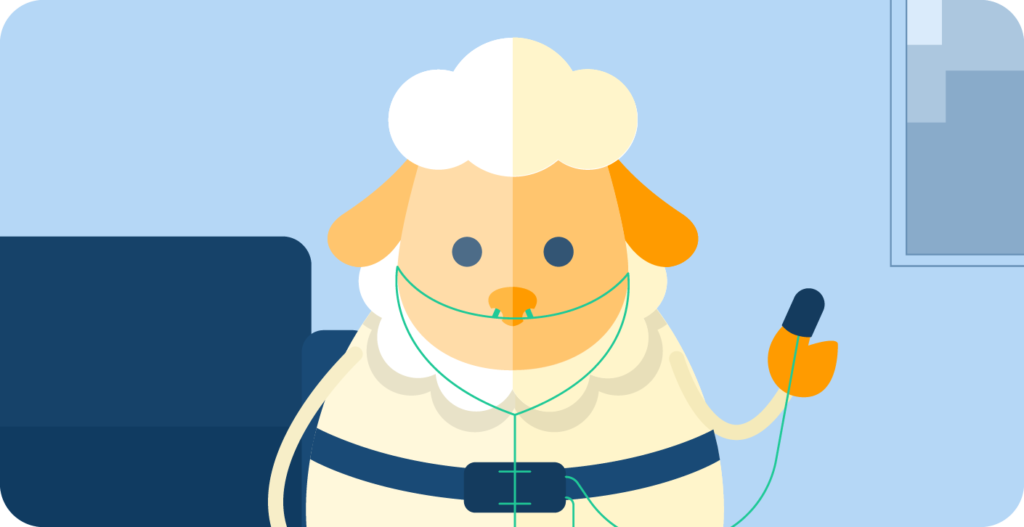
a. Testing Device With Belt
The black box is the data storage for the entire test. It also monitors the fluctuation of your chest while you breathe.
b. Nasal Cannula
The plastic tubing is attached to the testing device. It is used to monitor your breathing during the study.
c. Pulse Oximeter
This is worn on the finger and is used to monitor your heart rate and the amount of oxygen in your blood.
2. Please review the following instructions on assembly and use of the device. Please do not actually put the device on until you are ready to go to sleep. Remember, the test device should be used the night that you receive it, and returned the following day.
Putting on the Home Apnea Test
1. Fitting the Belt
Wrap the belt tightly around your chest with the test box in front. The belt should bestrapped onto your body over your breasts in the center of your chest and should be very snug. You should not be uncomfortable, but belt needs to be secure.
2. Placing the nasal cannula
Insert the prongs into the nostrils. Be sure to have the curved tube pointing towards the back of the nose. Loop the tubing around the ears. Pull the slider up towards the chin until the plastic tubing is secure and comfortable.
3. Put pulse oximeter around finger
Slip the opening of the oximeter over your pointer finger of either hand.
Starting The Test
1. Press down and hold the power button in the center of the device for about 3 seconds. The light will turn on.
2. Check the “pulse on” monitor on your finger which should be lit up as well. If so, you are all set to go to sleep.
* If the lights are not on, check and make sure the batteries are in correctly and press the button again.
Ending the Test
1. After you wake up before you leave the bed, press and hold the power button down for another 3 seconds. The test complete light should turn green or red. Then hold it down for another 3 seconds and the device will shut off.
2. Now you can place the machine and all its accessories into the return bag provided to you.
3. Complete the post sleep questionnaire and place in bag with the testing device.
4. Return the test kit to us in the mailer provided to you.
Click here to know more about At Home Sleep Study Covered by Insurance.


