


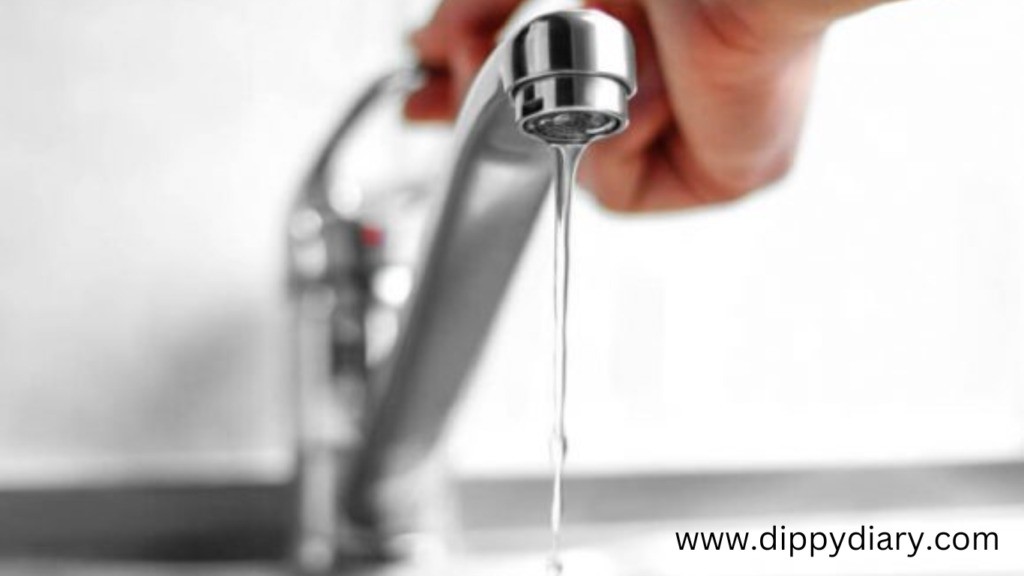
How to Fix a Leaky Old Fashioned Faucet
Introduction
A leaky faucet can be a frustrating problem for anyone. It not only wastes water but can also add to your utility bills. One of the most common types of faucets that people find in older homes is the old-fashioned faucet. These types of faucets can be a bit tricky to fix, but with the right tools and some basic knowledge, you can repair them easily.
Tools Required
Before starting the repair, you will need the following tools:
- Adjustable wrench
- Flathead screwdriver
- Allen wrench
- Replacement parts (O-rings, washers, and valve seats)
- Plumber's grease
Step-by-Step Guide
Step 1: Turn off the water supply
The first thing you need to do before starting the repair is to turn off the water supply to the faucet. You can either turn off the main water supply or locate the shut-off valve near the faucet. Turning off the water supply will prevent any water from flowing from the faucet during the repair.
Step 2: Disassemble the faucet
The next step is to disassemble the faucet. To do this, you need to remove the handles, decorative caps, and escutcheons. You can use a flathead screwdriver to remove any screws or bolts that are securing the handles.
Step 3: Remove the stem and inspect the components
Once you have removed the handles, you need to remove the stem from the faucet. You can do this by using an adjustable wrench or a pair of pliers. Once you have removed the stem, inspect the components, including the O-ring, washer, and valve seat, to see which ones are damaged or worn.
Step 4: Replace damaged components
If you notice that any of the components are damaged or worn, you need to replace them. You can do this by purchasing replacement O-rings, washers, and valve seats from your local hardware store. Before installing the new components, make sure to apply some plumber's grease to ensure a tight seal.
Step 5: Reassemble the faucet
Once you have installed the new components, you need to reassemble the faucet. Make sure to reattach the stems, handles, decorative caps, and escutcheons securely. You can use an Allen wrench to tighten any bolts or screws that are securing the handles.
The Most Important Part Of Fixing A Leaky Faucet
If your faucet is leaking, it’s not a difficult fix. The most crucial part of fixing a leaky faucet of Old Fashioned Faucet is getting the water flowing correctly.
Here are five steps to follow:
- Turn off the main water supply to the house. This can be done by turning off the valve near the meter or by using a shut-off valve at the source of water (a canal, river, or lake).
- Find and remove any debris that may be blocking the flow of water from the faucet. This could include pieces of paper, clothing, towels, or anything else that has accumulated over time in between the cartridge and spout.
- Check for any kinks or cracks in either pipe where it meets the faucet body. If there are any problems with these connections, they will need to be fixed before proceeding.
- Remove and clean both valves if necessary (if they’re located near the faucet). Make sure all seals are tight and replaced if needed.
- Turn on the water supply to the house and wait until it reaches full pressure before trying to turn off or open any valves again this will avoid flooding your home. – Old Fashioned Faucet
Conclusion
Fixing a leaky old-fashioned faucet may seem daunting at first, but with the right tools and some basic knowledge, it can be a simple and straightforward task. Remember to turn off the water supply, disassemble the faucet, replace any damaged components, reassemble the faucet, and test the faucet. By following these steps, you can successfully fix a leaky faucet and save yourself from wasting water and money.





There are many methods with regards to how to fix a hoarse voice, but most people initially choose self-care methods.
Some main examples of such methods are:Resting one’s voiceBreathing moist airno whispering(if applicable) avoiding cigarette smoke, etc.For those who suffer from a hoarse and raspy voice after taking care of the above-mentioned problems, we offer a unique alternative solution for treating a chronically-hoarse voice.For more information regarding the voice recovery, restoration and enhancement, contact us:416-857-8741info@vocalscience.com