


Introduction
Embroidery is an ancient art form that has evolved into a modern and accessible craft. With the advent of digital technology, creating intricate embroidery designs has become easier than ever. In this blog, we will explore the process of making a digital file for embroidery, focusing on two crucial aspects: free embroidery designs and Zdigitizing. Whether you are a hobbyist or a professional, understanding these techniques will empower you to create stunning embroidered masterpieces.
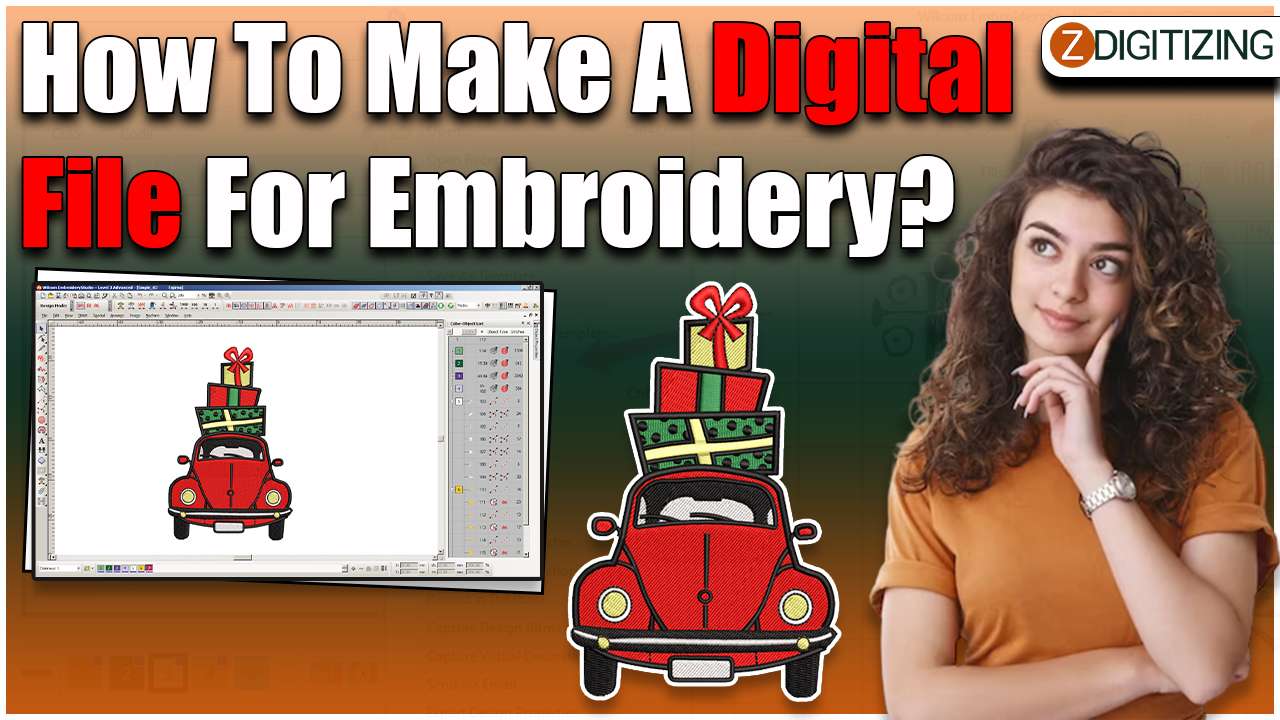
Section 1: Understanding Embroidery Digitizing
Embroidery digitizing is the process of converting artwork or designs into a digital format that an embroidery machine can read and stitch. This digital file is known as an embroidery digitized file or simply a "digitized design." The digitized design guides the embroidery machine on how to stitch the pattern, dictating the thread colors, stitch types, and order.
Section 2: Finding Free Embroidery Designs
Embroidery enthusiasts often seek free embroidery designs to practice their craft without investing in commercial designs. Here are some excellent resources to find free embroidery designs:
- Embroidery Forums and Communities: Join online embroidery forums and communities where members share their digitized designs for free. You can find a vast array of designs suitable for different projects.
- Design Sharing Websites: Several websites are dedicated to sharing free embroidery designs. These platforms often have user-submitted designs available for download.
- Social Media Groups: Search for embroidery-related groups on social media platforms like Facebook or Pinterest. Many members generously share their designs with the community.
- Design Software Trials: Some embroidery design software companies offer free trials that include access to a limited selection of free embroidery designs.
Remember to always check the licensing terms of the free designs you find, as some may be restricted for personal use only.
Section 3: The Basics of Zdigitizing
Zdigitizing is a technique used by embroidery digitizing companies or professional digitizers to create high-quality, intricate embroidery designs. Zdigitizing software is used to manually create the digitized file, offering more control and customization options than automatic digitizing.
Here are the basic steps involved in Zdigitizing:
- Importing the Design: The digitizer starts by importing the artwork or image that needs to be digitized. This can be a logo, illustration, or any other design.
- Setting Parameters: The digitizer sets important parameters such as the dimensions of the design, the number of colors to be used, the type of fabric, and the embroidery machine being used.
- Assigning Stitches: Using the software's tools, the digitizer manually traces the design, assigning specific stitch types and colors to each part of the design. This step requires expertise and creativity to ensure the design looks visually appealing and stitches out correctly.
- Testing and Refining: After creating the initial digitized file, the digitizer tests it on an embroidery machine to identify any issues or areas that need improvement. Iterative refinement may be required to achieve the desired result.
- Finalizing the File: Once the digitizer is satisfied with the stitched sample, the digitized file is finalized and saved in a format compatible with the embroidery machine.
Section 4: Essential Tips for Successful Embroidery Digitizing
Whether you are working with free embroidery designs or using Zdigitizing, these tips will help you create successful embroidery projects:
- Choose the Right Software: Invest in high-quality embroidery design software that suits your skill level and project requirements. Look for user-friendly interfaces and features that cater to both beginners and advanced users.
- Understand Stitch Types: Familiarize yourself with different stitch types, such as satin stitches, fill stitches, and running stitches. Each stitch type serves a specific purpose and contributes to the overall look of the design.
- Use Proper Underlay: Underlay stitches provide stability to the fabric and prevent the design from shifting during stitching. Proper underlay is crucial for ensuring clean and professional-looking embroidery.
- Thread and Fabric Selection: Consider the type of fabric you are using and choose thread colors that complement it. The contrast between the thread and fabric can significantly impact the final result.
- Optimize Stitch Density: Stitch density refers to the number of stitches per area. Avoid excessive stitch density, as it can cause the fabric to pucker or the design to lose clarity. Conversely, too few stitches may result in a weak and unattractive design.
- Test and Adjust: Always test your digitized design on a sample fabric before embroidering the final product. This step allows you to identify and correct any issues before they affect your finished piece.
Conclusion
Embroidery digitizing is a fascinating and rewarding process that enables you to bring your creative visions to life. Whether you're starting with free embroidery designs or exploring the world of zdigitizing, practice and experimentation are key to mastering this art form. Remember to be patient, as embroidery digitizing requires time and dedication to achieve exceptional results. By following the tips and techniques discussed in this blog, you'll be well on your way to creating stunning digital files for embroidery and producing beautiful embroidered creations that you can be proud of. Happy stitching!


