


Gas valves are crucial components in various applications, from residential heating systems to industrial machinery. Solenoid gas valves, in particular, are known for their reliability and efficiency in controlling the flow of gas. Whether you're a seasoned DIY enthusiast or a newcomer to the world of gas valve installation, this step-by-step guide will walk you through the process of installing a solenoid gas valve safely and effectively.
Understanding Solenoid Gas Valves
Before diving into the installation process, it's essential to have a basic understanding of what a solenoid gas valve is and how it works. Solenoid valves are electromechanical devices that use a coil of wire to generate a magnetic field when an electrical current flows through it. This magnetic field then operates a plunger or a valve mechanism, allowing or blocking the flow of gas through the valve.
Step 1: Gather the Necessary Tools and Materials
To begin your solenoid gas valve installation, gather all the required tools and materials. You'll need:
- Solenoid gas valve
- Appropriate gas piping and fittings
- Pipe wrench
- Pipe thread sealant
- Adjustable wrench
- Gas line shut-off tool
- Pipe cutter
- Electrical wires and connectors
- Screwdriver
- Wire stripper
- Teflon tape
- Gas pressure gauge (if needed)
- Safety goggles and gloves
Step 2: Ensure Safety Precautions
Safety should always be your top priority when working with gas valves. Before you begin, turn off the main gas supply to the area where you're installing the solenoid valve. It's crucial to work in a well-ventilated space to prevent the buildup of gas fumes.
Step 3: Select the Installation Location
Choose a suitable location for installing the solenoid gas valve. It should be easily accessible, and you should consider factors like the proximity to the gas source and the equipment you're controlling. Ensure that there is enough space to accommodate the valve and necessary piping.
Step 4: Measure and Cut the Gas Pipe
Measure the length of gas pipe needed to connect the solenoid valve to the existing gas line. Use a pipe cutter to make a clean, straight cut. Ensure that the cut edges are smooth and free from burrs that could obstruct the gas flow.
Step 5: Thread and Seal the Pipe
Apply pipe thread sealant or Teflon tape to the threads of the gas pipe and the solenoid valve. This will create a secure and leak-proof connection. Use a pipe wrench to tighten the connection between the valve and the gas pipe firmly.
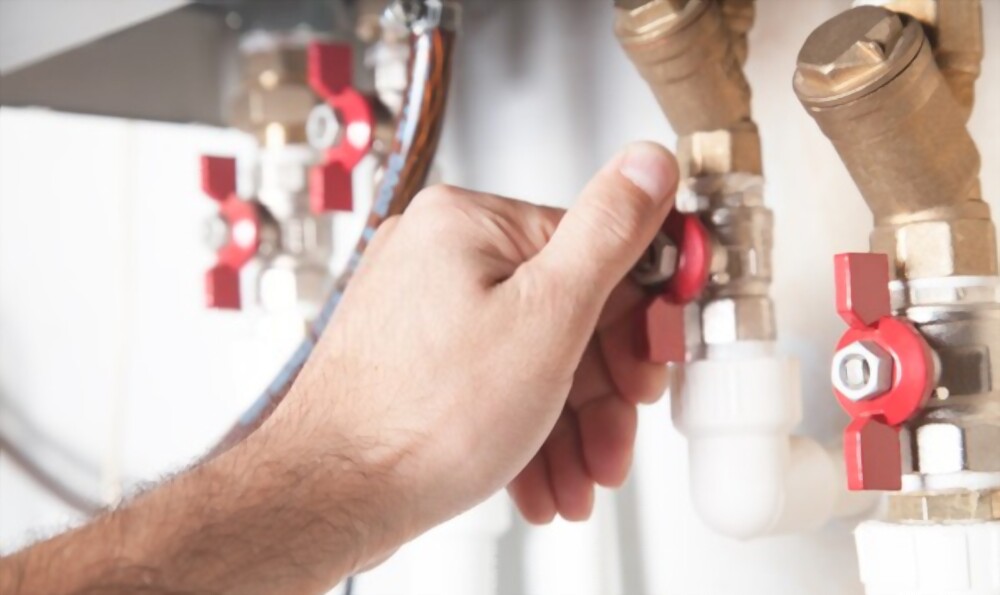
Step 6: Install the Solenoid Valve
With the gas pipe securely attached to the valve, mount the solenoid valve in the chosen location. Use appropriate anchors or brackets to ensure it is firmly attached to the wall or surface. Make sure the valve is oriented correctly, with the gas flow direction clearly marked.
Step 7: Connect the Electrical Wiring
Solenoid gas valves require an electrical connection to operate. Connect the wires from the valve to a power source using appropriate electrical connectors. Ensure that the wiring is done according to the manufacturer's instructions and local electrical codes. Use a wire stripper and screwdriver as needed to make secure connections.
Step 8: Test the Installation
Before fully completing the installation, it's crucial to perform a thorough test. Turn on the gas supply and power to the solenoid valve. Check for any gas leaks around the connections using a gas leak detector or a mixture of soap and water. If you detect any leaks, immediately shut off the gas supply and rectify the issue.
Step 9: Calibration and Adjustment (if needed)
Depending on the specific application and gas flow requirements, you may need to calibrate and adjust the solenoid valve. Some valves have adjustable settings for flow rate and pressure. Refer to the manufacturer's instructions for guidance on calibration.
Step 10: Finalize the Installation
Once you are satisfied with the installation and have ensured that there are no gas leaks, secure any loose wires, and cover any exposed electrical connections with appropriate protection. This will help prevent accidental damage or exposure to the elements.
Conclusion
Installing a solenoid gas valve can be a valuable DIY project for those with the right tools, knowledge, and safety precautions. By following this step-by-step guide, you can confidently install a solenoid gas valve, ensuring the safe and efficient control of gas flow in your application. However, if you have any doubts or concerns, it is always recommended to consult a professional gas technician for assistance to guarantee a secure and reliable installation. Remember that safety should always be your top priority when working with gas-related projects.


