


Introduction
Welcome to the beginner's guide on how to use DragGAN AI Photo Editor! Whether you're a seasoned photographer or just starting out, DragGAN AI Photo Editor is an excellent tool for enhancing your photos with ease. In this guide, we'll walk you through the basics of using this powerful AI photo editing tool, along with some helpful tips and tricks to make your editing process a breeze. So, let's get started!
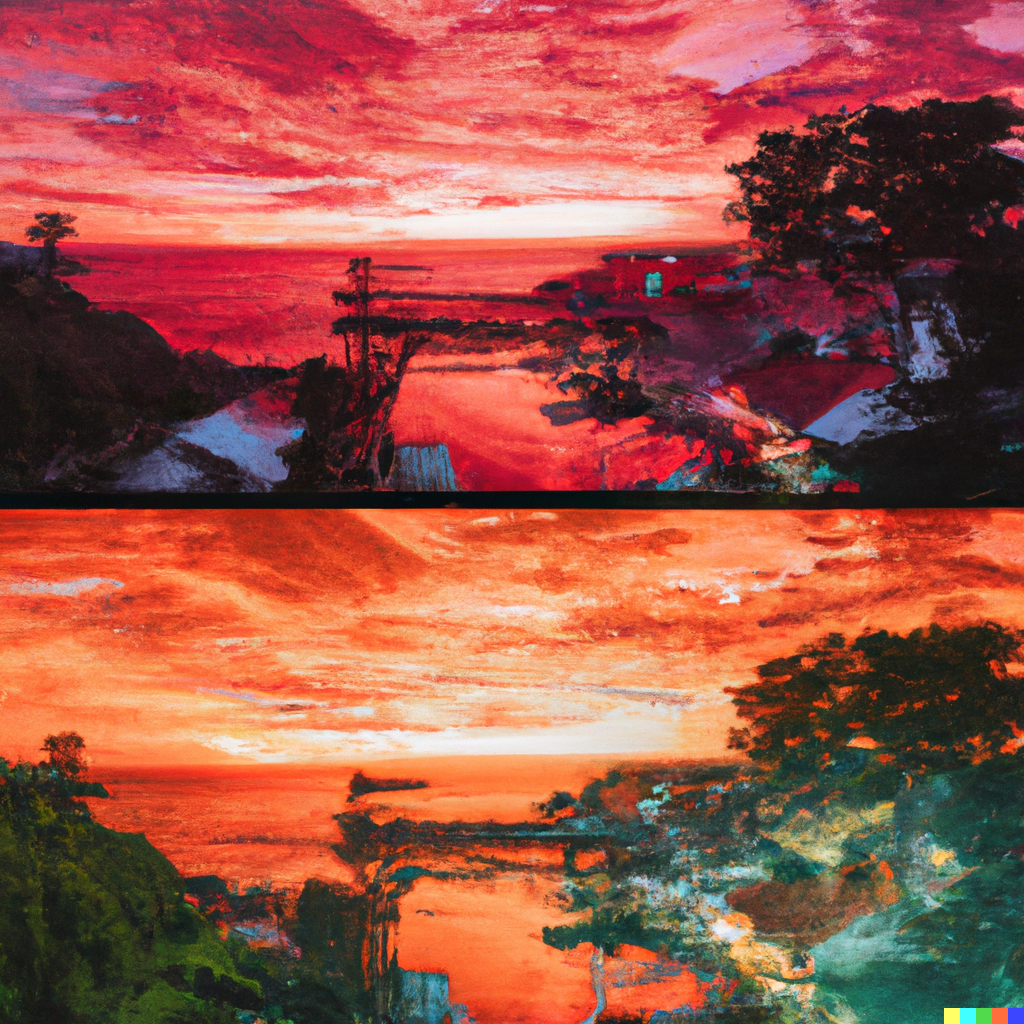
Draggan AI Photo Editor
DragGAN AI Photo Editor is a user-friendly and intuitive software that utilizes artificial intelligence to enhance and transform your photos into stunning works of art. With its advanced algorithms, DragGAN makes it easy for users of all skill levels to experience professional-grade editing without the steep learning curve. Whether you want to enhance colors, remove unwanted objects, or apply creative filters, DragGAN has got you covered.
AI Photo Editing
AI photo editing is a revolutionary approach to enhancing images using artificial intelligence algorithms. By analyzing and understanding the content of an image, AI-powered tools like Draggan can automatically make intelligent adjustments to various aspects of the photo, resulting in visually appealing and balanced results.
Getting Started with Draggan AI Photo Editor
Now that you have a basic understanding of what Draggan AI Photo Editor is and how AI photo editing works, let's dive into the steps of getting started with this amazing tool:
Step 1: Download and Install Draggan AI Photo Editor
To begin using DragGAN AI Photo Editor, you'll first need to download and install the software on your computer. Simply visit the Draggan website (www.draggan.com) and navigate to the Downloads section. Choose the appropriate version for your operating system (Windows or macOS) and follow the on-screen instructions to complete the installation process.
Step 2: Launch the Application
Once the installation is complete, locate the DragGAN AI Photo Editor icon on your desktop or in your applications folder and double-click to launch the application.
Step 3: Import Your Photo
After launching DragGAN AI Photo Editor, you'll be greeted with a clean and user-friendly interface. To begin editing, click on the "Import" button or navigate to "File" > "Import" and select the photo you want to edit from your computer's file explorer.
Step 4: Explore the Editing Tools
Once your photo is imported, you'll find a wide range of editing tools and options at your disposal. Here are some key features and functions you should familiarize yourself with:
Adjustments
The Adjustments panel allows you to fine-tune various aspects of your photo such as brightness, contrast, saturation, and more. Simply click on the relevant adjustment option and use the sliders or input fields to make the desired changes. Don't be afraid to experiment and find the perfect balance for your image.
Filters
DragGAN AI Photo Editor offers a variety of creative and artistic filters to instantly transform the look and mood of your photos. From vintage effects to modern aesthetics, you'll find a filter to suit every style. Simply click on the "Filters" tab, browse through the available options, and choose the one that enhances your photo the best.
Crop and Rotate
If you need to recompose your photo or straighten a slightly crooked shot, the Crop and Rotate tool will come in handy. Click on the respective icon or navigate to "Edit" > "Crop and Rotate" to access this feature. You can drag the corners of the crop box to adjust the dimensions or use the rotation slider to straighten the image.
Remove Objects
One of the standout features of Draggan AI Photo Editor is its ability to intelligently remove unwanted objects or distractions from your photos. Simply select the "Remove Objects" tool and use the brush to paint over the areas you want to remove. The AI algorithm will automatically analyze the surrounding content and seamlessly fill in the gaps.
Step 5: Save and Export
Once you are satisfied with the edits you've made to your photo, it's time to save and export the final result. Navigate to "File" > "Save" or click on the "Save" icon to choose a location on your computer to save the edited photo. Draggan AI Photo Editor supports various file formats, including JPEG, PNG, and TIFF. Make sure to select the appropriate format based on your requirements.
Tips and Tricks for Using Draggan AI Photo Editor
Here are some useful tips and tricks that will help you make the most out of Draggan AI Photo Editor and achieve stunning results:
1. Undo and Redo
If you make a mistake or want to revert any changes, simply click on the "Undo" button or use the keyboard shortcut (Ctrl + Z for Windows, Command + Z for macOS). Similarly, you can redo any undone actions by clicking on the "Redo" button or using the keyboard shortcut (Ctrl + Y for Windows, Command + Shift + Z for macOS).
2. Presets
Save time and experiment with different looks by utilizing the Presets feature in Draggan AI Photo Editor. Presets are pre-defined combinations of adjustments and filters that instantly apply a specific style or mood to your photos. You can access them by clicking on the "Presets" tab and previewing the available options. Find a preset that suits your photo and make further adjustments if necessary.
3. Use Keyboard Shortcuts
To speed up your editing workflow, take advantage of the keyboard shortcuts available in Draggan AI Photo Editor. Common tasks such as zooming in/out, switching between tools, and applying adjustments can be performed effortlessly using keyboard combinations. Refer to the software's documentation or help menu to learn about the available shortcuts.
4. Compare Before and After
At any point during your editing process, you can easily compare the original photo with the edited version. Simply click and hold on the "Compare" button to toggle between the before and after views. This allows you to see the impact of your adjustments and make further refinements if needed.
Conclusion
Congratulations! You've reached the end of this beginner's guide to using Draggan AI Photo Editor. Armed with the knowledge of its basic functionality and some handy tips and tricks, you're ready to unleash your creativity and transform your photos into stunning works of art. Remember to practice, experiment, and most importantly, enjoy the process of photo editing. Happy editing!


