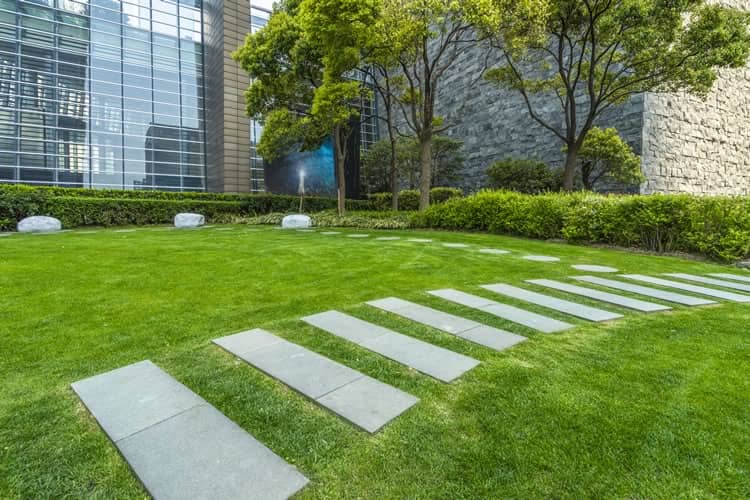


In recent years, synthetic grass has become an increasingly popular choice for homeowners and businesses alike. Its low maintenance requirements, aesthetic appeal, and eco-friendly properties make it an attractive alternative to natural grass. If you're considering synthetic grass installation, this comprehensive guide will walk you through everything you need to know to achieve a beautiful and long-lasting lawn.
Benefits of Synthetic Grass
Before diving into the installation process, let’s take a moment to appreciate some of the benefits of synthetic grass:
- Low Maintenance: Unlike natural grass, synthetic grass does not require mowing, watering, or fertilizing.
- Durability: Synthetic grass can withstand heavy foot traffic and is highly resistant to wear and tear.
- Water Conservation: It helps in saving water, making it an eco-friendly choice.
- All-Year Round Use: It can be used year-round without the need for reseeding or downtime for maintenance.
Step-by-Step Guide to Installation
1. Measure and Prepare the Area
- Measure the Area: Measure the area where you want to install synthetic grass. Multiply the width by the length to determine the square footage.
- Remove Existing Grass: Use a shovel or a turf cutter to remove the existing grass and weeds. Ensure the soil is smooth and even.
2. Install a Base Layer
- Lay a Weed Barrier: Lay a geotextile weed barrier fabric over the prepared soil to prevent weeds from growing through the synthetic grass.
- Add a Base Material: Depending on your drainage needs, add a base material such as crushed rock or decomposed granite. Compact the base with a plate compactor to ensure a stable surface.
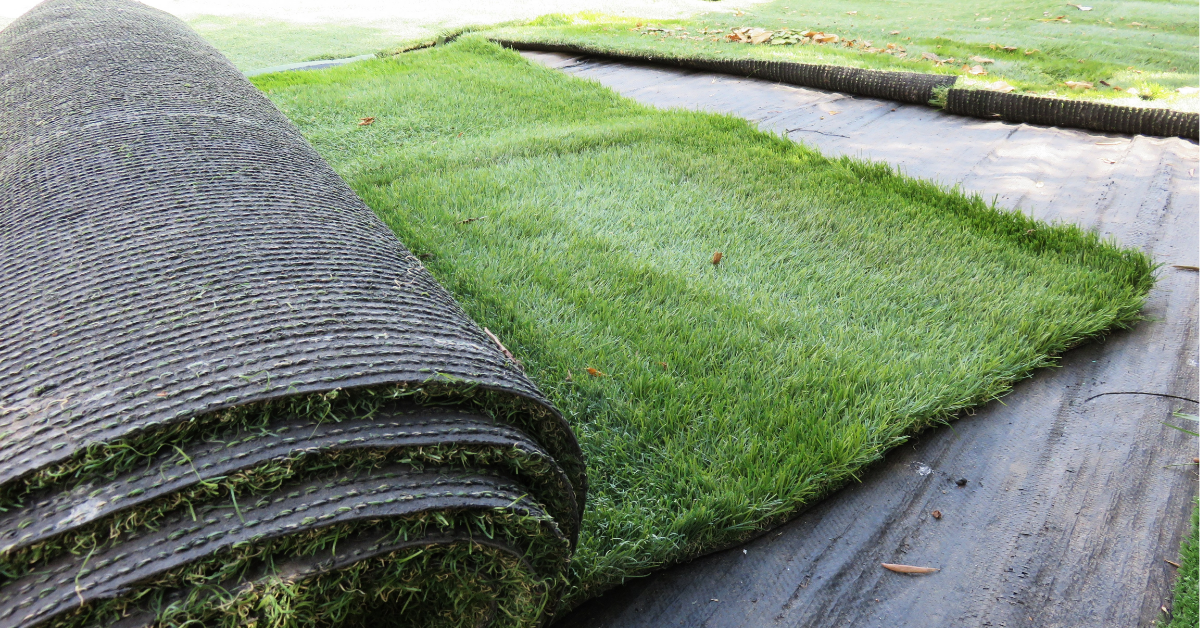
3. Lay the Synthetic Grass
- Cutting the Grass: Lay the synthetic grass over the prepared base. Cut the grass to fit the area using a utility knife.
- Seaming: If your area is larger than the roll of grass, you will need to seam the pieces together. Use adhesive and seaming tape as per the manufacturer's instructions.
4. Add Infill Material
- Spread the Infill: Spread the infill material (typically silica sand or a mixture of sand and rubber granules) evenly over the surface of the grass.
- Brushing: Use a power broom or a stiff bristle broom to brush the infill into the fibers of the grass. This will help the grass blades stand up and create a more natural appearance.
5. Final Touches
- Trimming: Trim any excess grass that extends beyond the edges of the installation area.
- Watering: Lightly water the grass to help settle the infill and cool the surface.
Maintenance Tips
To keep your synthetic grass looking great for years to come, follow these maintenance tips:
- Regular Brushing: Brush the grass regularly to prevent matting and keep the fibers upright.
- Remove Debris: Remove leaves, twigs, and other debris to keep the grass looking clean.
- Periodic Rinsing: Occasionally rinse the grass with water to remove dust and pollen.
Conclusion
Synthetic grass installation can be a straightforward and rewarding project, providing a lush, green lawn without the hassle of traditional grass maintenance. By following this guide, you can achieve professional results and enjoy your new synthetic lawn for years to come. Whether you're looking to enhance your home's curb appeal or create a functional outdoor space for your business, synthetic grass is an excellent choice. Embrace the convenience and beauty of synthetic grass today!