


A garage floor takes a beating—oil spills, tire marks, dropped tools, and constant foot traffic. If your concrete floor is looking rough, a garage floor epoxy coating might be the perfect upgrade. This durable and glossy finish not only makes your garage look sleek but also protects the floor from damage.
How Does Epoxy Coating Work?
Epoxy is a type of resin that, when mixed with a hardener, creates a strong, chemical-resistant surface. Once applied to concrete, it forms a seamless, high-gloss finish that holds up against stains, moisture, and heavy impact. Unlike regular paint, epoxy bonds to the concrete, making it far more durable and long-lasting.
Benefits of a Garage Floor Epoxy Coating
Installing garage floor epoxy coating isn’t just about looks—it offers a range of practical benefits.
1. Tough and Long-Lasting
Epoxy flooring is designed to withstand wear and tear. It resists cracks, chips, and stains better than bare concrete. Whether you’re parking your car, rolling in toolboxes, or working on DIY projects, this coating keeps your garage floor in top shape.
2. Resistant to Stains and Chemicals
Oil, grease, and other automotive fluids can leave nasty stains on concrete. With epoxy, spills don’t soak in, making cleanup a breeze. Just wipe up messes before they set, and your floor stays spotless.
3. Improved Safety
Epoxy flooring can be customized with slip-resistant additives to reduce the risk of falls. The reflective surface also improves lighting in your garage, making it easier to work on projects or find small dropped items.
4. Moisture Protection
If your garage tends to get damp, epoxy can help. It acts as a barrier against moisture, preventing water damage and mold growth. This is especially useful in humid or rainy climates.
5. Customizable Look
Epoxy isn’t just for protection—it also adds style. You can choose from different colors, finishes, and even decorative flakes to create a unique look. Whether you want a sleek showroom vibe or a textured, industrial feel, epoxy can deliver.
How Is Epoxy Applied?
Applying garage floor epoxy coating takes a few steps, but the results are worth it.
1. Prepping the Surface
The concrete floor needs to be cleaned and repaired before applying epoxy. Any cracks or oil stains must be treated, and the surface may need to be etched or ground down to ensure proper adhesion.
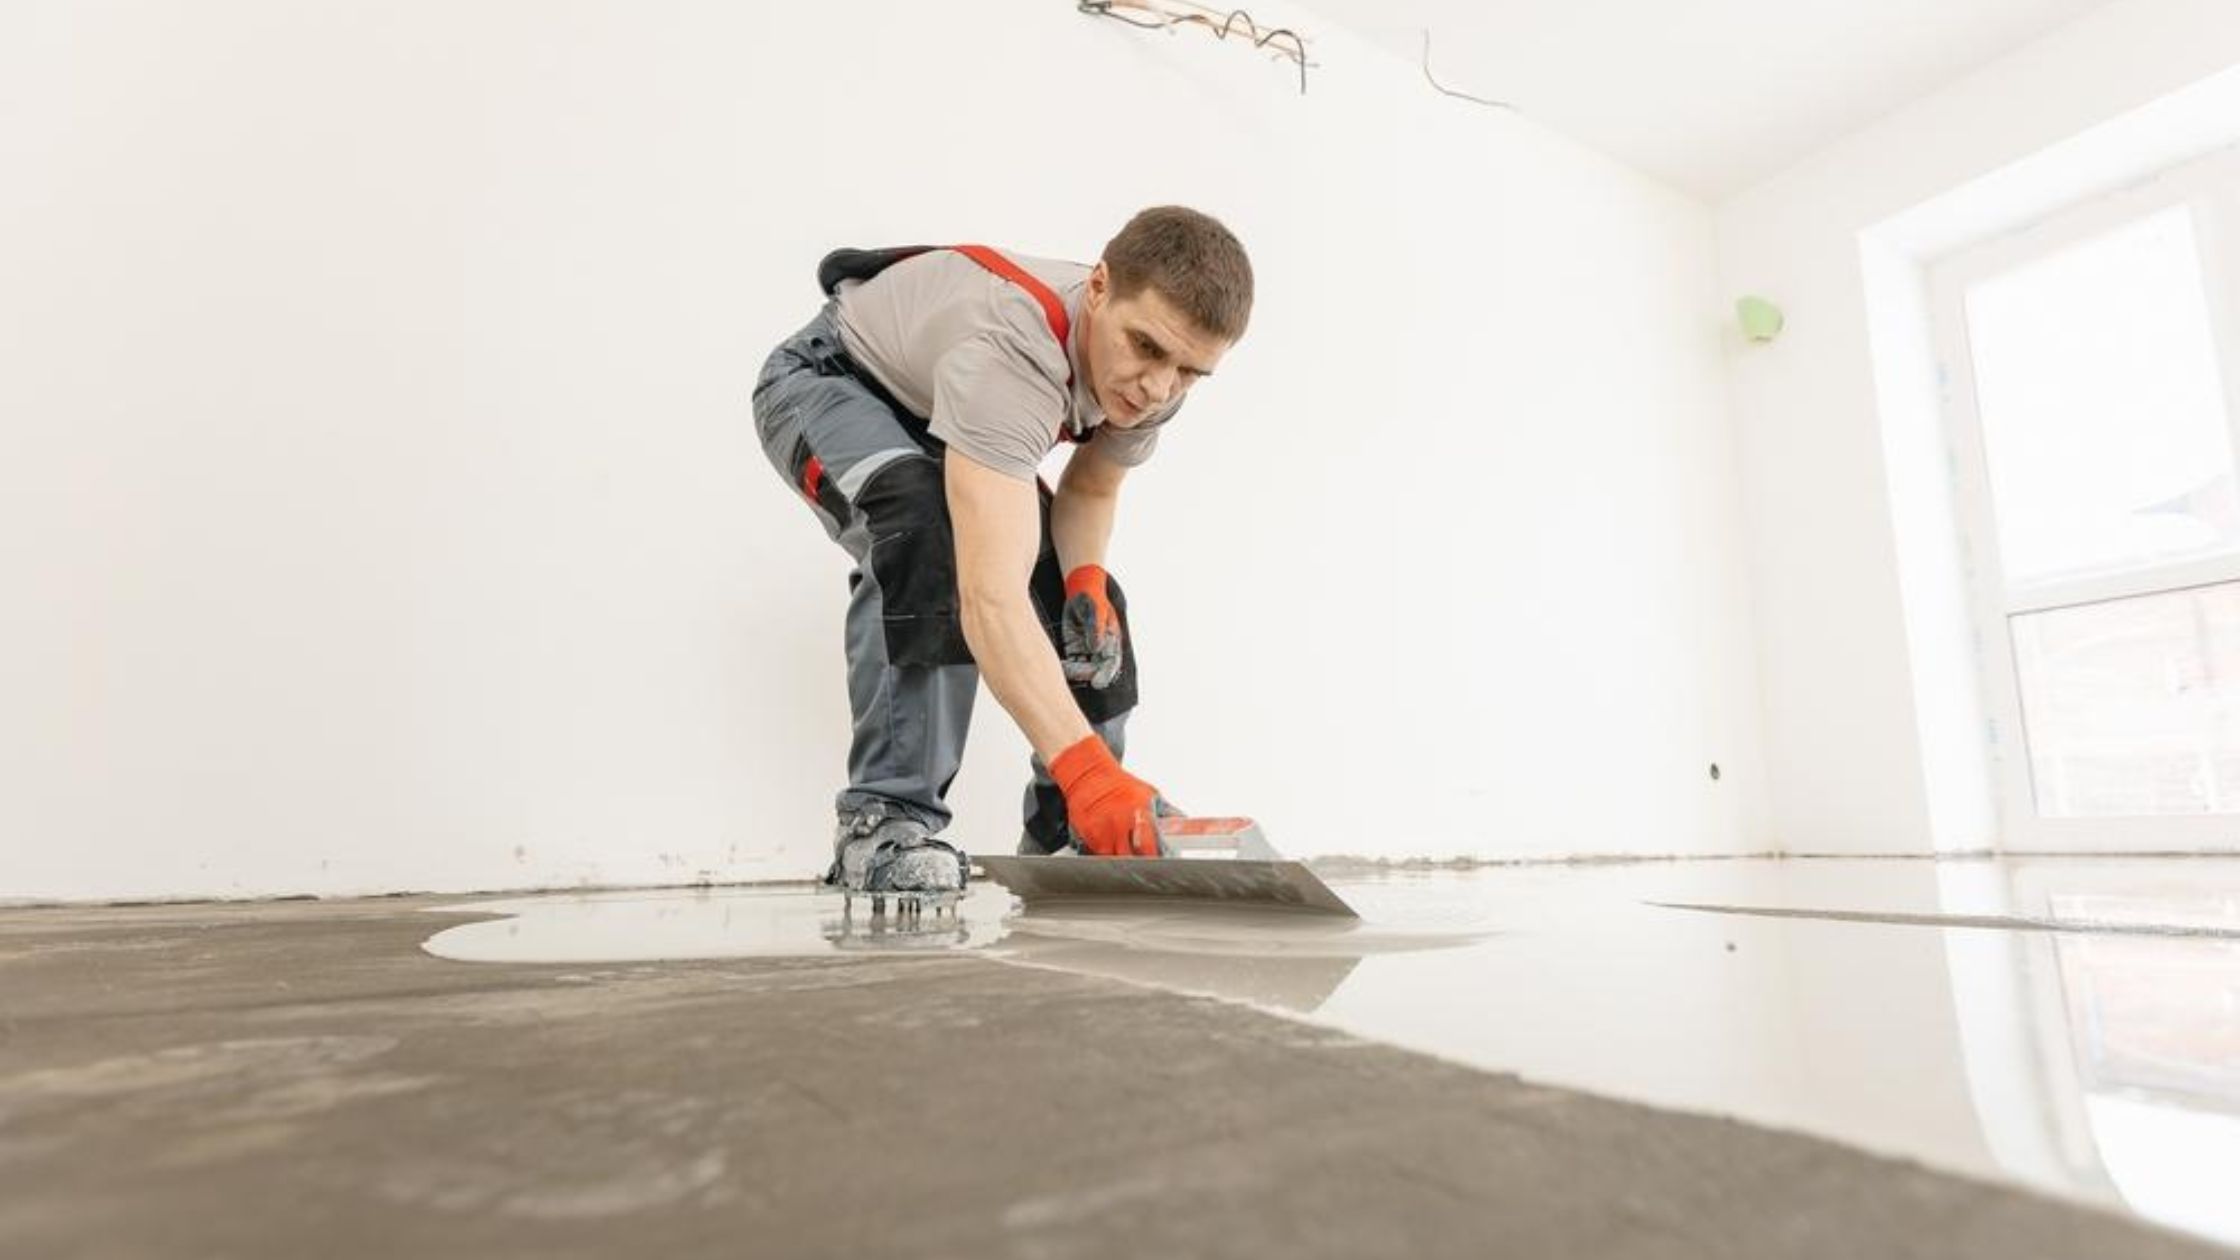
2. Applying the Epoxy
Once the floor is prepped, the epoxy is mixed and applied in layers. A primer coat goes down first, followed by the base coat. If decorative flakes are being used, they’re sprinkled onto the wet epoxy.
3. Sealing the Floor
A topcoat is applied to seal everything in, adding extra durability and shine. After curing—typically 24 to 72 hours—the floor is ready for use.
Is Epoxy Right for Your Garage?
If you want a garage floor that looks great, lasts for years, and resists damage, epoxy is a solid choice. It’s ideal for homeowners who use their garage as a workshop, gym, or even an extra living space. However, proper installation is key. A poorly applied epoxy floor can peel or bubble, so hiring a professional is often the best route.
Final Thoughts
A garage floor epoxy coating transforms a dull concrete surface into a durable, easy-to-maintain, and visually appealing floor. With its strength, stain resistance, and moisture protection, it’s an investment that pays off in both function and style. Whether you’re upgrading your garage for practical reasons or just want a polished finish, epoxy is a smart solution.


