


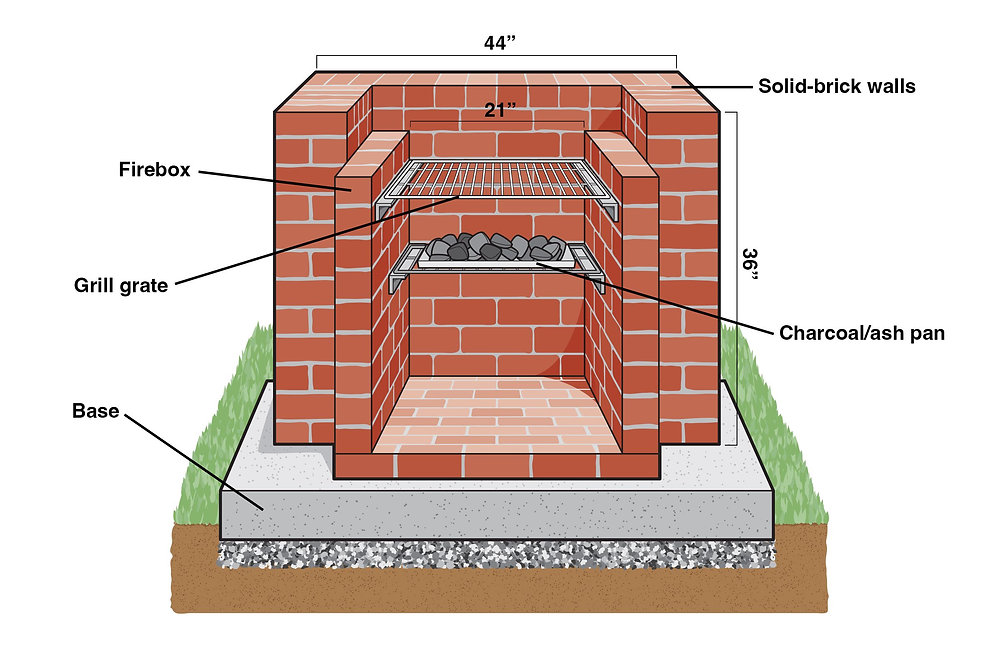
A homemade brick BBQ is a fantastic way to upgrade your backyard. It creates a durable, stylish, and functional grilling space, making outdoor cooking even more enjoyable. Whether you’re a DIY enthusiast or just looking for a fun weekend project, building a brick BBQ is simple and rewarding. With the right brick BBQ kit, you can build a custom outdoor grill that will last for years. This guide will walk you through everything you need to know, from gathering materials to putting on the finishing touches.
What You’ll Need
Before you begin, make sure you have all the necessary materials and tools. A brick BBQ kit will include essential parts like grill racks, a charcoal tray, and an ash tray. You’ll also need heat-resistant bricks, cement and mortar mix, sand, and gravel. A solid base is crucial, so have a concrete slab or pavers ready. Gather tools like a spirit level, trowel, bucket, mixing stick, tape measure, string line, and a shovel. For safety, don’t forget gloves and safety glasses.
Step 1: Pick the Perfect Spot
Choosing the right location is an important first step. Find a flat, well-ventilated area that’s easy to access. Make sure it’s far from trees, fences, or anything flammable. A DIY BBQ kit allows for customization, so select a space that offers enough room for grilling and entertaining. You want to make sure your cooking area is both safe and convenient.
Step 2: Build a Strong Foundation
A strong foundation is essential for a sturdy BBQ. Start by marking the area using a tape measure and string to define the BBQ’s size. Dig about 4-6 inches into the ground, making the space slightly larger than your BBQ structure. Once the ground is ready, mix the cement, sand, and gravel, then pour the concrete into the area. Smooth it out with a trowel and let it dry for at least 24-48 hours to ensure a solid base.
Step 3: Build the Brick Structure
Once the foundation is set, it’s time to build the brick structure. Mix the mortar according to the instructions and lay the first row of bricks on the dried concrete base, making sure they are level. Continue layering the bricks, applying mortar between each one and staggering them for added strength. As you build, remember to leave small gaps or insert brackets for the grill racks and charcoal tray. Check regularly with a spirit level to keep everything aligned and straight.
Step 4: Install the Grill Parts
After the brickwork is complete and the mortar has dried, you can install the grilling components. First, place the charcoal tray at a comfortable height to ensure even heat distribution. Then, insert the cooking grill and make sure it rests securely on the supports. If your BBQ kit includes adjustable grill heights, position them according to your cooking preferences.
Step 5: Add the Finishing Touches
To make sure your brick BBQ looks great and functions well, take some time to add the finishing touches. Wipe off any extra mortar with a damp cloth before it hardens. If you want to protect your BBQ from the elements, consider applying a weather-resistant sealant. Allow everything to fully dry for at least 48 hours before using your BBQ for the first time.
Step 6: Fire Up and Enjoy!
Now that your DIY brick BBQ is built and ready to use, it’s time to fire it up and start grilling! Light the charcoal and prepare your favorite meats and vegetables. A brick BBQ holds heat efficiently, making it perfect for slow cooking and achieving the perfect sear. Invite your friends and family over to enjoy your homemade BBQ setup.
Tips for Long-Lasting Use
To keep your brick BBQ in top shape, clean the grill and charcoal tray regularly to prevent buildup. Cover the BBQ when it’s not in use to protect it from rain and harsh weather conditions. Using high-quality fire bricks will help maintain durability. Experiment with different grill heights to find the best cooking method for your favorite dishes.
By following this guide, you’ll have a sturdy, homemade brick BBQ that enhances your backyard and creates the perfect outdoor cooking experience. Now, gather your friends and family, fire up the grill, and enjoy your delicious homemade meals. Happy grilling!
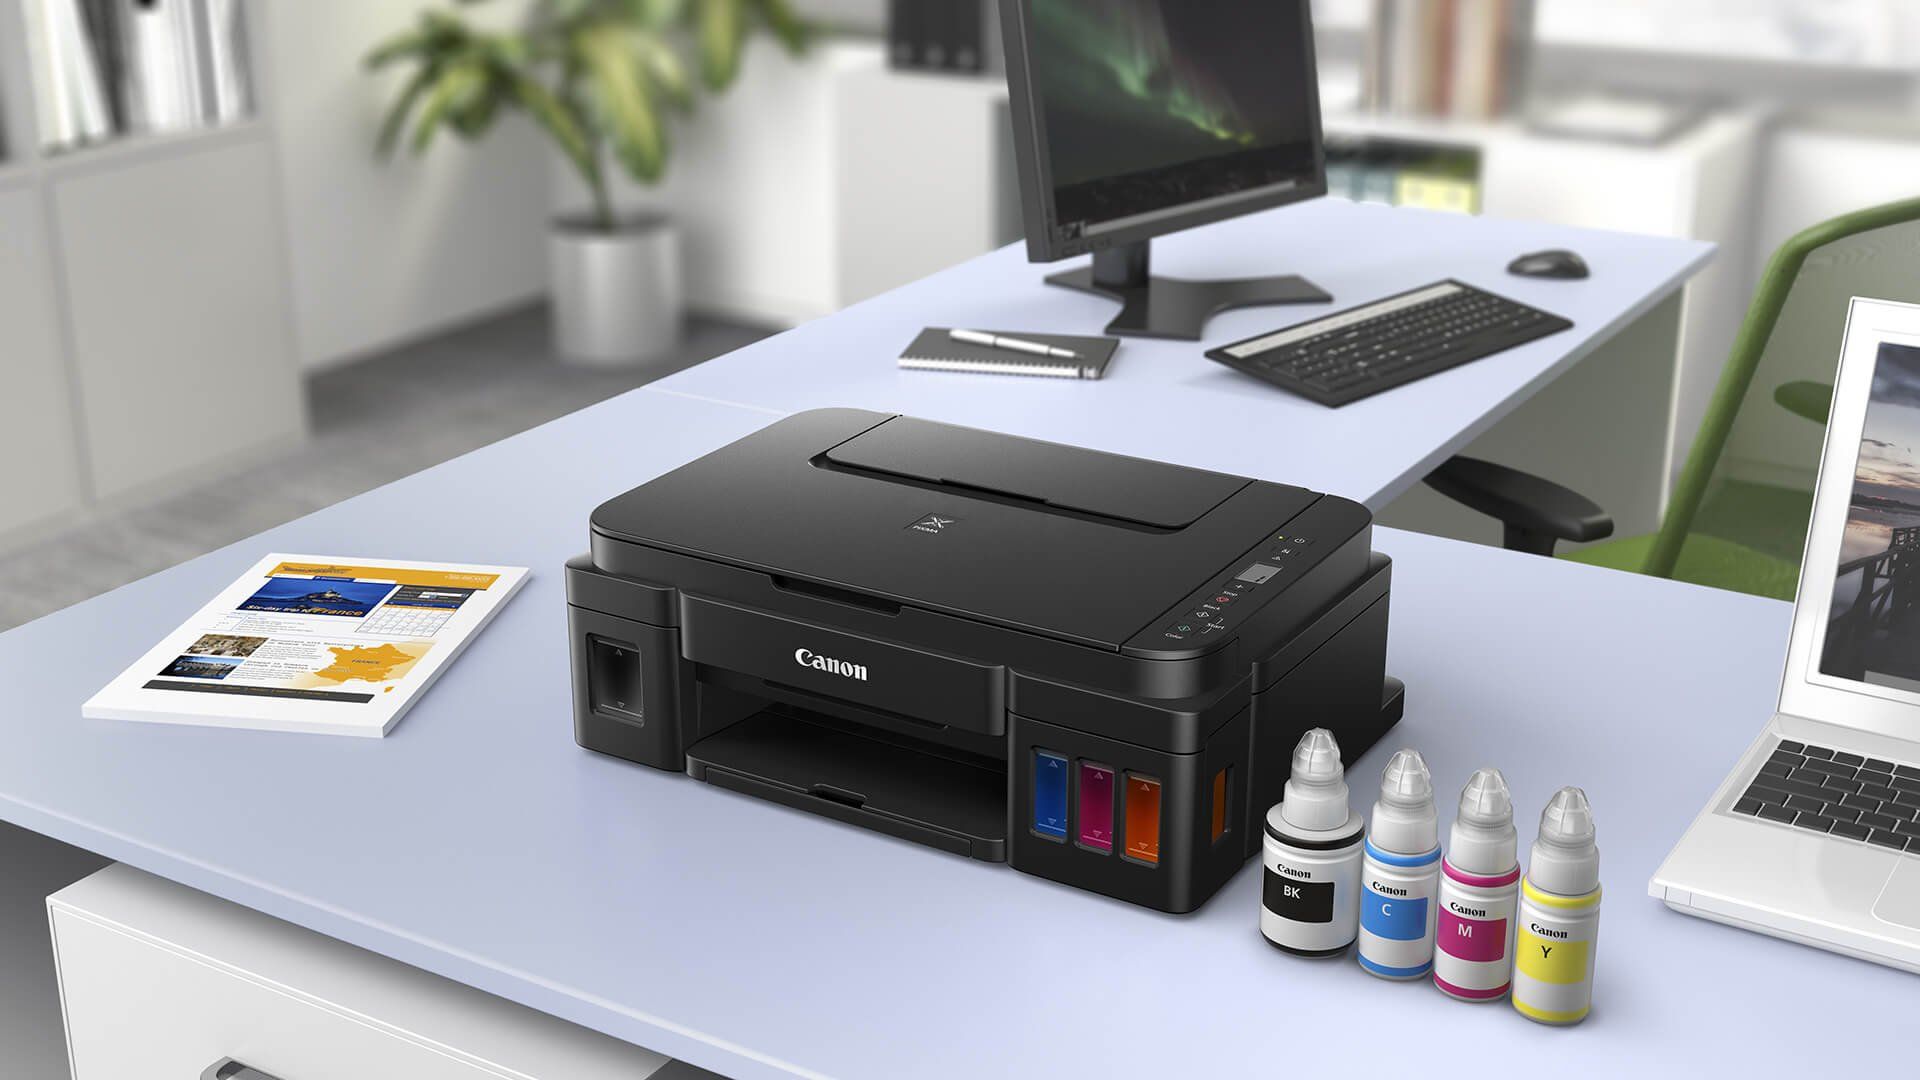
Are you looking for the steps for Canon IJ Setup?
Having trouble printing the documents with IJ Setup Canon?
Then browse the Com Ij Printer in order to get a simple step-by-step guide for Canon IJ setup online free of cost and your printer is ready to take the printouts with high quality.

Want a step-by-step guide to Canon TS3122 troubleshooting online, Then no look further.
Visit the Printer customer service website in order to resolve the Canon TS3122 troubleshooting issues over the phone or chat.
Our experts assist you 24/7 across the globe without pay extra charges.
For more help call us at US (855) 968-1096 UK (800) 368-8615
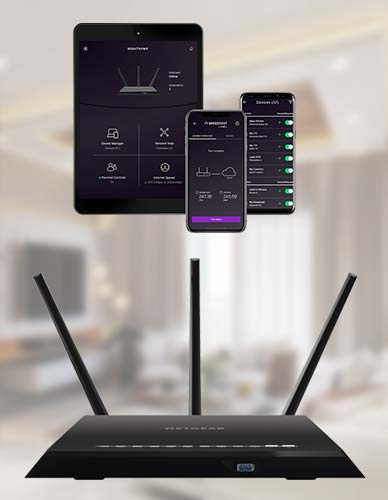
Get a step-by-step guide to Nighthawk app download from the Nighthawk App Download website.
Which provides you the setup instructions to log in to your router to connect to the Internet.
For more information visit our website.