


An entryway is the first thing you see when you walk into your home — and it sets the tone for everything else. Unfortunately, it can also be the messiest area, with shoes scattered everywhere. If you’re tired of tripping over footwear every time you come through the door, a DIY entryway bench with hidden shoe storage might be the perfect weekend project for you. It’s affordable, easy to make, and adds a clean, stylish touch to your space.
Why Build a Shoe Storage Bench?
A shoe storage bench is more than just furniture — it’s a practical solution that makes your home feel organized and welcoming.
Here’s why homeowners love this simple addition:
Declutters your entryway: Keeps shoes neatly stored and out of sight.
Provides extra seating: Perfect for putting on or taking off shoes comfortably.
Adds beauty to your space: Can be customized to match your home’s style.
Cost-effective: You can build it yourself for a fraction of retail prices.
Plus, it’s a fun project that doesn’t require advanced carpentry skills. With a few basic tools, you can easily create something functional and attractive.
Materials You’ll Need
Before you start, gather the following materials:
Wooden boards (pine or plywood work great)
Screws and wood glue
Hinges (for the lift-up lid)
Sandpaper or sander
Paint or stain (optional)
Measuring tape and pencil
Saw (hand saw or circular saw)
Drill
Optional extras include handles, cushions, or baskets if you want to give your bench a more polished look.
Step-by-Step Building Guide
Step 1: Measure Your Space
Start by measuring your entryway or hallway to decide the right size for your bench. Most benches are between 36 to 48 inches wide and 18 inches tall, but you can adjust based on your needs.
Step 2: Cut the Wood
Use your saw to cut the boards according to your measurements. You’ll need:
Two side panels
One back panel
One bottom panel
One top panel (this will be the lid)
Step 3: Assemble the Base
Attach the side and bottom panels using screws and wood glue. Then, secure the back panel to create the basic frame of your bench. Make sure it’s stable and square before proceeding.
Step 4: Add Internal Storage Sections
If you want multiple shoe compartments, add dividers inside the bench. These can be simple wooden slats spaced evenly to separate pairs of shoes. For hidden storage, you can install a lift-up lid using hinges at the back.
Step 5: Sand and Paint
Smooth out rough edges using sandpaper. Then, paint or stain your bench in your preferred color. A white or walnut finish gives it a timeless, clean look, but you can choose any tone that matches your décor.
Step 6: Add the Finishing Touches
Install the top panel with hinges so it can lift open for storage. You can also add a soft cushion for extra comfort. Now you have a stylish and functional bench that hides clutter with ease!
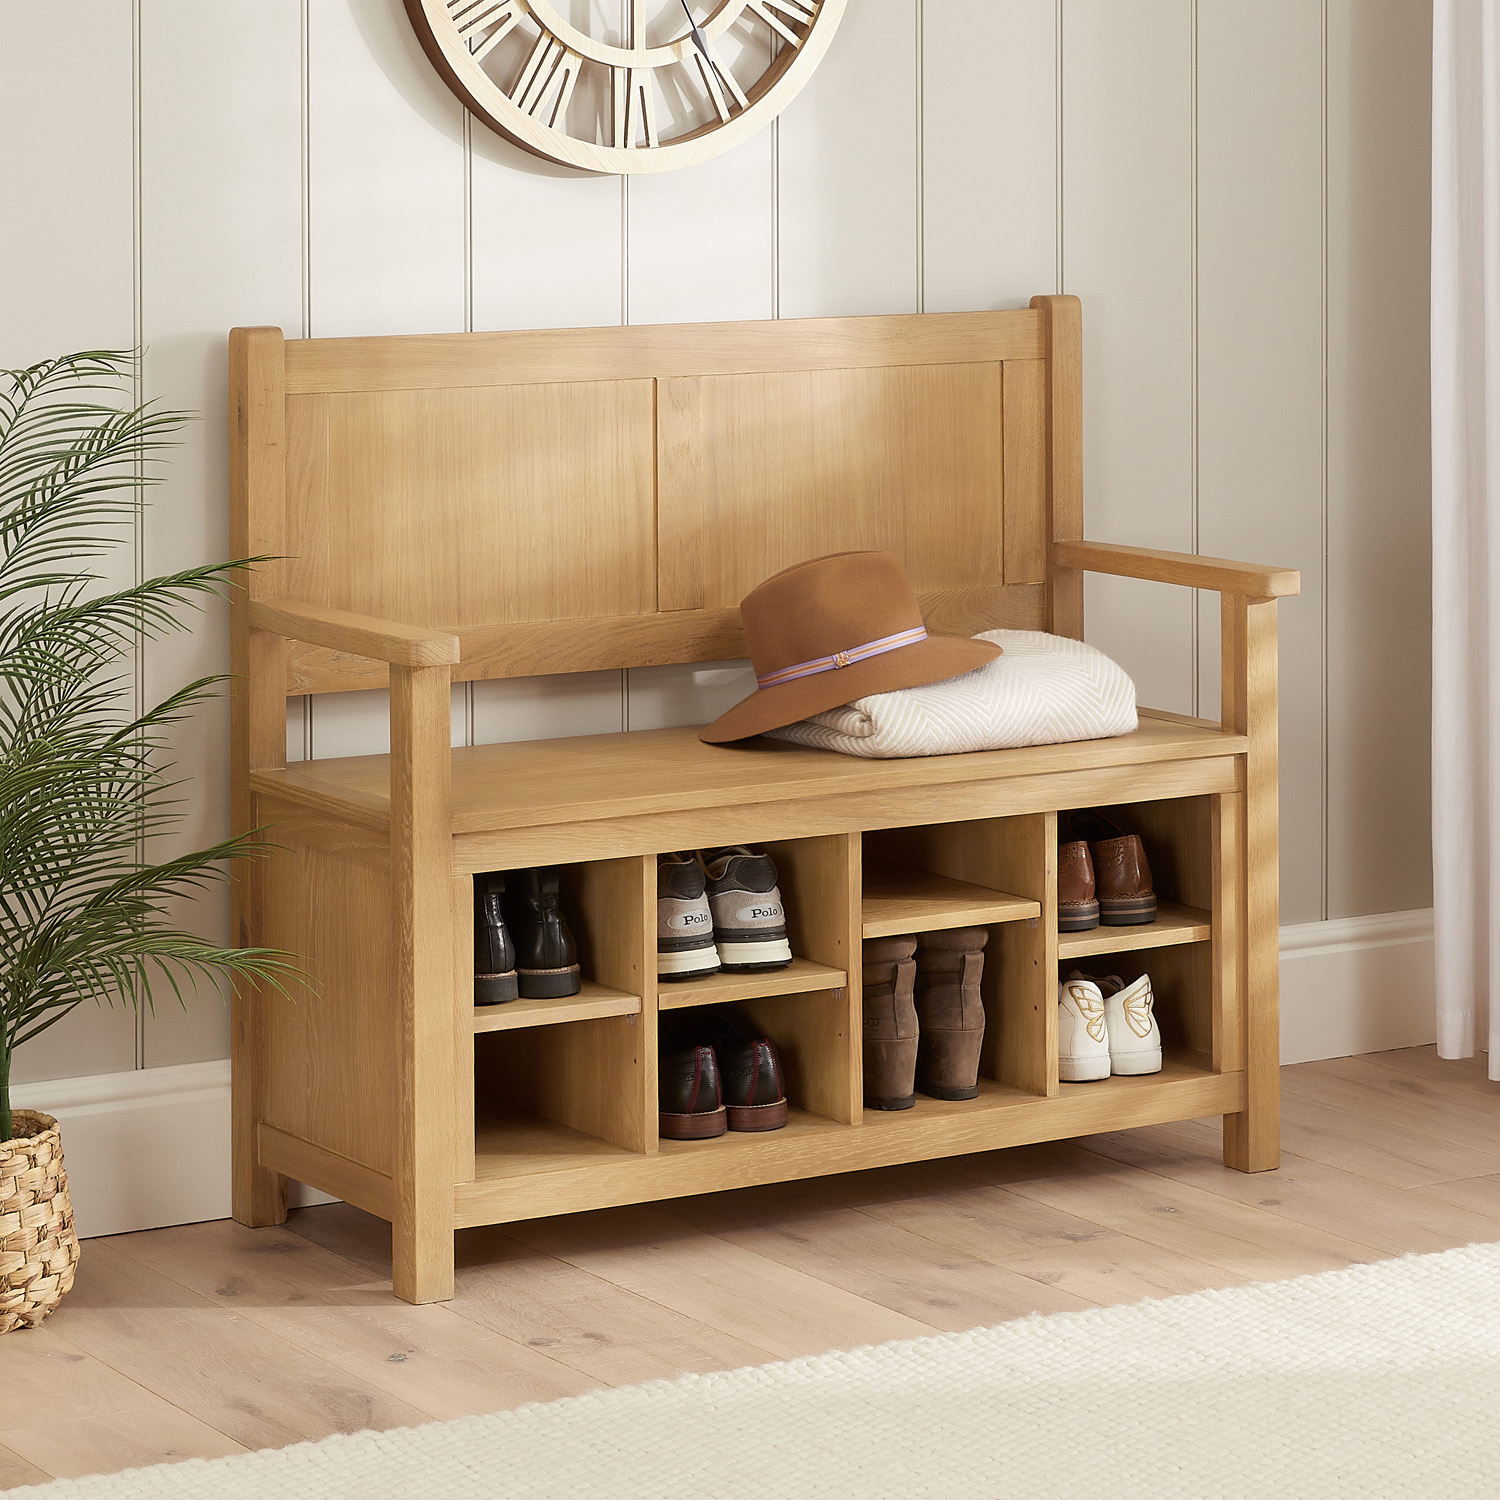
Hidden Shoe Storage: Smart and Stylish
What makes this DIY project stand out is the hidden storage feature. Unlike open shelves, this design allows you to lift the seat and keep all your shoes tucked away. It’s ideal for small homes or apartments where space is limited. You can even store bags, gloves, or scarves inside when not in use.
If you’d rather buy a ready-made version, you can explore beautiful and affordable designs at
👉 https://storagebench.co.uk/collections/shoe-storage-bench
They offer a wide range of shoe storage benches — from rustic wood to modern upholstered options — that fit any hallway style.
Maintenance Tips
To keep your DIY bench looking fresh:
Wipe it regularly with a soft cloth.
Avoid storing wet or muddy shoes inside without cleaning.
Repaint or re-stain it once a year to maintain its appearance.
With just a little care, your bench will stay strong and beautiful for years to come.
Final Thoughts
A DIY entryway bench with hidden shoe storage is one of those projects that’s both practical and rewarding. You’ll save space, reduce clutter, and create something with your own hands that adds warmth to your home. Whether you build it from scratch or buy one ready-made, a shoe storage bench is a small change that makes a big difference in everyday living.


