


Introduction
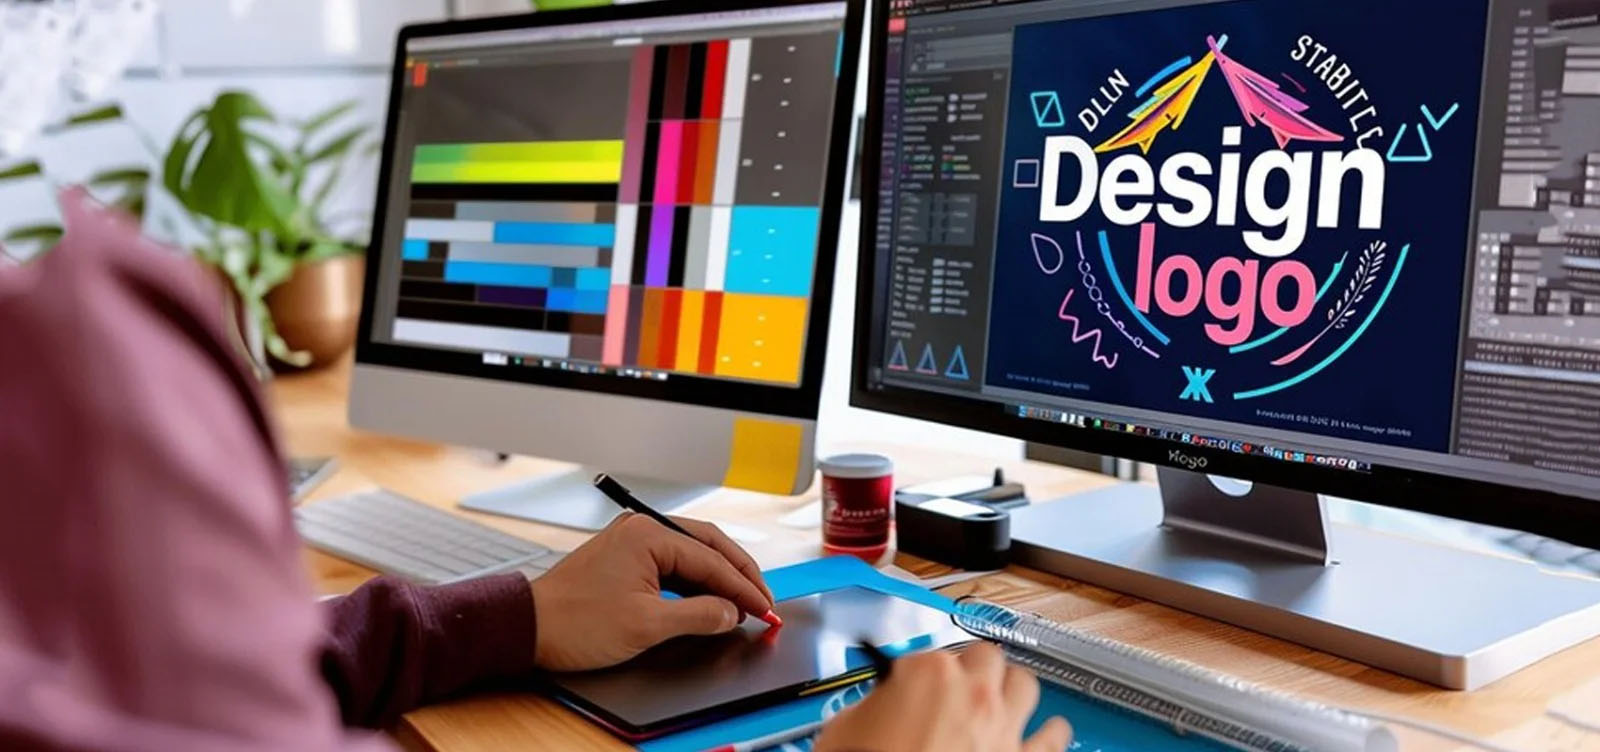
You've got a killer image saved as a JPG, and you're ready to see it come to life on a cap or shirt with your Brother embroidery machine. You know you need to convert JPG to PES, so you do a quick online search, pick a tool, and hope for the best. But when the file stitches out, it's a disappointment. The design is puckered, the details are blurry, and it looks nothing like your original artwork. You're not alone. This frustrating scenario plays out daily because the process of creating a PES file is often misunderstood. It’s not a simple conversion; it's a skilled translation from a visual language to a mechanical one. By stumbling into a few common traps, you can waste hours and ruin good fabric. Let's walk through the five most frequent mistakes everyone makes on this journey and, more importantly, how you can avoid them to get professional results.
Mistake #1: Treating It Like a Simple "File Conversion"
The Mistake: This is the root of all other errors. The mindset that you can simply "convert" a JPG to a PES file like changing a Word document to a PDF is fundamentally wrong. You right-click, hit "save as," choose .PES, and expect it to work. When it doesn't, confusion sets in.
Why It's a Problem: A JPG is a raster image—a grid of colored pixels meant for display. A PES file is a set of vector-based, sequential commands telling your Brother machine exactly where to move the needle, what stitch type to use, and when to trim the thread. You're not changing the wrapper; you're rewriting the entire contents from scratch in a new language. This process is called digitizing.
How to Avoid It: Shift your vocabulary and your approach. You are not "converting." You are "digitizing" or "creating a PES file from a JPG." This mental shift prepares you for the thoughtful, multi-step process required. You'll stop looking for magic one-click buttons and start seeking the right tools or professional help for the job.
Mistake #2: Using Low-Quality or Overly Complex Source Images
The Mistake: Starting with a blurry, pixelated, or wildly intricate JPG. You try to digitize a detailed family photo, a logo with tiny 4-point text, or a graphic saved from a website at 72 DPI that's the size of a postage stamp.
Why It's a Problem: Garbage in, garbage out. Embroidery has inherent limitations. Fine details, gradients, and shadows don't translate into thread. A low-resolution image forces the digitizing software (or person) to guess at edges, resulting in a blocky, poorly defined stitch file. Tiny text becomes an unreadable, dense blob.
How to Avoid It:
Start with the Best Possible File: If you have a vector source (AI, EPS, SVG), use it. Vectors are infinitely scalable and have clean paths.
Simplify Ruthlessly: Before you even think about PES, edit your JPG. Enlarge small text to at least 1/4 inch (6mm) tall. Thicken hairline details. Convert photo-realistic images into simplified, graphic versions with clear color blocks.
Ensure High Contrast: Use an image editor to boost contrast between elements and the background, making shapes easier to define.
Mistake #3: Relying on Fully Automated Online Converters
The Mistake: Googling "free JPG to PES converter" and using the first website that promises instant results for $2. It seems fast, easy, and cheap.
Why It's a Problem: These automated tools use a basic algorithm to trace pixels and assign generic stitch types. They completely ignore the most critical elements of digitizing:
Underlay: They add no stabilization stitches, guaranteeing fabric puckering.
Pull Compensation: They don't account for fabric distortion, so shapes sew out distorted.
Stitch Optimization: They create inefficient paths with excessive trims and jumps.
The resulting PES file might load into your machine, but it will produce a stiff, ugly, and unstable embroidery mess. It's the #1 cause of wasted thread and ruined garments.
How to Avoid It: Treat these sites as a last resort for only the most simple, single-color shapes. For any logo or detailed graphic, invest in a better method. The small fee you "save" will be spent ten times over on ruined materials.
Mistake #4: Ignoring the Target Fabric
The Mistake: Getting a PES file digitized as if fabric is a universal constant. You use the same file on a stiff canvas hat, a stretchy polo shirt, and a fluffy towel, then wonder why it only looks good on one of them.
Why It's a Problem: Different materials behave dramatically differently under the needle. A design for a rigid hat needs less pull compensation and a different underlay than one for a stretchy jersey, which needs more stabilization to prevent warping. A file for a towel needs a heavy underlay to prevent sinking.
How to Avoid It: Always specify the fabric when you digitize. If you're using software, learn to adjust density and underlay settings for knit vs. woven fabrics. If you're using a professional digitizing service, this is their golden question. A reputable service will always ask, "What are you stitching this on?" Your answer is essential for them to engineer the PES file correctly.
Mistake #5: Skipping the Test Stitch
The Mistake: The PES file looks great on your computer screen, so you immediately hoop your $30 branded hoodie and hit start. This is the most expensive mistake of all.
Why It's a Problem: The digital preview is an ideal simulation. It doesn't show how the physical thread tension will pull on your specific fabric with your specific stabilizer. Only a real stitch-out can reveal issues like minor registration errors, slight puckering, or a density that's too tight or too loose.
How to Avoid It: Never. Skip. The. Test. Stitch. This is non-negotiable. Hoop a scrap piece of the exact fabric you'll use for the final project. Use the same stabilizer. Run the machine and watch it. Afterward, inspect the piece closely. Feel it. Is it flat? Are all lines crisp? This test is your only true quality control. If you used a digitizing service, this is when you'd use your free revision to have them tweak the file based on the real-world results.
Your Path to a Flawless PES File
Now that you know the pitfalls, here's the safe path to successfully convert JPG to PES:
Prepare Your JPG: Simplify, enlarge text, ensure high contrast.
Choose the Right Method:
For Quality & Peace of Mind: Use a professional digitizing service. Send them your prepped JPG and tell them the target fabric. It's the most reliable path to a perfect file.
For Learning & Control: Invest in digitizing software like Hatch Embroidery or Embrilliance. Commit to the learning curve, starting with simple designs.
Specify Fabric: No matter your method, define the end material.
Run a Test Stitch: Always on scrap fabric first. Analyze and adjust.
Stitch Your Final Project: Only after a successful test do you move to the final garment.
Conclusion
Successfully learning how to convert JPG to PES is less about finding a secret tool and more about avoiding critical missteps. By moving beyond the "conversion" myth, starting with a clean image, avoiding automated traps, respecting your fabric, and always testing, you set yourself up for success. This process respects the craft of embroidery digitizing, acknowledging it as the essential bridge between your digital idea and a tangible, professional-quality stitched product. Ditch the shortcuts, embrace the proper workflow, and you'll transform those frustrating, failed attempts into consistently perfect stitches that do your original artwork proud.


Whether you are looking to up your digitizing skills, or just interested in learning to stitch, you would need to the process to convert JPG to PES.
Now, while some of you surely would know the basics of embroidery digitizing process and PES format, there certainly would be people who aren’t much knowledgeable with these terminologies.
To read more Click Here.


Yes, you heard it right.
Pngtojpg-converter can convert your png file to jpg for free.
You just have to visit pngtojpg-converter, upload up to 10 images to be converted, select the image quality and click convert.