


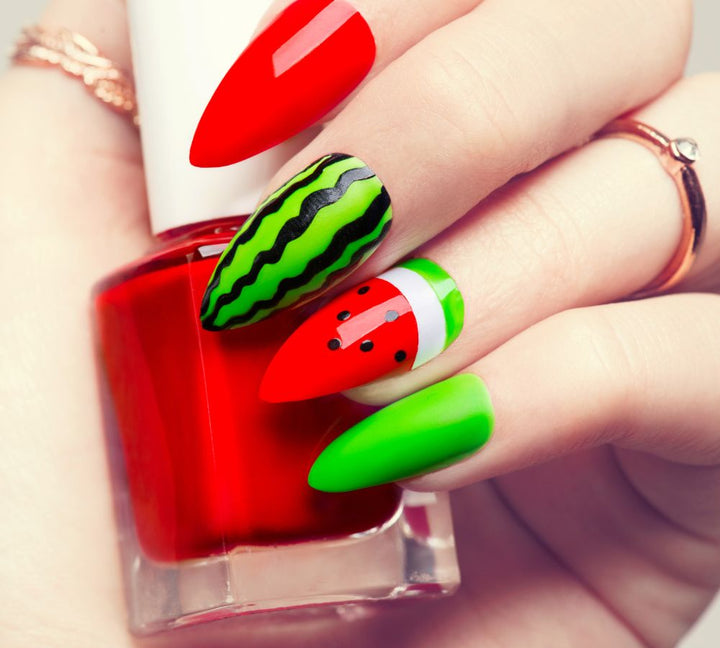
Creating stunning nail designs requires the right tools and techniques. Using an Acrylic Nail Brush Nail Art kit allows nail enthusiasts and professionals to craft intricate and durable designs with precision. Whether you’re a beginner or an experienced nail artist, understanding how to properly use acrylic brushes can elevate your nail art game and achieve professional results.
Understanding Acrylic Nail Brushes
Acrylic nail brushes are specially designed to work with powdered acrylic and liquid monomer. They help create smooth, sculpted nail extensions and detailed designs. Choosing the right brush is essential for controlling the consistency of acrylic, shaping nails, and executing delicate art techniques.
1. Types of Acrylic Brushes
There are several brush types, including round, flat, and oval. Each type serves a specific purpose:
● Round Brushes: Ideal for creating acrylic beads and detailed nail art.
● Flat Brushes: Useful for smoothing and shaping larger surfaces.
● Oval Brushes: Perfect for building and blending layers seamlessly.
2. Brush Maintenance
Proper cleaning and storage of acrylic brushes ensure longevity and consistent performance. Rinse brushes with a suitable brush cleaner, reshape the bristles, and store them in a protective case to maintain quality.
Step-by-Step Acrylic Nail Brush Techniques
Learning acrylic nail art techniques involves mastering a few essential steps.
1. Prepare the Nails
Start by cleaning and filing the natural nails. Remove any oils or residues to ensure proper adhesion. Applying a primer helps prevent lifting and ensures the acrylic adheres smoothly.
2. Form the Acrylic Bead
Dip the acrylic brush into the monomer liquid, then pick up a small amount of acrylic powder to form a bead. This bead will be used to sculpt the nail extension or create the desired nail art design.
3. Apply the Acrylic
Place the acrylic bead onto the nail surface and use the brush to gently spread and shape it. Work quickly, as acrylic begins to harden once it reacts with the liquid monomer. For nail extensions, build the apex and length carefully.
4. Sculpt and Refine
Use the brush to refine the edges, shape the free edge, and smooth the surface. For intricate nail art, smaller brush strokes can create patterns, flowers, or textures.
5. Cure and Finish
Once the acrylic is set, lightly file and buff the nails to achieve a smooth finish. Apply gel or topcoat for added shine and protection. Using a Gel Nail Extension after acrylic application can enhance durability and give a glossy, polished look.
Tips for Perfect Acrylic Nail Art
● Practice brush control to improve precision.
● Work with small beads to prevent lumps and uneven surfaces.
● Keep your workspace clean and organized for efficiency.
● Use high-quality acrylic powders and liquids for consistent results.
Final Thoughts
Mastering acrylic nail brush techniques opens up endless possibilities for creative and professional nail designs. By understanding brush types, maintaining tools properly, and following step-by-step application methods, both beginners and experienced nail artists can achieve flawless results. For those looking to combine quality supplies with expert guidance, At Nail Glam, you can find premium acrylic brushes and gel nail extension products designed to help you create stunning, durable, and professional-looking nail art every time.


Nail Arts onlineNail Culture provides Nail Culture, nail art, nail forum, nail tutorial.
Our mission is to provide a platform for nail enthusiast from all over the world.