


Are you wondering how to record videos of your device’s screen? If yes, then you have come to the right place. Suppose you want to make a tutorial video for your YouTube channel, or want to upload your gameplay or anything to engage your audience, then you must know how to capture a video of your device’s screen.

You may want to install a third-party application to record your display, but do you know that your device contains a hidden feature of screen recording? Yes, some OS indeed provide preinstalled screen recorders.
Recording Screen on Windows Devices
Yes, your Windows 10 indeed has its screen recorder. It is a hidden feature on your Windows 10 PC. To get it, navigate to the Xbox app, which is a preinstalled app. To open it, hit the Start key and then search “Xbox.” Now hit the Start + G keys together on your keyboard.
There you can hit the Start recording button to start your screen recording to stop the recording, press Start + Alt + R keys together on your keyboard. The video will be automatically saved to your Videos folder, and the video will be in MP4 format.
You can also tweak its settings by simply logging into the Xbox app. There you have to go to “Game DVR” options. You will have options to change the settings according to your choice. The Settings doesn’t allow you to customize the output/saved recordings folder. However, you will be able to choose the video quality, enable/disable audio recordings, or set a limit for video length.
Sadly, not every Windows 10 device supports this feature because your PC must have a video card to record screen. The video card should support one of the below encoders:
- Nvidia NVENC
- AMD VCE
- Intel Quick Sync H.260
If your Windows PC does not have one of these video cards, then you might be unable to use this feature. You can go for other third party screen recorders for Windows.
Recording Screen on a Mac
If you have a Mac, then there is a built in app for this purpose. The app is QuickTime Player and you can use it to record your Mac screen. You only need to open this app, and further process is straightforward.
If your Mac has macOS Mojave, then the recording process is even more straightforward. You only need to hit the “Shift+ ⌘ + 5” keys together on your keyboard, and the screen recording interface will appear on your device just after pressing those keys. The interface will have all controls that are needed to record your device screen.
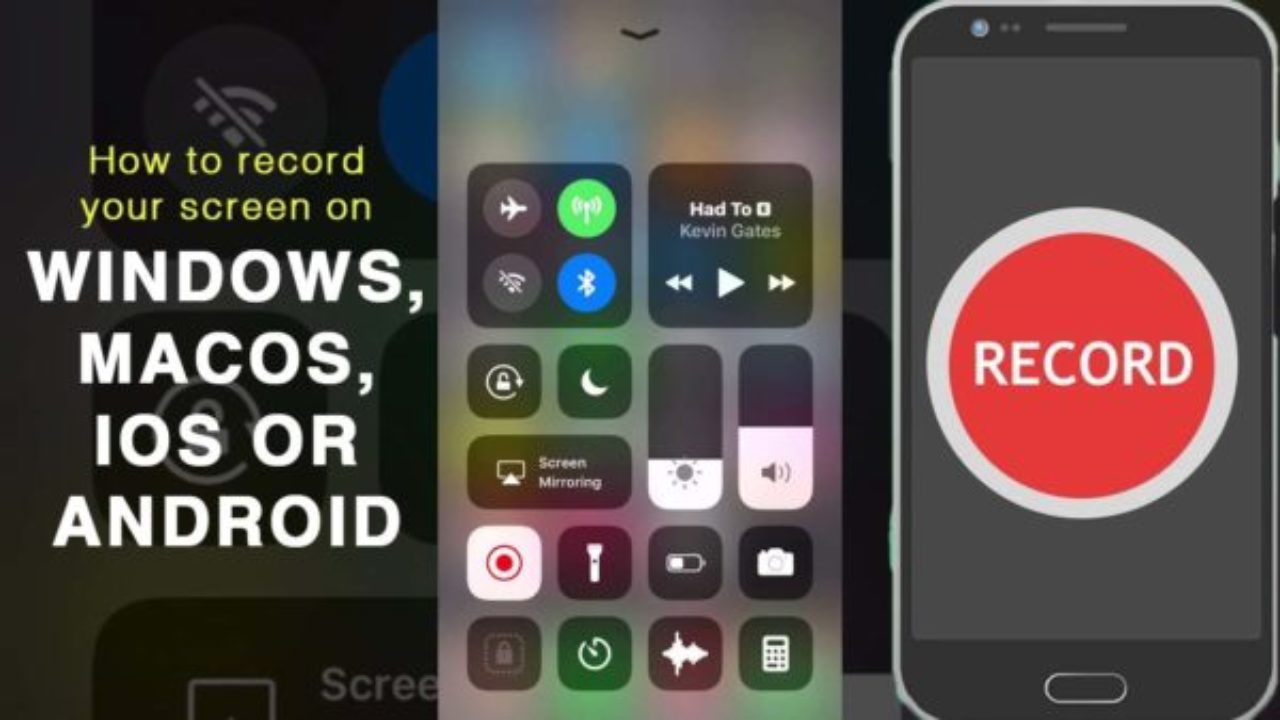
Recording Screen on iOS Devices
Screen recording is one of the best features of the iPhone and iPad. No need to install any additional app to record the screen of your device.
- Head to the “Settings” then go to “Control Center,” and after that, go to “Customize controls.”
- Once you get there, find the “Screen Recording” option and then press the “Plus” button located next to it.
- Now the feature is enabled and you can access it anytime by dragging your finger down to upward direction on your iOS device screen.
- If you own an iPhone X or newer, or any device which has iOS 12 or later, then you will have to swipe up and down on your device screen to access the screen recorder.
- Then you will see a Recording button, tap or hold it for a while to get recording controls.
- Now hit the “Start Recording” button and then your device will count to 3 and then screen recording will start automatically.
- Go to your Control Center and then hit the stop button. After that press the “Stop” button.
- Your recording will be saved to your storage, and you can easily access it from your Photos app.
Recording Screen of Your Android Device
Android Q will have built-in screen recording feature, but current Android versions don’t provide a built-in screen recorder as Apple devices do.
Android Q is not officially released yet, but if you have installed Android Q Beta on your device, then you can use its in-built screen recorder. See the below instructions to use the screen recorder on your Android Q phone:
- Head to settings and then navigate to ‘About phone.’
- Press seven times repeatedly on the “serial number” of your device.
- This will unlock the Developer Mode, which will give you access to some hidden features.
- Now go to the main settings page and then open “Developer options.”
- Head to “Feature flags” and then locate the flag labeled as “settings_screenrecord_long_press.” Toggle the switch located next to it and your screen recorder will be enabled.
- You can now use it any time by holding your power button and choosing start recording option.
Emily Williams is a Microsoft Office expert and has been working in the technical industry since 2002. As a technical expert, she has written technical blogs, manuals, white papers, and reviews for many websites such as office.com/setup.


It’s been two and a half years when the software giant “Microsoft” launched its latest operating system Windows 10.
Although, its market share has escalated at a limited pace throughout that time but regretfully, it never lived up to its promises of being an error-free OS for users.
As a result, many users who either despise Windows 10 or ran into errors, are now opting to uninstall the program as it severely compromising the speed and accuracy of their devices.
Top 6 reasons that can force you uninstall Windows 10 Before we discuss how the successful journey of Windows 10 came to a disappointing end, let us look into the downsides of Windows 10, and address compatibility issues of its latest version.You can’t upgrade your system from Windows 7 or 8You can’t upgrade to the latest windows 10 versionIt gives you less free space than its predecessorsWindows update doesn’t work as expectedTurn off forced updatesTurn off unnecessary notificationsSave your data before you uninstall windows 10 Blowing up your Operating system could cause serious damage to your existing data.
So, make sure to transfer or copy all your data to some other location before you click to “Uninstall”.
While common errors can be easily detected and fixed by following a few steps on your own whereas others could cause you a lot of pain and stress while dealing with them.

If you are a long-time fan of Microsoft Office, then you’ll be excited about the latest addition for 2021.
This year, Microsoft is taking gits productivity suite in a whole new direction.
Whether you’re a consumer or a business, Microsoft Office will help you reach a new level of productivity.
Office 2021 will be available to small businesses and individuals at retail outlets and online for ease of use and download.
This standalone product is sure to be a hit for many who are turned off from the past subscription plans.
FeaturesIf you loved the features in the past, then these new ones will add to your excitement and help you plan how you can use them.

In this article we will see how we can enhance our slides and presentations by adding Video backgrounds that will appeal any audience without any additional tool and extra addon.For this you will however need a Microsoft 365 subscription.
If you do not have a Microsoft 365 subscription you can purchase it online via office.com.Adding a Video background gives you a lot to make your presentation better and look good and even helps you with the informative sector of the presentation.There are two different ways you can use to add video background to the presentation.
Here is how you can do it.Open PowerPoint and Create a new Presentation.On the main window, Under the Home tab, on the right side > Click Design Ideas button.A right pane with a lot of design Ideas and templates for your Presentation will appear.On the top of the pane, the first design idea will have a video background.Click on the design idea that has video background incorporated in it.
There are options where you can choose the auto-play option, volume of the video, loop option and many other options to customize your video background.Another way of adding a video background is by simply Adding video from the insert tab.
Under the stock videos there are categories that will let you insert icons, Cutouts, Stickers, videos and Illustrations.You can also resize the video according to the area you want to cover in the slide or set it to full slide to make sure that it will cover up all the slide.You can also change the shape from the Format option and give it different frames and edges to the video background.
You can add or change video shape, effects, Change video border and add alt text too.