


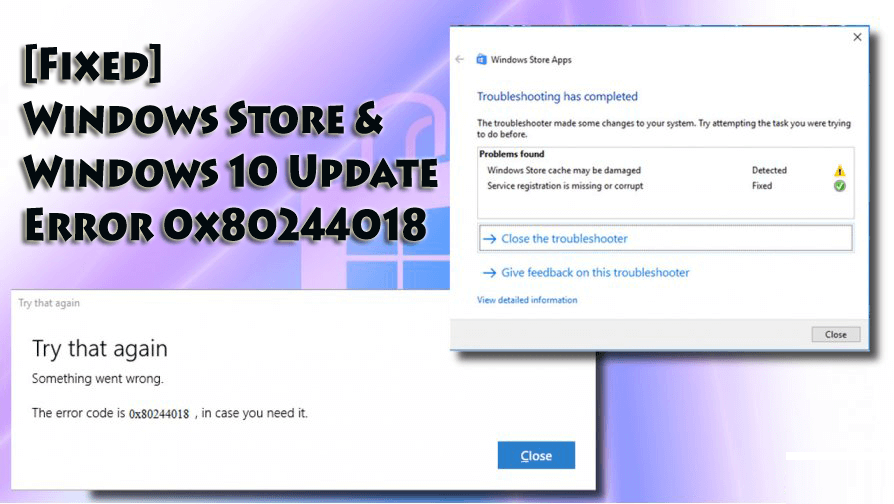
Windows Store acts as the one-stop station for countless handy apps and tools. You can easily install apps from the platform unless you run into an Error Code 0x80244018. The error might appear after an update, and the blog will help you easily fix it. Here is how to fix error code 0x80244018.
Read more - https://1webrootcomsecure.com/how-to-fix-0x80244018-windows-store-error-on-windows-10/


The Error Code 0x8007001F typically occurs during the Windows 10 Anniversary update installation process.
This issue uttermost shows on Windows 10 OS that has updated from old Windows versions and while running the Windows Update feature to update the OS patches and security updates.Read more - https://webrootsafe.uk.com/blog/fixed-0x8007001f-error-code-on-windows-10/

A cursor is a minor yet integral tool in any PC, and if your cursor keeps disappearing, then it can be disappointing.
Here is how to fix the disappearing cursor error in Windows 10.Through Reboot the SystemSource:- How to Fix Disappearing Cursor Problem on Windows 10?If you would like to reboot the system, then abide by the given steps.Hold the Win + X keys together on your keyboard.After that, use the arrow buttons to choose the Sign-out or Shut down.
Then click on the arrow buttons and select the Restart option.Finally, you should be able to press the Enter key.You have to wait till the system restarts and attempt to shift the mouse to check whether the cursor comes on the window.Check Disabled Pointer through Keyboard.If the system window is blank, then you should be able to view the desktop and press the F5 button at once.
Normally, it guides to turn on the mouse pointer.
Using arrow buttons and the Tab button and go to the Device Settings button.Change Pointer OptionsIf you would like to change pointer options, then abide by the given steps.Open the Run pop-up by pressing Win + R keys together.You should enter main.cpl then hit the Enter key.With the help of the arrow buttons and Tab button, go to the Pointer Option button and select the Enter button to launch it.Hit the Tab button as several times as it takes you to see Enhance pointer precision.
Unselect the option using the Enter button.Go to the Display pointer trails with the same Tab button.

If your answer is yes, then it is time you start using a VPN software on your device.What is VPN software?VPN software is a program that allows its users to create a secure and encrypted connection to a computer network over the internet to access blocked or restricted websites without getting tracked by ISP.How to find a good VPN software?When it comes to VPN service providers, there are many softwares in the market, which makes it very difficult to find a secure and reliable VPN.
So, let’s learn about them in detail.ExpressVPN (Price: $ 12.95 per month)ExpressVPN is one of the most popular and trusted VPN service providers in the market.
Using the software, you can easily bypass any restrictions, access any website, do unlimited streaming using its high-speed VPN servers all this without compromising your privacy and data.
Additionally, the software comes with many other great features like:IP address marking.160 server locations.AES-256 encryption.VPN split tunneling.Zero-Knowledge DNS.24/7 live chat support.30-days money-back guarantee, etc.Surfshark (Price: Free 30-day trial/$11.95 per month)Surfshark is another great VPN service provider in the market and can be very easily installed on all major operating systems or platforms.
However, if you don’t want to use a VPN on some sites, you can whitelist them using Surfshark.
Additionally, the software has many great features like:Strict no-log policy.Kill switch.Camouflage mode.AES-256 encryption.Private DNS and Leak protection.24/7 chat support.Secure protocols, etc.30 days money-back guarantee.IPVanish (Price: $10 per month)IPVanish is a fast, secure, and reliable VPN service provider that you can install on all your devices like your computer, mobile, and laptop.