Miracast stands for connecting you to share content wirelessly on a single screen to a different screen. Many users are recently encountering the ‘Your PC or mobile device doesn’t support Miracast ‘error on their devices. So, if you are one of them who constantly faces this issue, then here are a few instructions that appear below.


Check Whether the Device is Compatible with Miracast to Setup Miracast on Windows 10
If you don’t know how to check that your device is compatible with Miracast, follow the procedure in the described way.
- Hold the Win and R hotkeys altogether on the keyboard to invoke the Rub pop-up.
- After that, select the button of ‘Save All Information’ over the DirectX screen.
- You should click on the folder to store the text file.
- Then hit the OK button on OK.
- Go to the Cortana search section and input ‘Notepad’ into it.
- Now, hit the Enter key to invoke the Notepad.
- Select the File option and click on the ‘Open’ option, then choose to launch DxDiag.txt.
- Later, the info of Miracast appeared beneath the System section in the ‘DxDiag’ doc, which says “Available, with HDCP.”
- Additionally, you will require a look at network adapter supportability. To do that, input ‘PowerShell’ into the Cortana box.
- Now, select PowerShell and right-click on it, then choose the ‘Run as administrator’ option.
- You have to input ‘Get-netadapter|select Name, ndis version’ into the PowerShell.
- Finally, PowerShell will show NdisVersion numbers, which require to be more than 6:30.
Check whether it is Turned on Both Devices to Setup Miracast on Windows 10
If you don’t know how to check that both devices are enabled, follow the procedure in the described way.
- Navigate to the Cortana section and input Run into it.
- Then hit on the Enter button to launch the Run box.
- Once invoke the Run box, insert ‘ms-settings:network-wifi’ into it, then hit the OK button of OK.
- Now, switch the toggle of Wi-Fi to enable it.
- Finally, you will need to check whether Wi-Fi is turned on over another device.
Choose Auto for Wireless Mode Selection to Setup Miracast on Windows 10
If you don’t know how to choose the Auto option for wireless mode selection, follow the procedure in the described way.
- Go to the Windows key and right-click on it.
- Then choose the ‘Device Manager’ option.
- You should select the category of Network adapters.
- After that, select the wireless network adapter, right-click on it, and choose the button of Properties to launch the screen.
- You have to select the tab Advanced.
- Then click on the property of ‘Wireless Mode Selection.’
- You should click on the ‘Auto’ option over the pull-down menu.
- Finally, hit the OK button.
Reinstall the Wireless Adapter Driver to Setup Miracast on Windows 10
If you don’t know how to reinstall the wireless adapter driver, follow the procedure in the described way.
- Reach the Windows icon and right-click on it, then choose the Run option.
- You should insert ‘devmgmt.msc’ into the Run prompt, then hit the OK button.
- Then select the ‘Network adapters category’ and expand it.
- Now, reach the wireless network adapter, right-click on it, and then pick the option of Uninstall device.
- You should hit on the Uninstall button.
- Finally, reboot the device once you uninstall the driver.
- Now, the driver will automatically get installed again.


Twitter is one of the most popular and commonly used social networking platforms all over the globe.
Recently, this platform has added several new features to its service, providing more accessibility and flexibility to its users.Sometimes, when you want to search for any tweets on a specific topic on your timeline, then it seems quite a hassle.
For many users, finding a tweet with any particular topic is not that easy task and feels like a nightmare as we have to go through all the tweets from friends, celebrities, news sources, and everyone else that we follow on Twitter.
Of course, we can use the functionality of the search option.
Do you want to know?There is a way through which anyone can find tweets in their timeline about a specific topic.
If you want to know that way, I recommend you to go through the entire report.

Many errors are generated in the Device Manager of the system.
The error code 10 also comes into sight on various versions of Windows and is initiated chiefly in Device Manager of the system.
It is mostly correlated with the hardware and driver’s conflicting problems.Source : http://2norton.com/how-to-fix-windows-error-code-10/ Restore Drivers to Past Versions ( Windows 8.1 and 8)Steps to follow to rollback drivers to previous versions:1.
Now the Champs Bar will show on your screen.
In case you find any devices marked with a yellow exclamation sign, then it means these types of devices are out of order.8.
Now launch the Device Manager with the help of the Search Result webpage.6.

The Error code 0xC0000005 is the most common Windows errors which users may often encounter.
Generally, this error is caused due to Access Violation.
Your system shows this error code when you run a program that attempts to access a location but not assigned for its use.
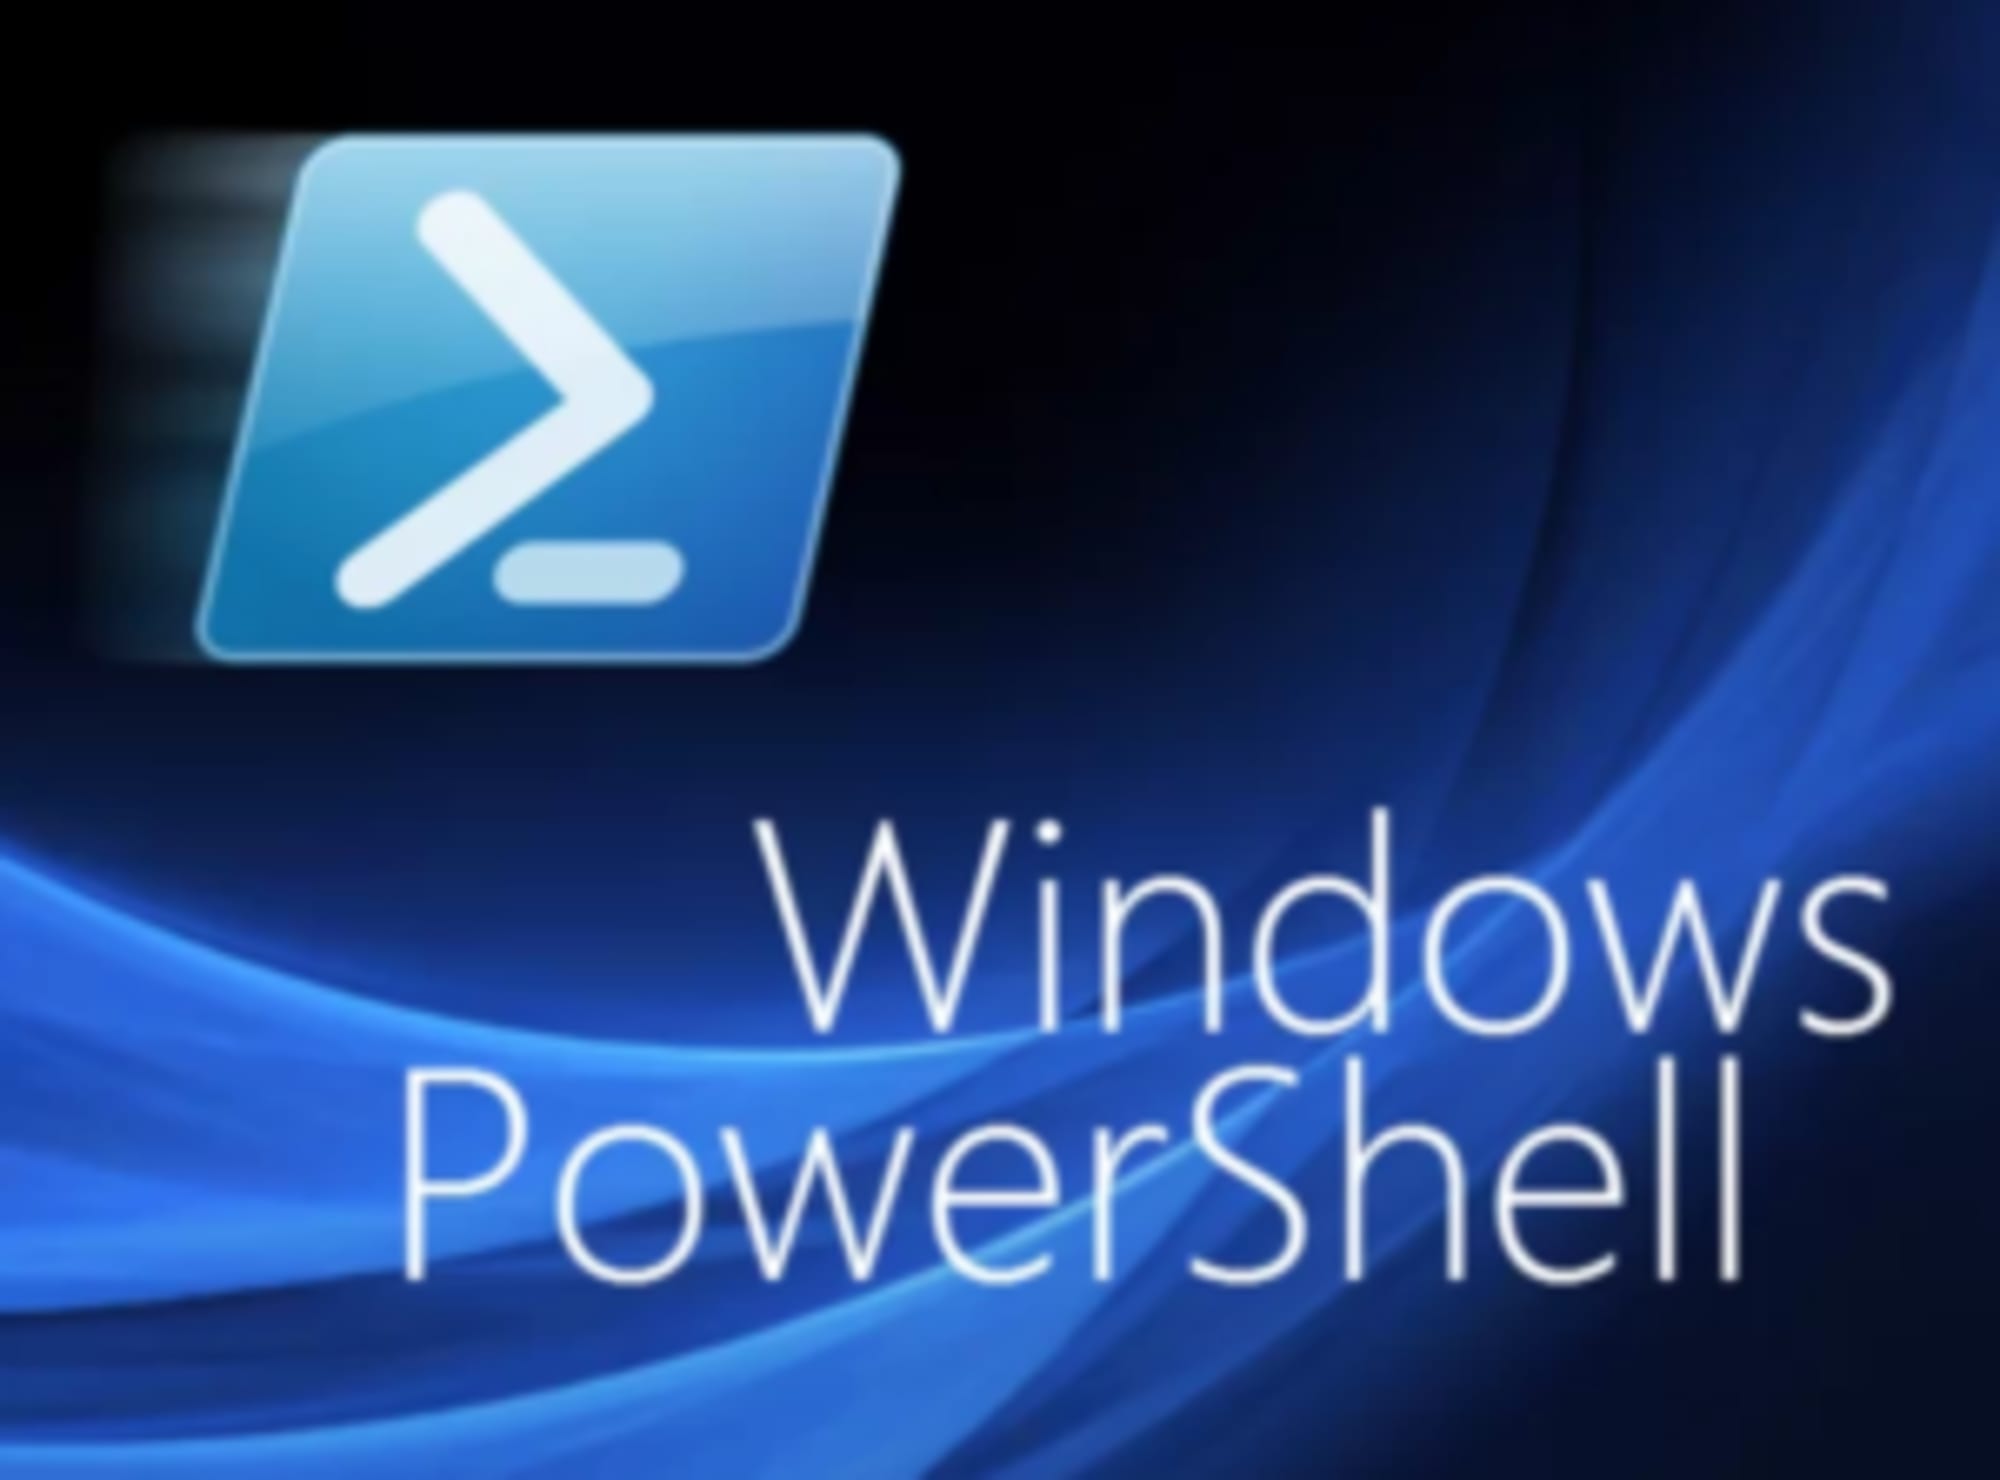
PowerShell command is designed for Windows 10 that used to manage scripts and commands.
It can also use to change custom settings and do automatic tasks.
It is an extremely capable command-line interface that gives you an extensive tool and offers to get more control and flexibility on special scripting.The script can be considered the group of commands that are stored in a text format; this command only understands by the PowerShell that can perform multiple actions and separately.
PowerShell command has a quick power task that manages the Linux, Windows, and macOS operating system.
It can manage all your commands in your computers and access your data.
It can access registry, certificate as well as all the files storage in your system.Creating Script via NotepadLaunch Start.Find the NotepadTap on the first result to start the application.Paste your script or create a new script in the given text field.Tap on “”Choose “Save As.”Enter the File title like — the second script.ps2.Tap the Save icon.Creating a Script With the Integrated Scripting EnvironmentYou can also use PowerShell ISE to identify your scripts in Microsoft windows 10.

Canon is the leading Printer manufacturing company.
When it comes to choosing the Right printer, usually Canon encounters the mind of several people world-wide.
You can do several things by using Canon Printers such as Print, Scan, Fax, and Copy at a time.
Most of the Canon printers are designed by using highly advanced technology.
You can easily carry the canon Printer from one place to another without any hassle.
To use the Canon printer you must install the latest version of the Printers.

Technozu is the Best Online Tech Blog Where You Can Get More Tech Knowledge Like Windows, Android, Google Drive Etc.
From our blog, you can get easy information about the technology, which is useful in your daily use.
Once you come to our blog, you will have a lot of help.
Read More: https://technozu.com/ Easy Way How To Change Time On Windows 10How To Increase Wifi Speed And RangeHow To Change Time On AndroidHow To Update Minecraft Windows 10How To Turn Down Facebook Messenger Volume