

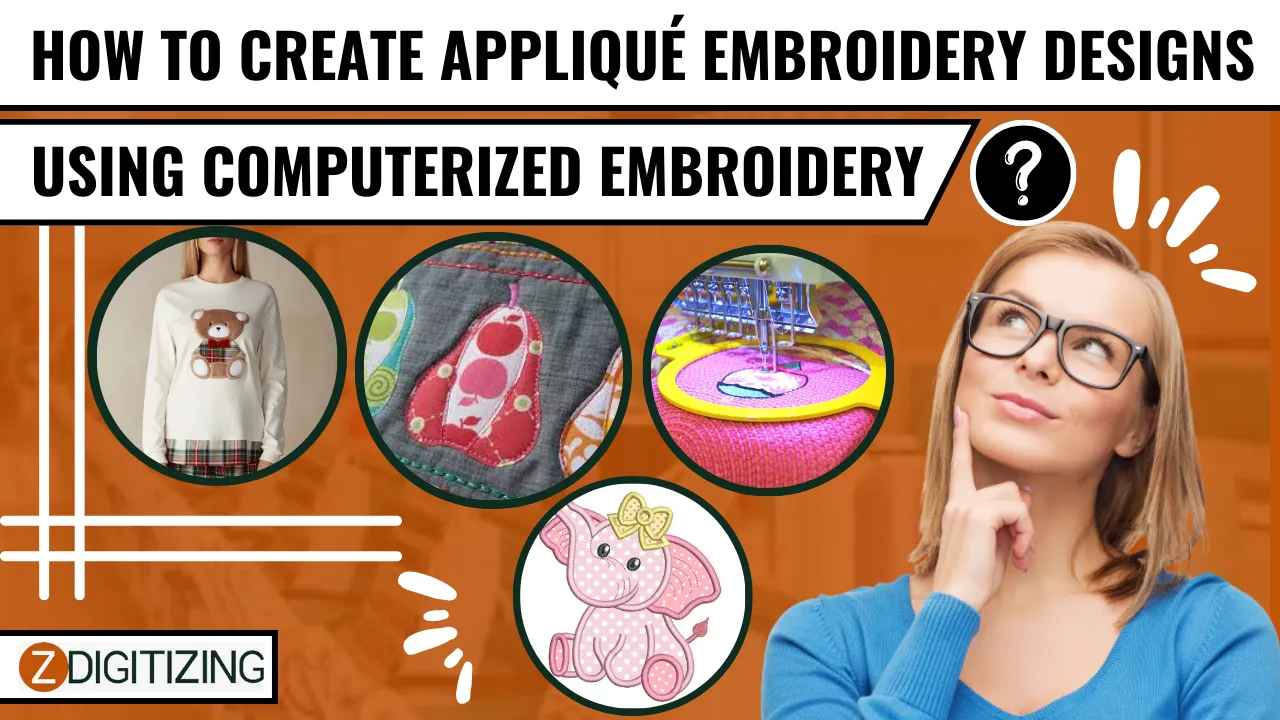
Appliqué embroidery is a timeless technique that adds texture, dimension, and style to fabric-based projects. With the advent of computerized embroidery machines, creating intricate and beautiful appliqué designs has become more accessible than ever. In this comprehensive guide, we will explore how to create stunning appliqué embroidery designs using computerized embroidery. We'll cover the step-by-step process, provide tips for success, and touch on the role of embroidery digitizing, zdigitizing, and vector art services in achieving flawless appliqué creations.
Understanding Appliqué Embroidery
Appliqué is a decorative technique that involves attaching a smaller piece of fabric (usually a contrasting or complementary color) onto a larger piece to create a pattern or design. In appliqué embroidery, this process is achieved by stitching the smaller fabric piece onto a base fabric using an embroidery machine.
Computerized embroidery machines have revolutionized the appliqué embroidery digitizing process. They allow you to precisely cut and stitch fabric pieces to create intricate and professional-looking designs.
Step-by-Step Guide to Creating Appliqué Embroidery Designs
Step 1: Gather Your Materials
Before you begin, ensure you have the following materials:
- Fabric: Choose your base fabric and the fabric you'll use for the appliqué pieces. Consider color, texture, and weight when selecting fabrics.
- Embroidery Thread: Select thread colors that complement your fabrics and design.
- Stabilizer: Use the appropriate stabilizer for your fabric and design. Tear-away or cut-away stabilizers are commonly used for appliqué.
- Embroidery Hoop: Ensure you have the right size hoop for your design.
- Embroidery Design: If you're not creating your own design, purchase or download an appliqué design compatible with your embroidery machine.
Step 2: Prepare Your Fabrics
- Pre-Wash Fabric: Wash and iron your fabrics to prevent shrinkage and wrinkles. This step is particularly important if your project will be laundered.
- Cut Appliqué Pieces: Use templates or a digital cutter to precisely cut the fabric pieces for your appliqué design. Ensure they are slightly larger than the design area.
Step 3: Hoop Your Fabric and Stabilizer
- Layer Stabilizer: Place your stabilizer in the embroidery hoop, following the manufacturer's instructions.
- Attach Base Fabric: Secure your base fabric onto the stabilizer in the hoop. Make sure it's taut and wrinkle-free.
Step 4: Load Your Design
- Design Transfer: Load your chosen appliqué design onto your embroidery machine. Follow the machine's instructions for design placement.
- Position Appliqué Fabric: If your machine supports it, use a basting stitch to secure the appliqué fabric in place. This helps ensure precise alignment.
Step 5: Embroider the Appliqué Design
- Tack Down Stitch: The machine will first stitch a placement line, indicating where the appliqué fabric should be placed.
- Place Appliqué Fabric: Carefully place the pre-cut appliqué fabric within the placement line, ensuring it covers the area.
- Tack Down Stitch: The machine will then stitch a tack down or securing stitch, anchoring the appliqué fabric in place.
- Trim Excess Fabric: Trim the excess appliqué fabric outside the tack down stitch. Be precise but avoid cutting the stitching.
- Embroider Details: The machine will continue with the design, adding any desired details or additional stitching.
Step 6: Final Touches
- Remove from Hoop: Carefully remove the embroidered fabric from the hoop, taking care not to damage the stitches.
- Trim Threads: Trim any loose threads on the front and back of your design.
- Press Your Appliqué: Gently press your appliqué design with an iron to remove any wrinkles or creases.
Tips for Successful Appliqué Embroidery
- Choose the Right Fabric: Ensure your fabrics are compatible in terms of weight and texture. Use high-quality fabrics for a polished look.
- Test Stitches: Before embroidering your main project, do a test run on a scrap fabric to ensure your settings are correct.
- Stabilize Properly: Use the appropriate stabilizer for your fabric and design. It provides support and prevents puckering.
- Sharp Scissors: Invest in sharp, precise scissors or rotary cutters for cutting your appliqué pieces.
- Color Coordination: Pay attention to thread and fabric color coordination to create visually appealing designs.
- Practice Precision: Be meticulous when placing and securing your appliqué fabric to ensure a neat, professional finish.
The Role of Embroidery Digitizing, ZDigitizing, and Vector Art Services in Appliqué Embroidery
- Embroidery Digitizing: Expert digitizers can create digital embroidery files that account for the appliqué process, including placement and tack down stitches, ensuring that the design stitches out accurately.
- ZDigitizing: ZDigitizing services can add depth and texture to your appliqué embroidery designs, creating a raised or 3D effect on certain elements.
- Vector Art Services: Vector art services are essential for creating clean and precise outlines for your appliqué pieces, ensuring that the shapes are well-defined and accurate.
Conclusion
Creating stunning appliqué embroidery designs using computerized embroidery is a rewarding and creative endeavor. Whether you're embellishing garments, crafting home decor, or personalizing gifts, appliqué embroidery adds a touch of elegance and style.
By following our step-by-step guide and implementing tips for success, you can embark on your own appliqué embroidery projects with confidence. Remember that the right choice of fabrics, threads, and meticulous attention to detail will yield beautiful and professional results.
Additionally, the collaboration of embroidery digitizing, zdigitizing, and vector art services can elevate your appliqué designs, ensuring precision and excellence in your embroidery projects. So, let your creativity flourish and bring your appliqué embroidery visions to life with the power of computerized embroidery.