


Replacing trailer spindle might seem daunting, but it becomes a manageable task with a step-by-step guide. This inclusive guide assists you whether your project involves a full-size RV, a compact utility trailer, or a boat trailer. Below are detailed steps to ensure a smooth replacement process.
Preliminary Steps
Before embarking on replacing trailer spindle, it’s crucial to gather the necessary tools and ensure that the replacement axle aligns with your trailer’s specifications. Establish whether you aim to replace the entire assembly or specific components.
1. Preparing the Trailer
Ensure the trailer is stationed on flat terrain before initiating the replacement process. It guarantees stability and mitigates any risks related to imbalance during the procedure.
2. Elevating the Trailer
Utilize a floor jack, lifting the trailer by the frame, adhering strictly to the manufacturer's guidelines. Stabilize the elevated trailer using jack stands to ensure a secure working environment.
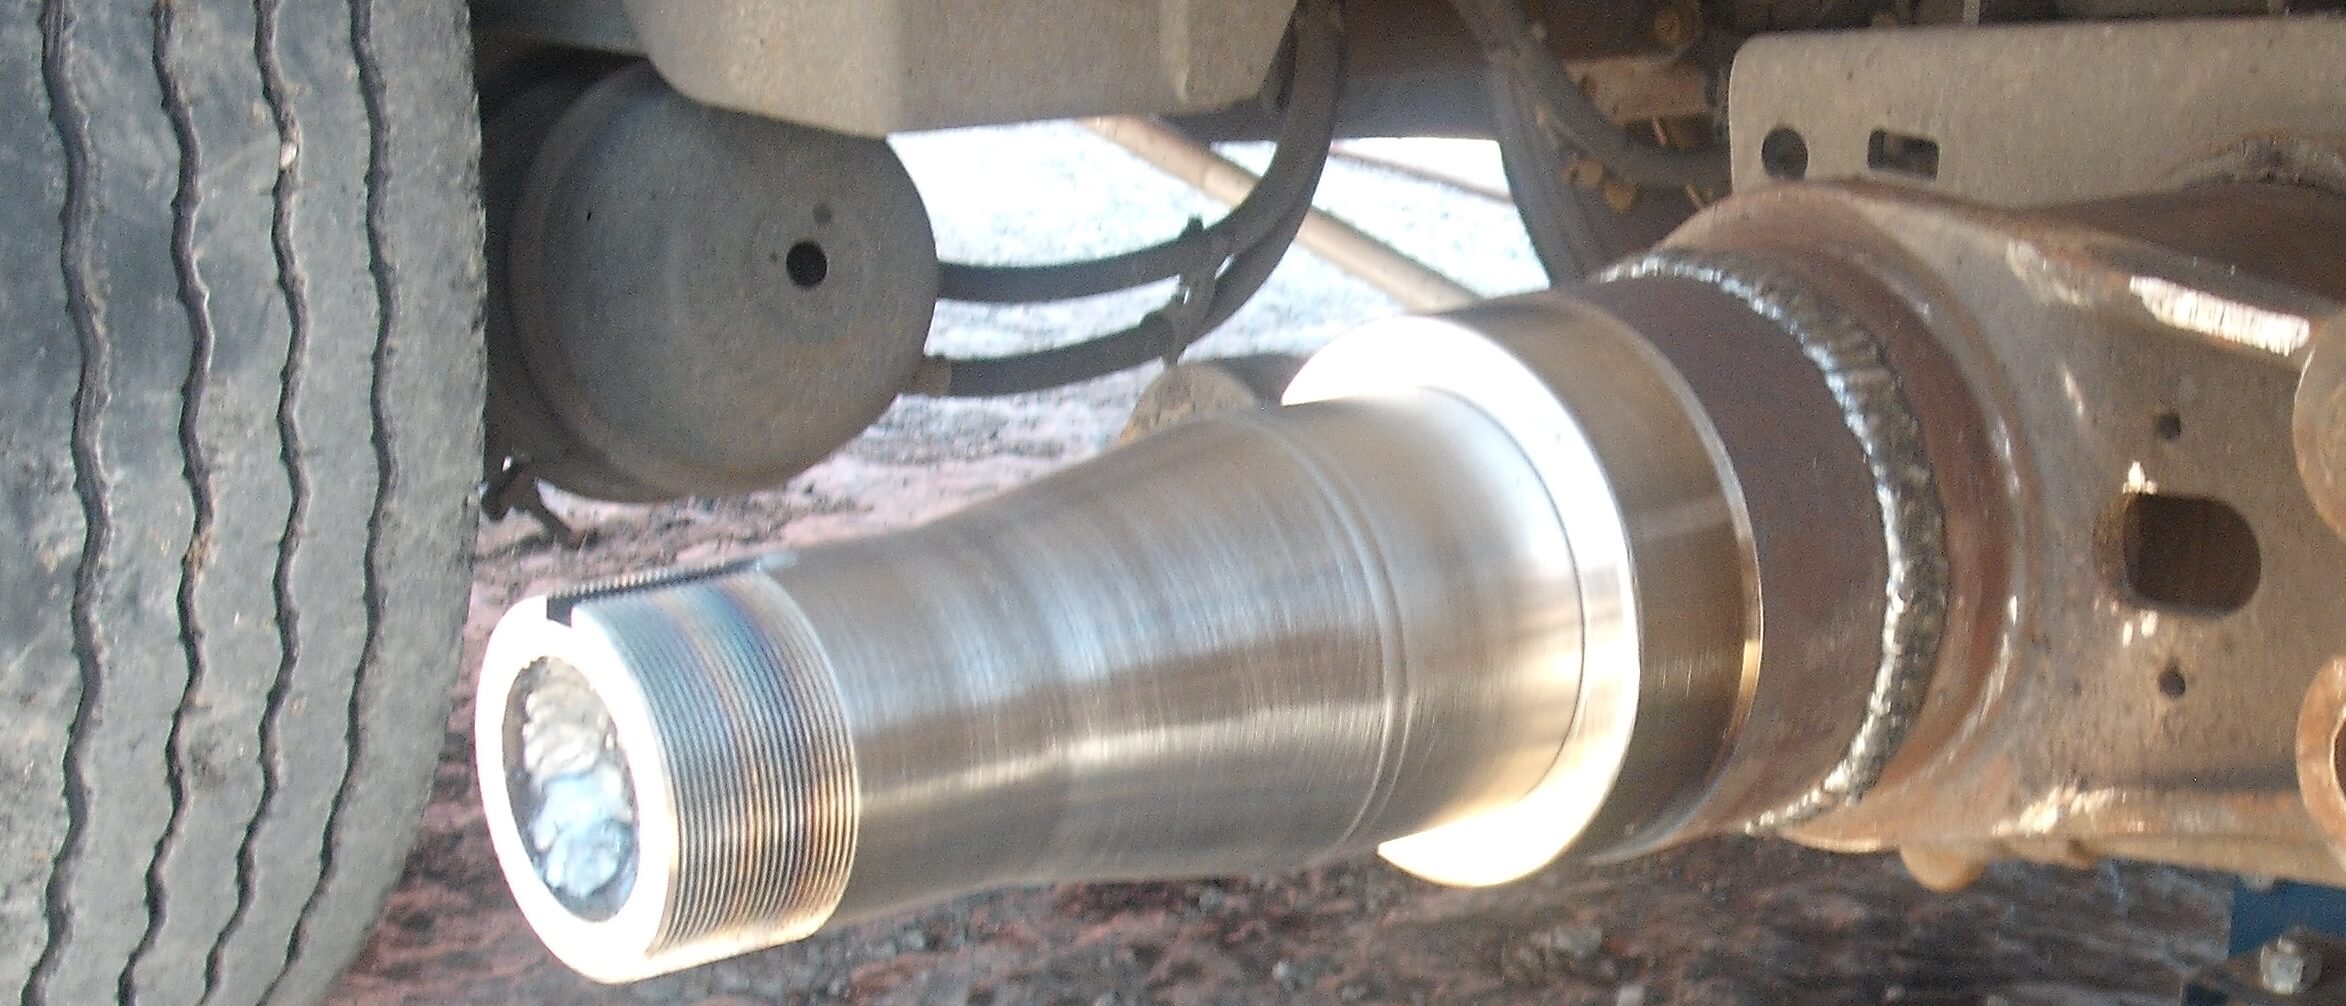
3. Wheel Removal
Employ an impact driver or a breaker bar to detach the lug nuts and, subsequently, the wheels. Extra effort might be needed for rusted trailers. Securely place the removed wheels at a distance.
4. Disconnecting Wires
If your axle features electric trailer brakes, locate and sever the power and ground wires to prevent any impediments during the axle removal. These will be reconnected post-installation of the new axle.
5. Lifting the Axle
Carefully elevate the axle beam at the midpoint, avoiding any additional damage, using a floor jack until it relieves pressure off the shackles. Implement jack stands for extra support under the axle beam.
6. Shackles and Bolts Removal
Once supported, dismantle the bolts binding the shackles to the leaf springs. Inspect and replace bonds if they show signs of wear or damage. Similarly, remove the bolts attaching the leaf springs to the hangers, inspecting them for any signs of wear.
7. Extracting the Old Axle
Post bolt removal, elevate the axle again, and slide the jack to stand out. Carefully lower the axle to the floor and extricate it from beneath the trailer.
8. Positioning the New Axle
Align the new axle assembly beneath the trailer, adjusting its position meticulously. Ensure its correct orientation and slowly hoist it to align with the mounting points, supporting it with jack stands.
9. Securing Leaf Springs
Attach the leaf springs, starting with the hanger bolts, making fine adjustments to align the eyelets with the holes. Integrate grease during reinstallation, especially on the bolts, ensuring smooth operation.
10. Fastening Hardware
Adhere to the prescribed torque values when tightening the shackle and hanger bolts, employing a torque wrench. Use another twist to hold the bolt head stationary while tightening.
11. Wiring the Trailer Brakes
With the axle assembly in place, reestablish the wiring for the trailer brakes. It’s vital to ensure secure connections to avoid any malfunction.
12. Installing the Wheels
Affix the wheels to their respective hubs and tighten the lug nuts in a star-shaped pattern. Consult the owner's manual to ascertain the correct torque values.
Additional Considerations
Safety Precautions
It’s imperative to adhere to safety protocols throughout the process. Wearing protective gear, like gloves and safety glasses, will protect you from unforeseen accidents.
Inspection
Regular inspection of the axle and the surrounding components is crucial. Detecting and addressing issues early prevents more significant problems down the line.
Lubrication
Lubrication is essential for the longevity of the axle components. Regular greasing reduces friction and wear, ensuring smooth operation and reducing the risk of failure.
Manual Reference
Constantly refer to your trailer's manual. It provides specific instructions, torque values, and specifications tailored to your trailer model, ensuring a correct and safe replacement.
Replacement Parts
Always utilize high-quality, compatible replacement parts. It ensures the highest possible performance and a long lifespan. When trying to assure dependability and compatibility, it is essential to consider using manufacturers and suppliers with good reputations.
Consulting Services Offered by Professionals
In the event that uncertainty arises, do not be afraid to approach professionals or seek the guidance of an expert. In order to avoid any accidents, it is essential to have a comprehensive awareness of and complete self-assurance in one's ability to handle tools and components.
The Final Word
Replacing trailer spindle can be stressful. You can confidently and adequately replace your trailer axle if you adhere to this comprehensive, step-by-step tutorial and consider the additional insights and suggestions provided. This is true regardless of whether you are working on an RV, utility trailer, or boat trailer. To keep your trailer in the best condition possible, it is imperative that you perform routine inspections, read and follow the directions in the owner's manual, and use high-quality replacement components. This will ensure the trailer's durability and dependability while used on the road.


