


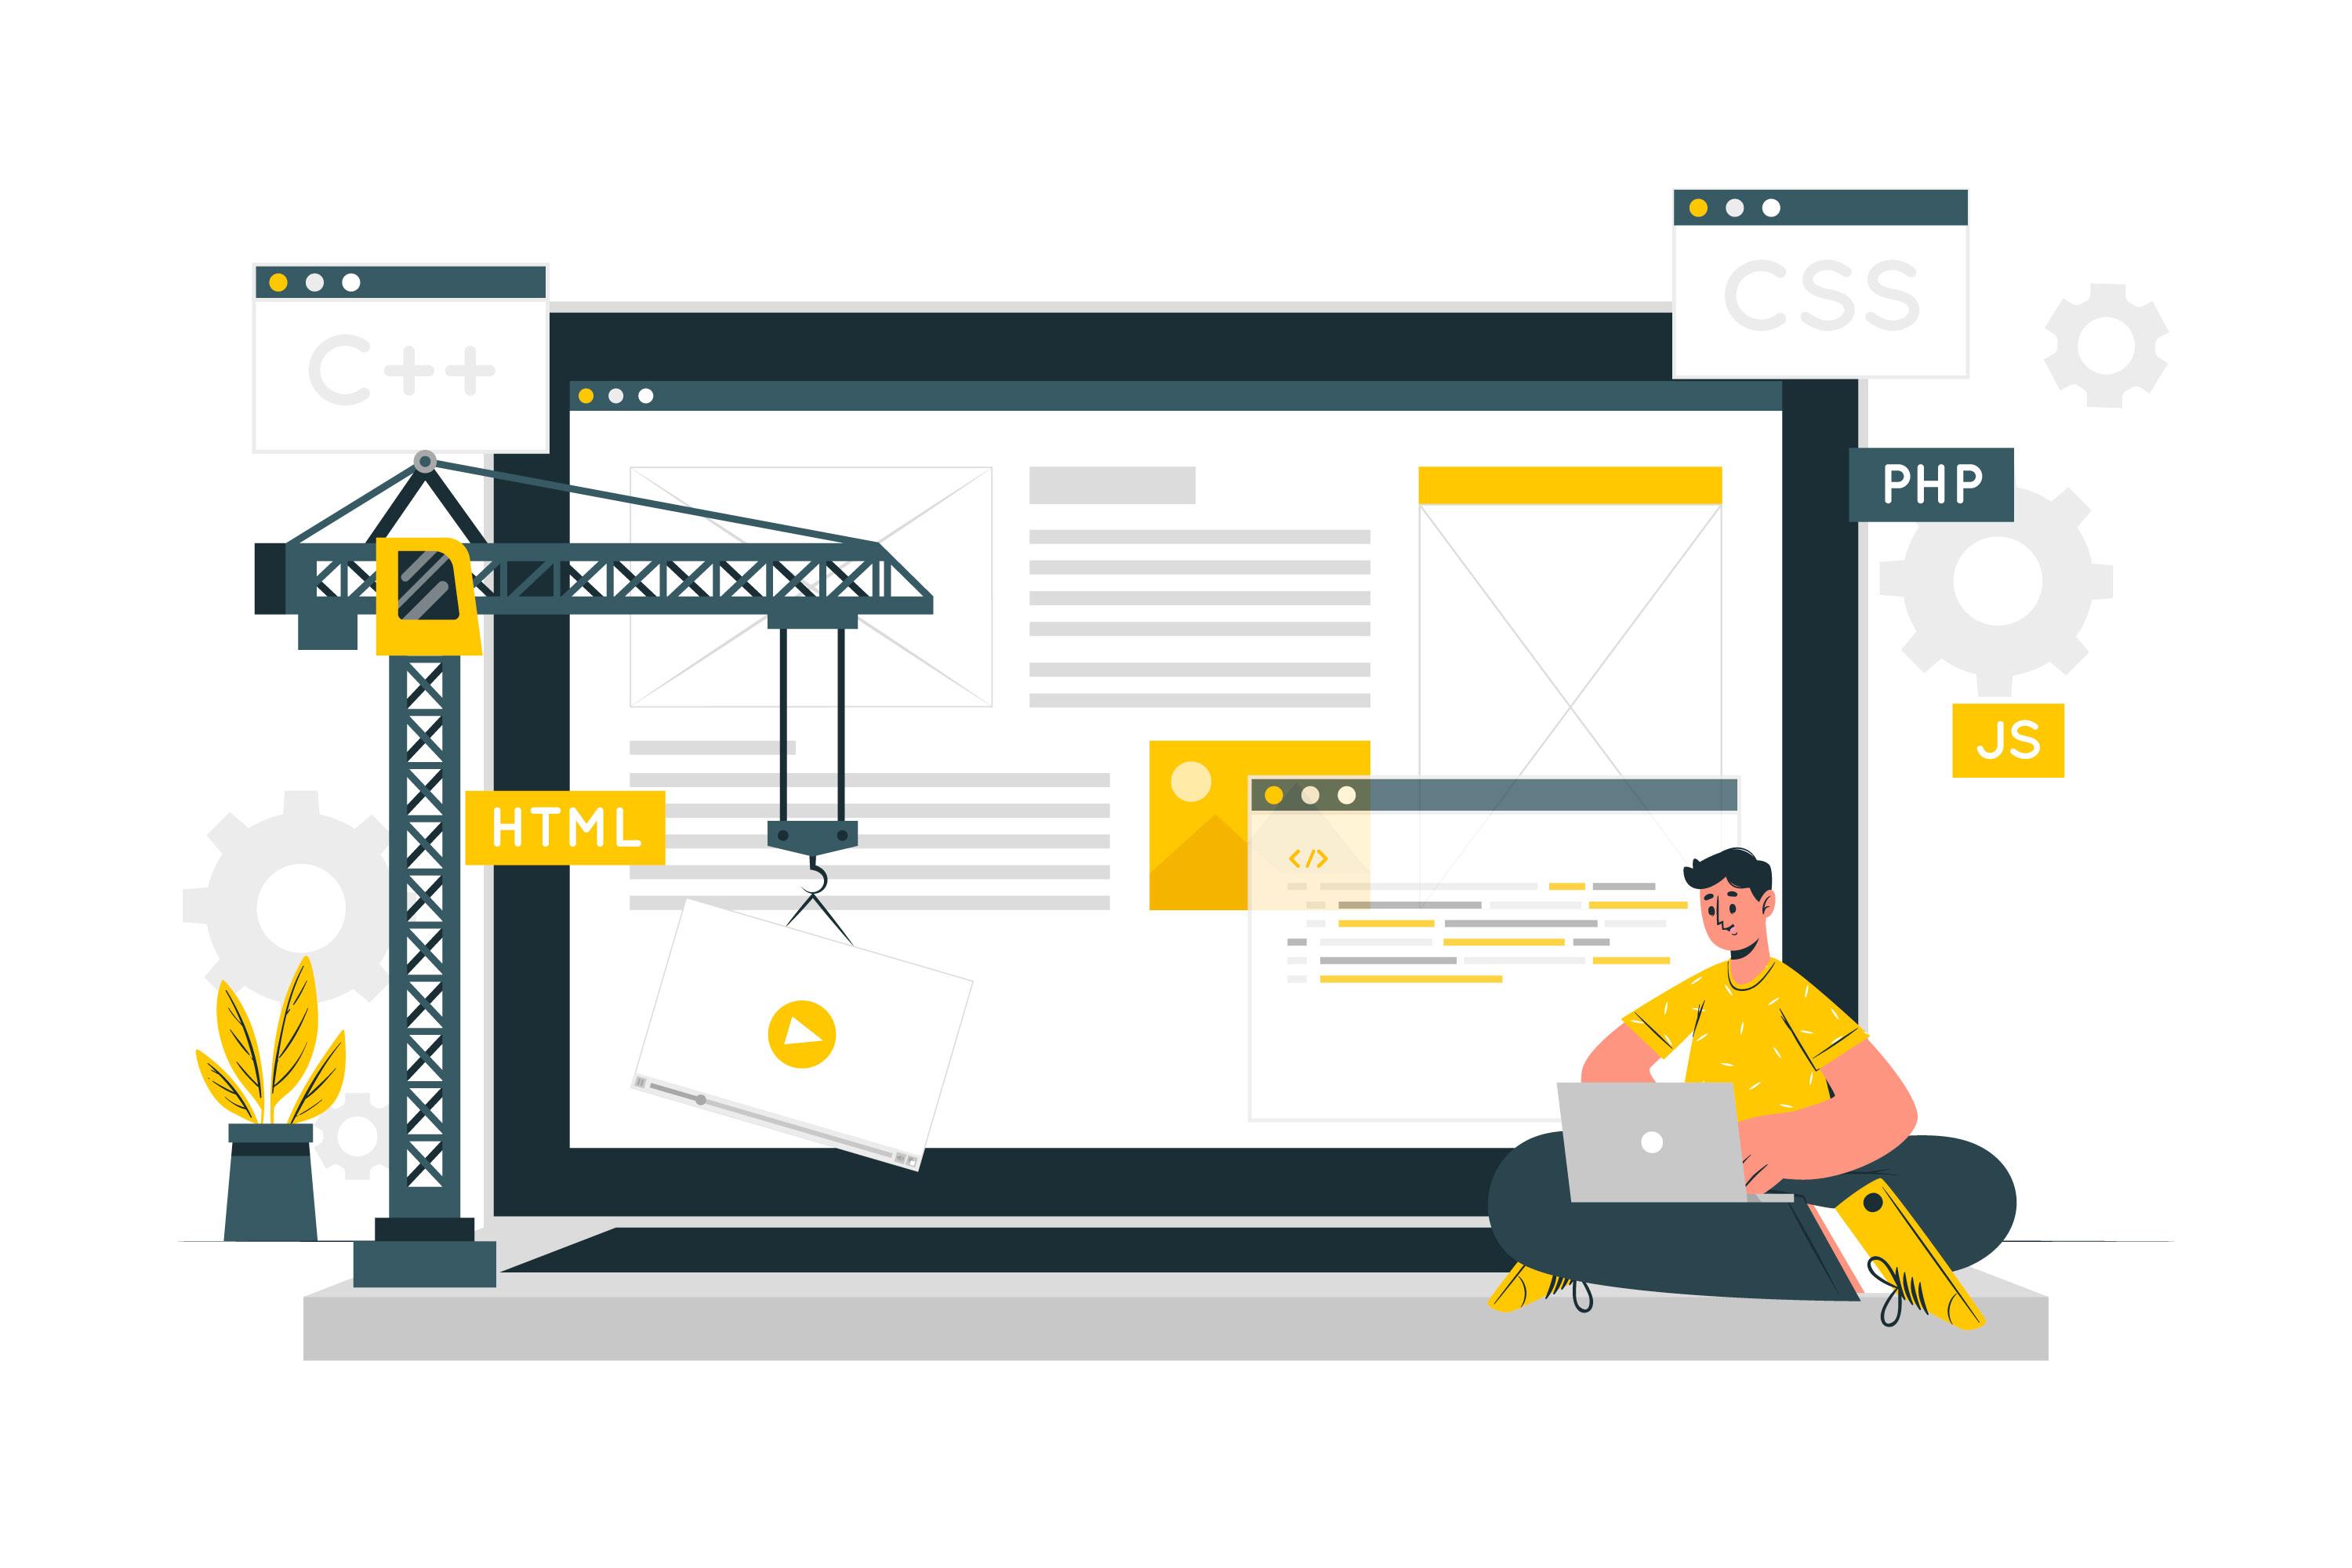
Have you ever wanted to design your own WordPress theme from the ground up? Whether you’re doing it for personal use, freelance clients, or to sell on theme marketplaces, building a custom theme is a fantastic way to improve your skills and take full control over your website’s look and functionality.
If you’re looking for expert support, working with a Web Development Company in London or a reliable WordPress Development Company can help bring your theme ideas to life even faster. But if you’re ready to learn it yourself, this step-by-step guide will show you how to build a WordPress theme from scratch in simple terms.
Why Create Your Own WordPress Theme?
Before we jump into the technical stuff, let’s understand why you might want to create your own theme:
- Full Customization: You can design every part of the site exactly how you want it — no more compromises.
- Better Performance: Say goodbye to bloated code. A custom theme means faster load times and cleaner functionality.
- Learn and Grow: It’s a great way to learn how WordPress really works from the inside out.
Step-by-Step Guide
1. Set Up Your Development Environment
First, you’ll need a few tools:
- Local Server Software: Use tools like XAMPP, MAMP, or Local by Flywheel to run WordPress on your computer.
- Code Editor: Visual Studio Code is a popular choice, but you can use any text editor you prefer.
- WordPress: Download the latest version from wordpress.org and install it in your local server setup.
2. Create a New Theme Folder
Inside your WordPress directory, go to wp-content/themes/ and create a new folder for your theme. Name it something unique like mycustomtheme.
3. Add the Essential Files
Your theme needs a few basic files to start working:
- style.css — Contains theme info and basic CSS.
- index.php — Main layout file.
- functions.php — For adding features and functionality.
- screenshot.png — A small image preview of your theme.
At the top of your style.css, include a comment like this:
- vbnet
- CopyEdit
- Theme Name: My Custom Theme
- Author: Your Name
- Version: 1.0
4. Build the Template Files
Add these files to organize your theme:
- header.php — For the site’s head section.
- footer.php — For the footer area.
- sidebar.php — (Optional) For widget areas.
- single.php — To show blog posts.
- page.php — To display regular pages.
5. Connect the Pieces
In your index.php, include other files like this:
php
CopyEdit
<?php get_header(); ?>
<h1>Welcome to My Custom Theme!</h1>
<?php get_footer(); ?>
6. Load Styles Properly
In your functions.php, enqueue styles like this:
php
CopyEdit
function mycustomtheme_scripts() {
wp_enqueue_style(‘main-style’, get_stylesheet_uri());
}
add_action(‘wp_enqueue_scripts’, ‘mycustomtheme_scripts’);
7. Test and Improve
Go to your WordPress dashboard and activate your new theme under “Appearance > Themes.” Check everything, fix any bugs, and keep improving.
8. Final Touches
- Add theme support for things like featured images and custom logos.
- Minify CSS/JS to improve speed.
- Zip the theme folder to upload or share it.
Creating a custom theme might seem complex at first, but once you take it step-by-step, it becomes manageable and even fun. If you’d prefer professional help, a Custom Theme Development London expert can take care of all the coding while you focus on design ideas. Either way, building your theme is a rewarding journey — and your site will be truly one of a kind.


