


Introduction — Turning Rough Sketches into Moving Frames
Why traditional drawing still matters in digital animation
Even in today’s digital era, the heart of animation begins with pencil and paper. Traditional sketches capture raw emotion, rhythm, and gesture — qualities that give life to digital animation. The transition from hand-drawn art to motion is not about replacing tradition but enhancing it with modern tools.
How importing sketches bridges hand-drawn art and motion
Importing sketches into animation software allows artists to digitally refine their drawings, add timing, color, and movement, and bring their visions to life. This process connects old-school craft with digital precision — the perfect harmony of art and technology.
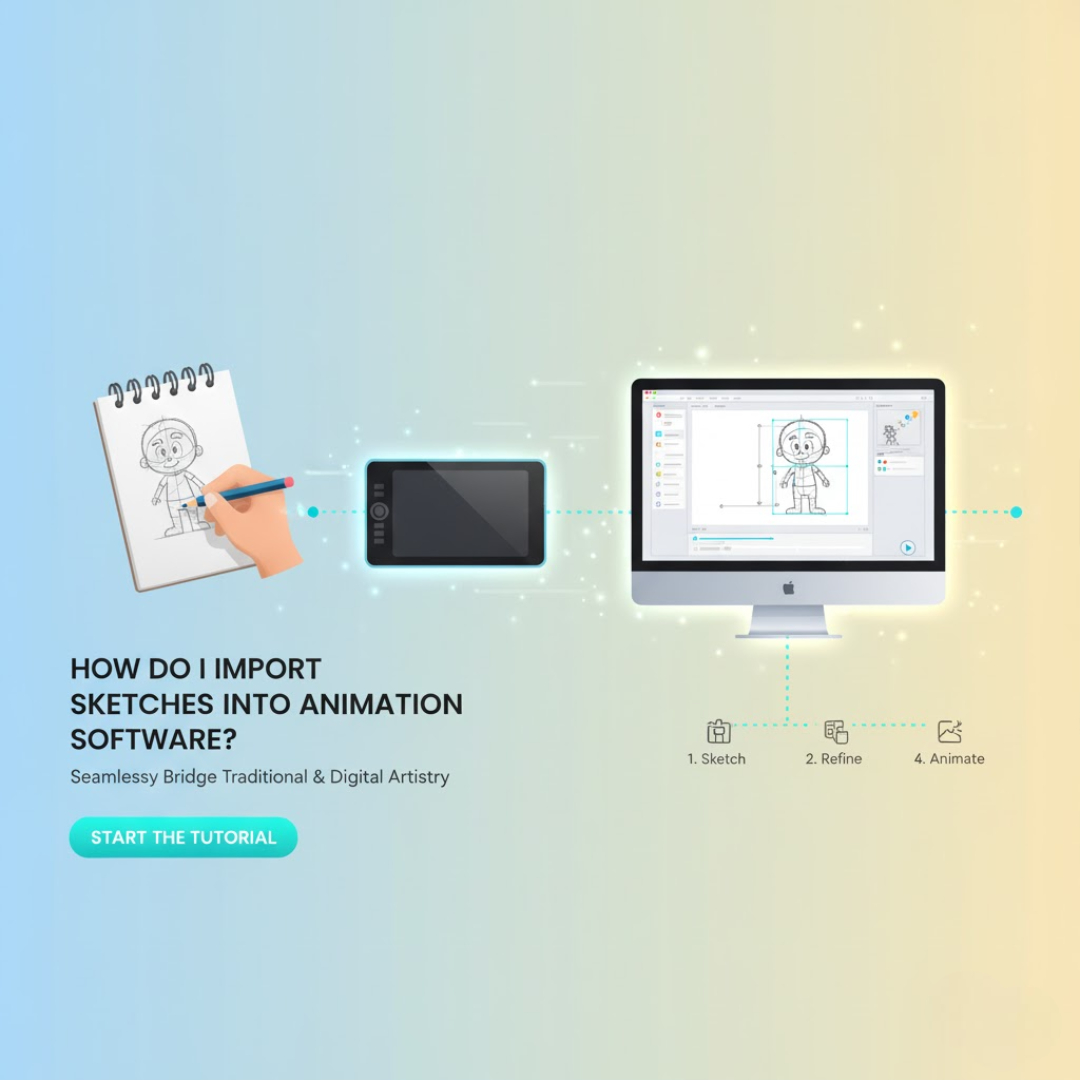
Step-by-Step: Importing Sketches into Your Animation Software
Step 1 — Scan or Photograph Your Sketches
Use a scanner for clean, high-resolution results (300 DPI recommended).
If using a camera or phone, ensure even lighting and flat angles to avoid perspective distortion.
Save files in common formats: PNG, JPEG, or TIFF.
💡 Tip: Save as transparent PNGs if you plan to color or composite directly within the animation software.
Step 2 — Clean and Organize Your Sketches
Rename files sequentially (e.g., walk_001.png, walk_002.png) so they import in the correct order.
Adjust brightness and contrast to make lines crisp and visible.
Remove paper backgrounds in tools like Photoshop, Krita, or Clip Studio Paint if needed.
💡 Pro Tip: Keep cleaned files in a separate folder labeled “Animation Ready” to stay organized.
Step 3 — Import into Animation Software
🎨 Toon Boom Harmony
Go to File → Import → Images.
Choose your sketch files or folder.
Select “Import as separate drawings” to create frame-by-frame layers.
Use the X-sheet or Timeline to adjust timing and exposure.
💡 Pro Tip: Convert imported sketches into vector layers for cleaner line refinement and easier scaling.
✏️ Adobe Animate (Flash)
Go to File → Import → Import to Stage (or Library).
Select your scanned images.
Place each sketch on a new frame or layer in the timeline.
Use F5–F7 to extend frames or create keyframes for animation.
💡 Pro Tip: Trace over imported sketches using vector brushes for sharp, professional-quality animation lines.
🖌️ Krita
Open Krita → File → Import Animation Frames.
Select your sketch sequence (.png or .jpg).
Align them in the Timeline Docker as individual frames.
Use Opacity Layers to trace and refine animation.
💡 Pro Tip: Enable Onion Skin (Shift + O) to see overlapping frames and ensure smoother motion transitions.
Step 4 — Align and Time Your Frames
Adjust frame exposure (how long each image stays visible).
Use onion skinning to check for smoothness and consistency.
Add in-betweens or cleanup layers as needed for fluid movement.
Step 5 — Refine and Animate
Trace over sketches on new digital layers for clean linework.
Add colors, backgrounds, and camera movement where necessary.
Once satisfied, export your project as a video file or image sequence for further compositing or editing.
Pro Tips for a Smoother Workflow
Use consistent paper size and frame alignment
Align sketches using peg holes, registration marks, or grids so frames stay consistent during import.
Save files in lossless formats (like PNG)
Avoid JPEG compression, which can blur or degrade line art.
Use reference folders
Separate raw scans from cleaned files to prevent confusion during animation.
Automate numbering
Use Adobe Bridge, Bulk Rename Utility, or Bridge Renamer to rename sketch files quickly and uniformly.
Common Mistakes to Avoid
Importing mismatched resolutions
Different image sizes cause jitter or misalignment — standardize resolution before importing.
Forgetting to clean edges or backgrounds
Dust, shadows, or paper textures can show up in your animation. Clean your scans thoroughly.
Importing too many files at once
Large sequences can overload software memory. Import in batches to maintain smooth performance.
Conclusion — From Paper to Pixels, Seamlessly
Importing sketches is where tradition meets technology
Animation starts with a single sketch — importing it bridges your creative past with your digital future. Each frame you scan becomes part of a moving story, connecting artistry with precision.
Once your drawings are in the timeline, the magic of animation begins
From rough pencil strokes to refined digital frames, importing is just the beginning. The real magic happens when your art starts to move — and your imagination takes over.
To learn this process hands-on and master the transition from hand-drawn art to digital production, start your journey with the best 2D animation course in Ahmedabad eQuinoxx Creative Academy, where creativity meets professional expertise.
❓FAQs
Q1. Can I import hand-drawn sketches directly into any animation software?
Yes! Most professional 2D tools like Toon Boom, Krita, and Adobe Animate support direct image imports — just ensure your sketches are scanned or photographed cleanly first.
Q2. What’s the best file format for importing sketches?
Use PNG for crisp, transparent quality. JPEG works if you only need lightweight files for timing tests.
Q3. Can I animate directly over my imported sketches?
Absolutely. You can import sketches as a base layer and trace clean lines directly on new layers within your animation software.
Q4. How do I maintain quality when scanning or photographing?
Scan at 300 DPI, use flat lighting, and adjust contrast and exposure before importing to preserve line clarity.
Q5. Should I vectorize my sketches after importing?
Yes, if you plan to scale or reuse your drawings. Vectorizing ensures sharp, clean lines at any resolution without losing detail.


Are you facing any issues with your Facebook account?
You can get it resolved within no time with the help of Facebook customer service.
Facebook is the world’s most famous social media platform used by many people across the globe.
Facebook customer service is a 24/7 available service that helps the users in the best possible way.
For this, they allow the customers to connect with a Facebook live person.
To get an issue resolved with Facebook via call, users need to call on the Facebook customer service number.

QuickBooks is an advanced accounting software which helps in managing small and medium sized businesses efficiently.
This accounting software is well known for its simple features which helps in handling invoices, journal entries, forms, and payments.
In this article we will learn “how to import journal entries into QuickBooks Desktop” by using IIF files.What are journal entries?Journal entries are accounting transactions that are entered directly into the general ledger.
An IIF format that helps you in organizing and importing all your journal entries into QuickBooks Desktop and also know how to import customer list into QuickBooks desktop is a simpler way.Open the IIF file through Excel In order to open an IIF file then first you need to open an Excel file.After that tap on the File option (prevent in the upper-left corner).
Now hit on the File menu and then select Open.Once it is open, now you need to press Browse and search for the IIF file.Now select and open it.Note: If in case you’re unable to see the IIF file then ensure that you select All Files option (present in the lower-right hand corner).
The only thing you need to take care of is that the procedure to import IIF files into QuickBooks Desktop varies and it is based on the version you are using.

Are you a Thunderbird user and want to move data from Thunderbird to Office 365?
If yes then you are on correct place.
This informative content helps you in migrating Thunderbird profile database to Office 365.
You just need a good internet connectivity to open mailbox panel.Security: Office 365 is a Microsoft based cloud application and it is highly secured.
It takes whole responsibility to secure your data against cybercrimes.Easy Collaboration: One of the advance features of Office 365 is easy collaboration.
Everyone who need to or want to edit document can work on same version.Professional Solution for Thunderbird Transfer Data to Office 365You just need login details of Office 365 admin account to understand whole procedure of how to import Thunderbird mail into Outlook 365.