


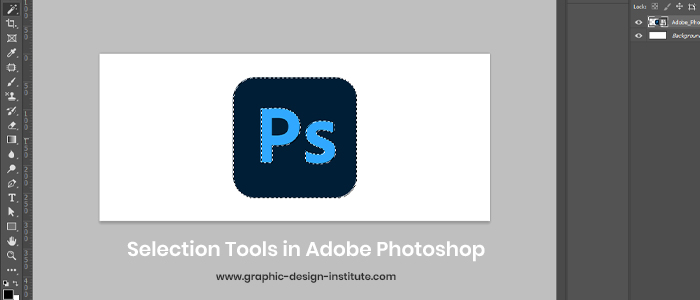
Adobe Photoshop has lot of useful tools but when it comes to making selections, there are only two tools which are preferred by all editing experts. These selection tools are explained in detail in this blog.
The first is Magic Wand Tool. Let’s know about it in detail.
# Magic Wand Tool
Magic wand tool is one of the most successful selection tools in the tool basket of Adobe Photoshop. The magic wand tool works on the base of Toned and Colour. It means the magic wand select the pixel according to tone and colour of object. Unlikely other selection tools are work according to shapes or by confirming an edge of the object. It mainly picks up the colour range.
# Common uses of Magic wand tool
• It is very useful to remove background easily.
• Just like when selecting a part of an image, the magic wands can also be used for selecting or highlight the text as well.
• It is commonly used by professional to select or remove the undesired area of the image.
• This tool is very handy and very quick. It can pick up any colour range present in the image you are working on.
# Process to use magic wand tools
• First of all, open the Photoshop software after that click on the file menu to browse or open the desired image on your computer. When you select the image of your own choosing, then press OK.
• The secondly we have to select magic wand tool option in the option bar. We can also select the magic wand tool by short key which is (W).
• Now tap the magic wand tool, then certain stick appear with have a star on the top of it. After that use the tool to select the area of the photo that you wish to edit or wish to correct. Let’s take an example, if you take a group photo and want to select your brother yellow shirt, then simply select that shirt with the magic wand tool.
• Then you’ll want zoom on the selected area to order to enlarge it. For zoom, there is a short key (Ctrl +) for zoom in and (ctrl -) for zoom out. Then you’ll saw that after zooming in that selected area of image are covered by slow ant moving line. After that you can click on these selected areas to add, or even subtract, them from your work. By this tool you can select all the portion of “like contrast” you want to be changed up by subtracting the area which you do not want.
• Then finally go to the image tab on the top of the screen and then go to adjust menu and then select the colour balance to change or shift the hue of the image according to you.
Second one is Quick Selection Tool.
Quick Selection Tool
It comes with a round nib and you can drag the mouse on the specific areas of the picture to create the selection using quick selection. The tool is commonly used and known for time saving element. The user can use quick selection tool for the making of selection task for a particular part of the image, with the saving of time.
# Process to use Quick selection tools
• Firstly place the image in the canvas by select object in the place embedded option in layer bar.
• Then select the Quick Selection tool. It looks like small brush. Its icon also showed as small brush.
• Then in the option bar, click one of the selection option: New, Add To, or Subtract form.
• Its brush looking nib can be adjusted in the sizes.
• Quick selection tool is denoted by “W”. First press W and then press (Shift + W) until you get the tool.
So, this was a quick overview of both the important selection making tools in Adobe Photoshop CC.
If you are interested in mastering them along with other tools then you must go for a dedicated Photoshop course. This will help you in understanding the how software really works. Graphic Design Institute in Delhi offers online as well as classroom Photoshop training so you can master it without any hurdle with experts.


Wherever there's an available supply of electricity, higher speed Internet access can be found.
Get more information about unlimited wireless internetWireless internet allows wireless connectivity from a computer to the World Wide Web via radio signals instead of wires on the consumer s home computer, notebook computer, smartphone, or other wireless device.
The signals used for wireless net connections are known as WAN (Internet Traffic Exchange), EoE (Estate of Equipment Exchange), or Wi-Fi (World Wide Wi-Fi).
To gain access to the net an individual must connect to a WAN router or gateway using a computer or one having an open wireless network card (a), a USB cord, and a username and password set by the user.
There are different types of wireless routers, some of which offer more security features like WPA safety and also have faster upload speeds.
Some offer two-factor authentication, another safety feature that can help prevent unauthorized access to computers.Many homes, businesses, and libraries currently have wireless internet available.


As and when you are stopped by a policeman who issues a traffic ticket; the Harris County Traffic Ticket Lawyers advise you to never admit guilt and listen to the police officer for the reason to pull you out.
You also have the legal right to answer to the public prosecutor questions only in the presence of your lawyer.
This gives you more credibility in the court and helps the Traffic Attorney Harris County to represent you much better.


