


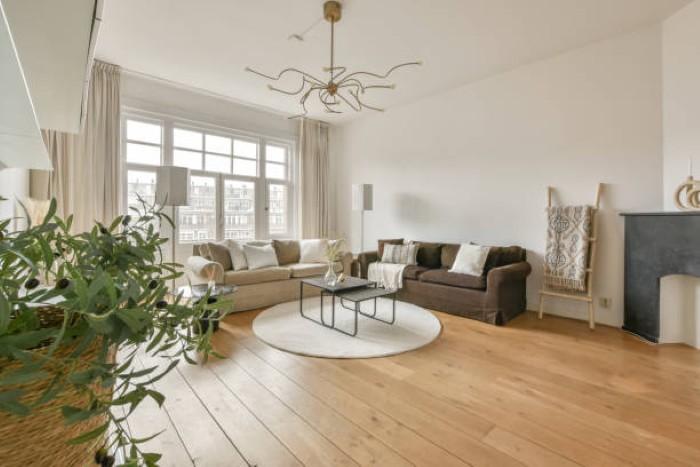
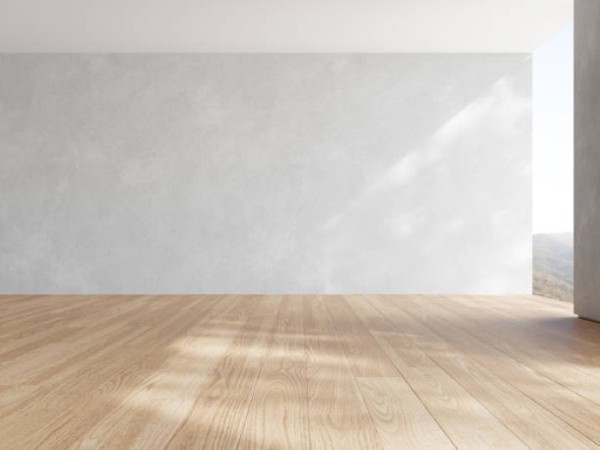
Have you ever looked around your home and wished you could change the color of your prefinished hardwood floors? Maybe you're looking to update your decor or match a new wall color. Whatever the reason, changing the color of prefinished hardwood floors is a great way to transform the look of your space. But how do you do it?
We will walk you through the process step-by-step in this detailed blog post. From assessing the condition of your floors to choosing the right stain or dye, preparing and applying it, to sealing and finishing the newly colored floors, we'll cover it all.
Assessing the Condition of Your Floors
Assess the condition of your floors by inspecting for any visible damage or wear. Begin by examining the surface for scratches, dents, or discoloration. Look closely at high-traffic areas, such as entryways or hallways, where wear and tear is more likely to occur. Pay attention to any signs of moisture damage, such as warping or buckling. When you need additional resources about hardwood flooring, look at this site.
Use your hands to feel for any rough patches or unevenness in the wood. This could indicate a problem with the subfloor or the installation. Next, check the floor's stability by walking across it and listening for any squeaking or creaking sounds. These noises may indicate loose boards or a subfloor that needs reinforcement.
Look for gaps between the floorboards, as this could signify shrinkage or improper installation. Look for chipped or splintered edges and corners on the floor. These areas are more prone to impact and may require extra attention during refinishing.
Preparing the Floors for Color Change
To prepare your floors for a color change, follow these steps:
- Remove all furniture and rugs from the room to have clear access to the entire floor surface.
- Vacuum or sweep the floor to remove any loose dirt and debris.
- Use a hardwood floor cleaner to remove any built-up grime or residue. Follow the manufacturer's instructions for the cleaner and use a mop or soft cloth to apply it.
- Allow the floor to dry completely before moving on to the next step.
Next, you'll need to sand the surface of the prefinished hardwood:
- Use a drum sander to strip away the top layer of finish. Move the sander toward the wood grain, working slowly and evenly across the entire floor.
- Switch to a hand-held orbital sander to smooth out any rough spots or imperfections. Wear a dust mask and safety goggles during this process to protect yourself from dust and debris.
Once the sanding is complete, thoroughly clean the floor again:
- Use a damp mop or cloth to wipe down the surface, reaching into corners and along baseboards.
- Allow the floor to dry completely before moving on to applying the new color.
When Choosing Stains or Dye, What to Look For?
To find the perfect stain or dye for your prefinished hardwood floors, consider using a color chart or sample swatches to help you decide. These tools can give you a visual representation of how different stains or dyes will appear on your floors, allowing you to choose the one that best matches your desired color.
When selecting a stain or dye, it's important to consider the type of wood you have and its natural color. Different woods absorb stains differently, so it's crucial to choose a product that's compatible with your specific wood species. Additionally, if you have a lighter wood, keep in mind that darker stains may not achieve the desired color, as the natural tone of the wood can affect the final result.
Before applying the stain or dye, ensure that your prefinished hardwood floors are thoroughly cleaned and free of any debris or residue. This will help the stain or dye adhere properly and provide a more even color.
Applying the Stain or Dye to the Floors
Applying the stain or dye to your prefinished hardwood floors requires careful preparation and attention to detail. Here are the steps you should follow to achieve the best results:
Step 1: Clean the floors: Before applying the stain or dye, thoroughly clean the floors to remove any dirt, dust, or debris. Use a vacuum cleaner or a broom to sweep the surface, and then wipe it down with a damp cloth to ensure a clean and smooth surface.
Step 2: Test the stain or dye: Before applying it to the entire floor, it's important to test it on a small, inconspicuous area. This will allow you to see the color's appearance and determine if it's the desired shade.
Step 3: Apply the stain or dye: Using a clean, lint-free cloth or a brush, apply the stain or dye to the floor in smooth, even strokes. Work in small sections and make sure to follow the manufacturer's instructions for application and drying times.
Step 4: Seal the floors: Once the stain or dye has dried completely, it's important to seal the floors to protect the color and provide durability. Apply a clear, polyurethane sealer using a brush or roller, and allow it to dry according to the manufacturer's instructions.
Sealing and Finishing the Newly Colored Floors
After coloring your hardwood floors, it's crucial to apply a protective finish to maintain the color and durability of your floors. This step acts as a barrier, providing protection against moisture, scratches, and other forms of damage. To begin, ensure that the floor is free from dust and debris by using a vacuum or soft broom. Next, lightly sand the surface to eliminate any imperfections.
When selecting your finish, decide on the desired sheen level. Consider various types of finishes such as polyurethane, oil-based, or water-based and choose the one that best suits your needs. Apply the finish with a brush or roller in small sections, ensuring an even and consistent application. Allow each coat to dry completely before applying another layer for optimal protection.
After the finish has completely cured, avoid placing heavy furniture or rugs on the floor for at least 24 hours. Ensure to use a mild cleaner when cleaning the floor regularly and avoid using harsh chemicals or abrasive tools that may harm the finish.
Conclusion
The process of changing the color of prefinished hardwood floors may seem daunting, but it's achievable with the right steps. It's important to first assess the condition of your floors and ensure you're prepared for the process ahead. To achieve your desired aesthetic, you have to choose the right stain or dye once you've prepped the floors for color change.
Application is the next important step, making sure you take your time to avoid mistakes. Finally, sealing and finishing the floors will ensure that the color lasts and looks great for years to come. With patience and attention to detail, you can successfully transform the appearance of your hardwood floors.


