


A flat roof drip edge is one of those building details that can look insignificant until it is missing, poorly planned or visually disconnected from the rest of the roofline. It sits at the outer edge of the roof where the roof surface meets the outside of the building and where water begins its journey towards the gutter.
For a flat roof extension, garage, garden room or commercial roof area, that outer line is highly visible. It may be seen from the patio, driveway, garden, neighbouring property or through large glazed doors. A neat drip edge can make the roofline look crisp and considered. A poorly planned one can interrupt the appearance of the roof and leave the relationship between roof surface, fascia and gutter feeling unresolved.
The trim itself is only one part of a larger arrangement. Roof falls, roof covering, outlet positions, fascia depth, gutter placement, wall finishes and corners all influence whether the drip edge works as intended. This guide explains the planning behind a flat roof drip edge, helping readers understand how it relates to the wider roofline without providing installation instructions.
Why the Flat Roof Drip Edge Needs a Clear Purpose
The most basic role of a flat roof drip edge is to form the exposed roof perimeter where water leaves the roof surface. It can help direct rainwater from the outer roof edge towards the gutter while creating a more controlled and finished transition between the roof build-up and the fascia or wall below.
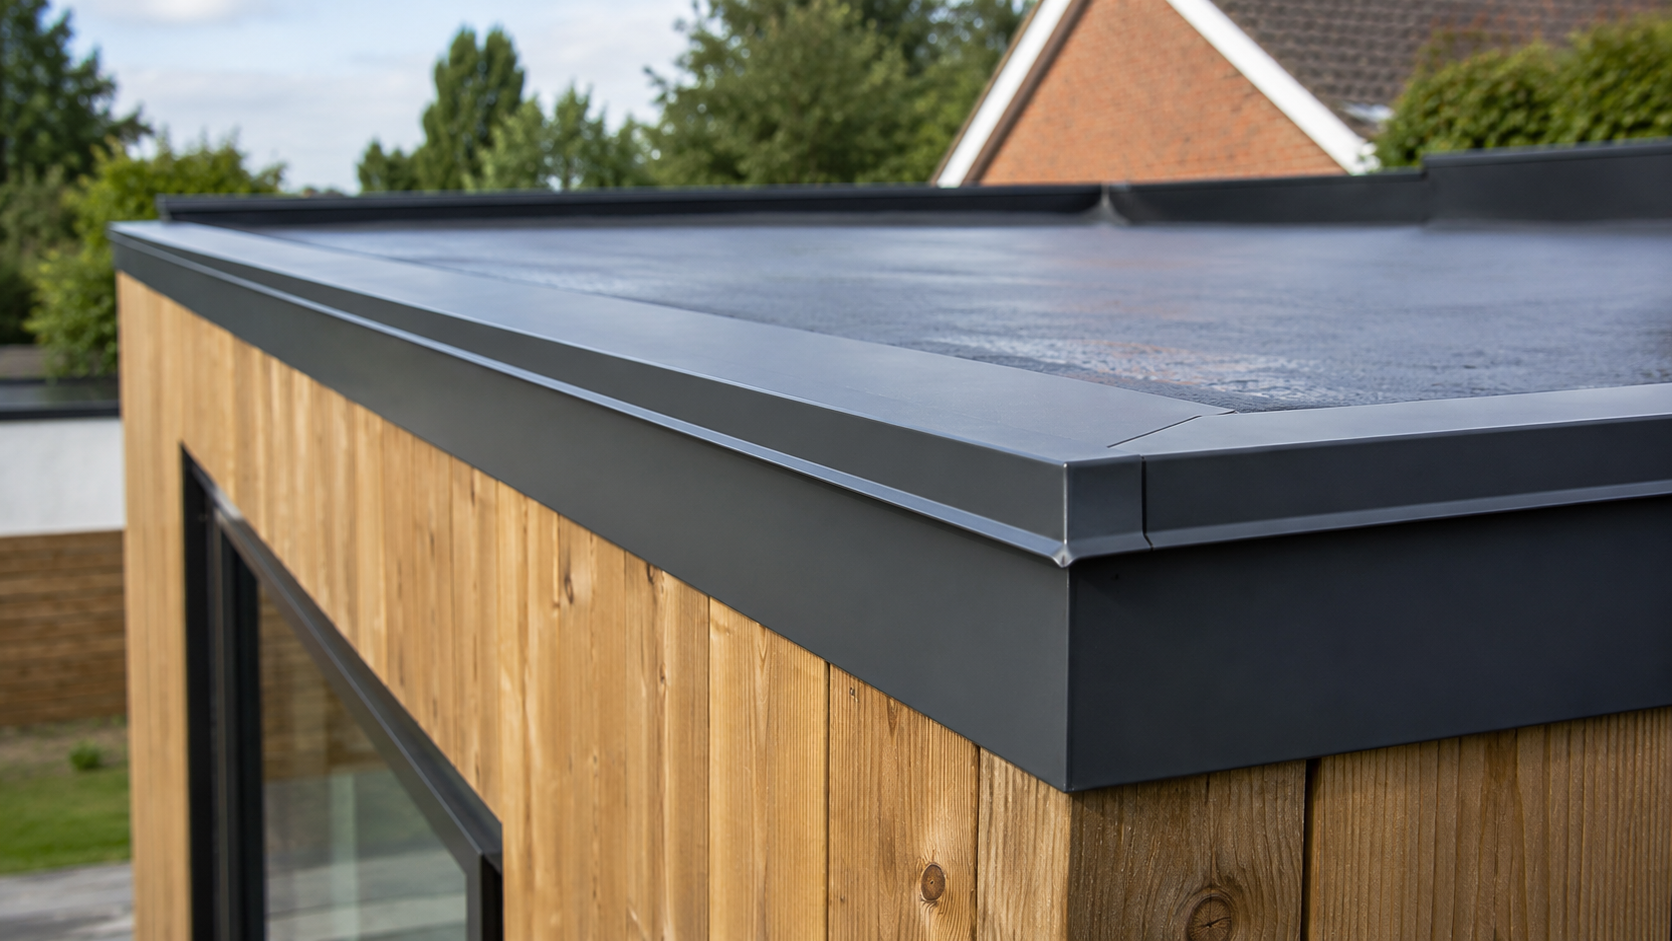
This makes the drip edge important both visually and practically. On a rear extension, it may create the long horizontal line above bi-fold doors or a patio. On a garden room, it may form the final roof detail above timber cladding or brickwork. On a commercial building, it may run across multiple elevations and become part of the overall architectural expression.
The Metal Profiles Ltd roof accessories category provides a useful starting point for understanding the wider range of drip trim, flashing, soakers and termination-bar products available for roof-detail requirements.
A Drip Edge Is Part of the Roof System
A drip edge should not be treated as a decorative finishing strip that can be selected after every other roof decision has been made. It needs to relate to the roof covering, roof build-up, fascia line and the intended gutter position.
The roof surface needs to guide water towards the outer edge. The trim then forms the visible roof perimeter. The gutter needs to receive water from that edge. Downpipes continue the route away from the building. When all these elements are considered together, the roofline is more likely to appear coordinated as well as practical.
A drip edge cannot solve unrelated roof issues. It does not replace a roof fall, repair a defective membrane or resolve a blocked gutter outlet. Its role is to support the intended roof-edge arrangement within the broader roof design.
The Visible Edge Changes the Whole Elevation
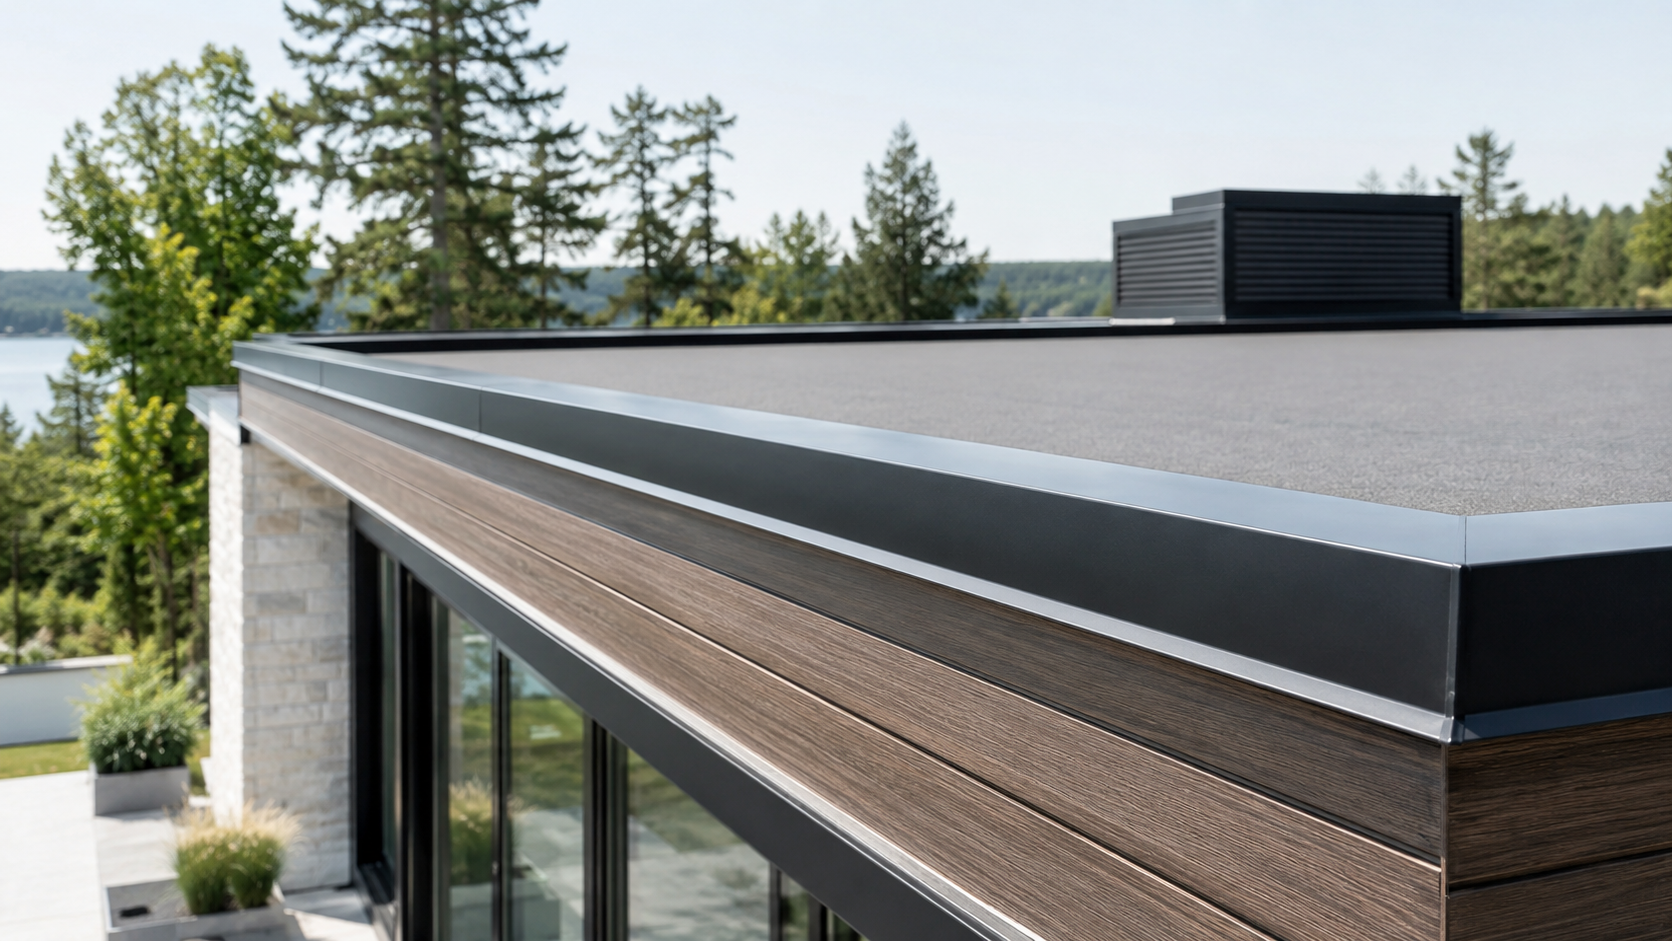
A flat roof may have a limited visible profile from the ground, so the trim line can have a strong influence on how the extension or garage appears. A crisp aluminium roof edge can make the building look more deliberate, especially where it sits above pale brickwork, render, cladding or full-height glazing.
The trim should relate to the building scale. A small garden structure may need a restrained edge. A larger extension may benefit from a more defined visual line. The roof depth, fascia position and the amount of visible wall below all influence what looks balanced.
Plan the Rainwater Route Before Selecting the Trim
Water should have a clear route from the upper roof surface through to the rainwater goods below. On a flat roof, this begins with the roof fall. The roof needs to direct water towards the intended edge or outlet. The drip edge then forms part of the perimeter where water leaves the roof surface and reaches the gutter line.
The 3m aluminium roof-edge drip trim provides a useful reference for roof-edge profiles used to finish flat or pitched roofing systems. The selected detail should still be considered against the project roof build-up, roof covering, fascia arrangement and gutter position.
Roof Falls and Edge Direction
Roof falls are part of the wider roof design. They influence where water travels and how it reaches the roof perimeter. The drip edge should follow that planned arrangement rather than being expected to control water independently.
A roof may drain towards one long edge, towards several edges or towards specific internal outlets depending on the project design. The visible perimeter trim should be considered alongside that wider drainage approach. This is particularly important where a roof has irregular geometry, changes in level or connects to another roof structure.
The most useful way to understand the arrangement is to look at both a roof plan and an elevation. The plan shows where water is intended to go. The elevation shows how the trim, fascia and gutter line will appear from the outside.
Gutter Position and Fascia Coordination
The gutter position needs to relate to the drip edge above it. If the gutter sits too low or too far away from the roof perimeter, the visual and practical relationship can feel disconnected. Fascia depth also influences the finished appearance because it creates the visible face below the trim.
The aluminium rainwater goods range can help readers consider gutter and downpipe components as part of the wider roofline. The final gutter arrangement should still reflect roof area, outlet locations, discharge routes and individual project requirements.
A coordinated roofline does not mean every component has to be identical. It means trim, fascia, gutter and downpipe decisions should follow a clear and deliberate design direction.
Corners and Roof Geometry Matter More Than They First Appear
A simple straight roof edge is easy to picture. The complexity of a flat roof often becomes more visible at the corners. Internal corners, external corners, returns and junctions can influence how the trim line is planned and how continuous it looks around the building.
A roof perimeter should be measured as a complete outline, not simply as one long front edge. This is particularly important on L-shaped extensions, garden rooms with side returns, roofs that meet existing walls or projects with changes in roof level.
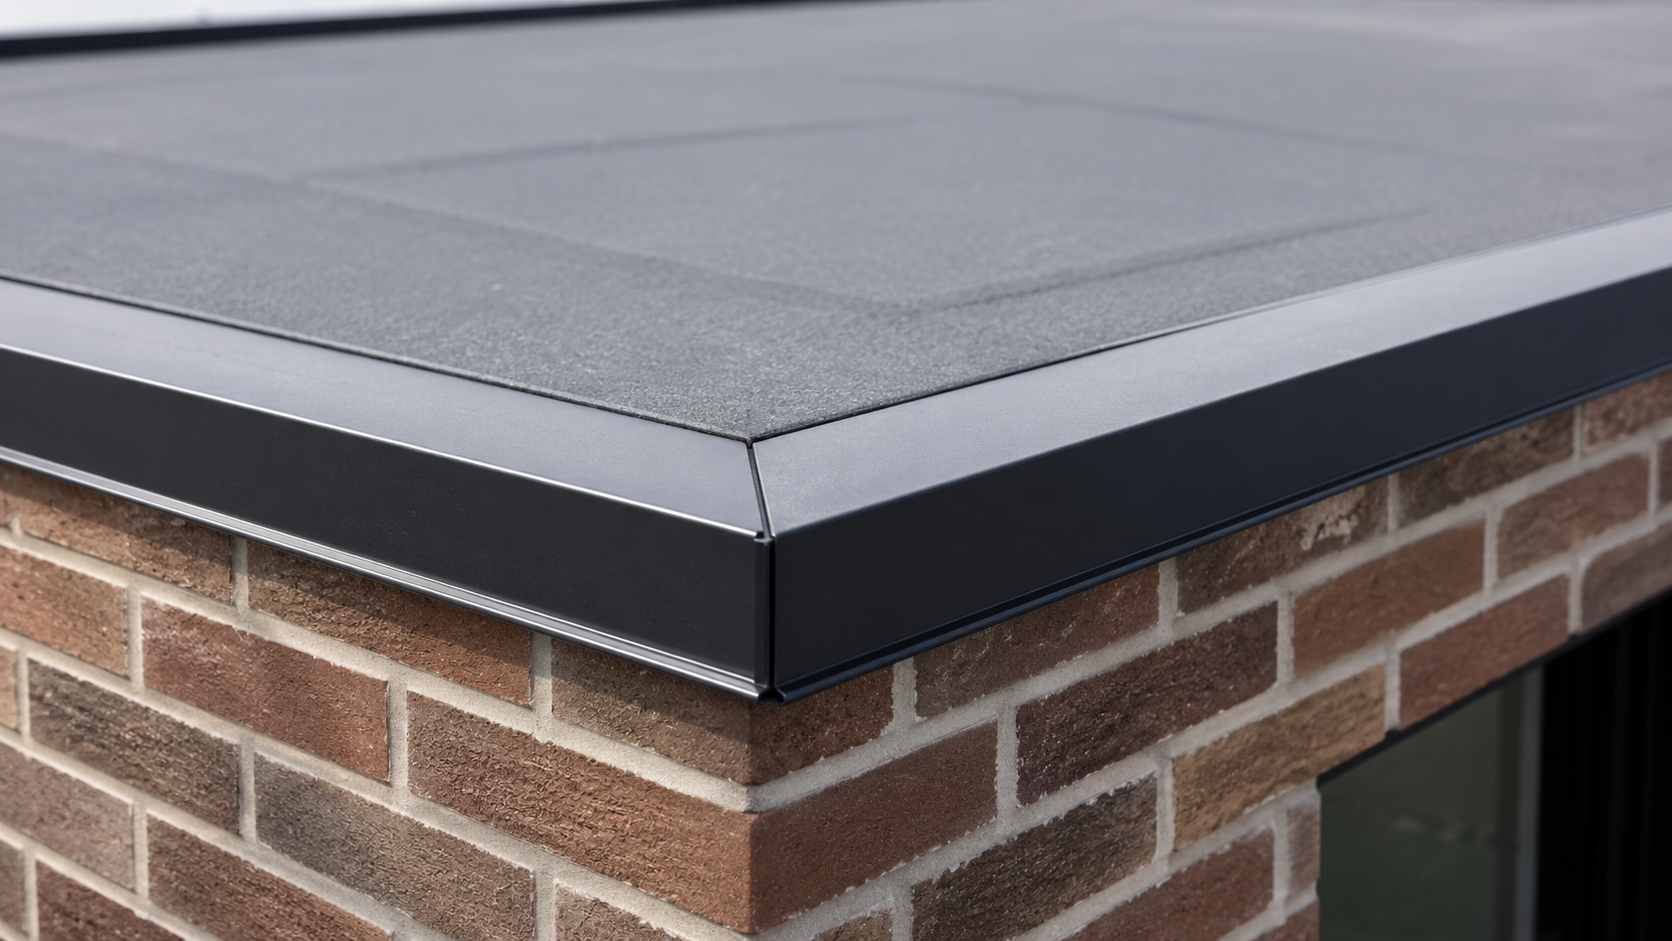
External Roof Corners
External corners occur where the roof perimeter turns outward around a visible building corner. These are often prominent on extensions and garages because they can be seen from several angles.
The 90-degree external corner for aluminium roof-edge drip trim provides useful context for standard outward roof turns. The actual corner detail should still be checked against the roof geometry, wall finish and surrounding roofline arrangement.
An external corner should allow the trim line to appear continuous around the building. It should not look like one roof edge stops and another begins without a clear transition.
Internal Roof Corners and Recessed Areas
Internal corners occur where the roof perimeter turns inward. This can happen beside a side return, recessed wall, courtyard detail or rooflight arrangement. These areas can be easy to miss if the project is viewed only from ground level.
The 90-degree internal corner for aluminium drip trim provides a useful reference for inward roof turns. The final requirement should still be based on the roof plan, wall geometry and any nearby flashing or membrane detail.
Longer Roof Edges Need Careful Joining
Roof-edge trim is often supplied in lengths, so longer runs may need connections between sections. These should be planned as part of the overall visual line rather than as a late-stage detail.
The internal joiner for aluminium roof-edge drip trim provides useful context for joining roof trim lengths. The alignment of sections remains important, particularly where the roof edge is visible from a patio, garden or internal living space.
Drip Edge, Flashing and Termination Details
Roof-edge products can look similar when viewed individually, but they are intended for different positions in the wider roof arrangement. Drip trim is generally used at an outer roof perimeter. Flashing is usually associated with wall junctions, changes in level and other interfaces. Termination bars may be relevant where roofing membranes need fixing at upstands or edges.
The correct product choice begins with the roof detail itself. Ask what the junction needs to do. Does water need to leave the outer roof edge? Does the roof meet a wall? Is there a membrane upstand? Is the detail close to a rooflight or parapet? These questions help establish which type of roof accessory may be relevant.
Moisture Resistance and Wider Roof Planning
A flat roof drip edge should be considered within the wider context of how roof surfaces, walls and junctions manage rain and moisture. For broader England-specific context, the Approved Document C guidance on resistance to moisture explains wider principles relating to resistance to moisture in roofs and walls.
It is not a direct guide to choosing or fitting drip-edge trim. The final roof perimeter should still reflect the roof build-up, roof fall, wall junctions, flashing details, guttering and overall project specification.
The 3m aluminium roof flashing provides useful reference for flashing at roof junctions. It should not be used as a substitute for outer-edge drip trim, because the two products address different parts of the roof detail.
Finish and Exterior Coordination
The roof edge is often one of the most visible horizontal lines on a building. Its finish can influence how the roof relates to windows, doors, cladding, fascia, guttering and wall materials below.
A darker trim can create a clear, contemporary line above pale render or light brickwork. A more neutral colour can reduce contrast and make the roof edge feel quieter. The right approach depends on the wider exterior palette and the visible scale of the roofline.
A wide range of RAL or BS colour options may be available, subject to the selected finish and project requirement. The final colour should be reviewed against actual exterior materials, especially where the roof edge runs across a long elevation or sits close to large glazing areas.
What to Prepare for a Flat Roof Drip Edge Enquiry
A useful enquiry should include more than a total roof length. The full roof perimeter, corners, roof build-up, fascia position and gutter arrangement should all be described as clearly as possible.
Metal Profiles Ltd supplies aluminium roof accessories, roofline products and architectural metalwork for UK projects. A flat roof drip edge may be considered for extensions, garages, garden rooms, low-slope roof edges and wider roofline requirements. Share roof-edge lengths, roof context, corners, fascia and gutter details, photographs, drawings and preferred finish when discussing a trim requirement. A wide range of RAL or BS colour options may be available, subject to the selected finish and project requirement. For product or project support, Contact Metal Profiles Ltd today.


Standing beneath a flat roof extension, garage roof, porch or low-slope canopy, it is often the outer roof edge above the fascia and gutter that first draws attention when rain falls. That line may
